Every pet owner knows their furry companion has a one-of-a-kind personality. Why not reflect that individuality in the way they dress? A personalized embroidered pet bandana is more than just an accessory—it's a statement of style, love, and identity. Whether you're preparing for a special occasion, running a pet business, or simply want to add flair to your dog’s wardrobe, custom embroidery transforms a simple piece of fabric into a cherished keepsake.
Unlike mass-produced accessories, embroidered bandanas allow for meaningful customization: your pet’s name, a fun slogan, or even a tiny paw print design. The process is accessible, rewarding, and surprisingly easy once you know the right techniques. This guide walks through practical, creative methods to make your pet’s bandana truly stand out—no sewing machine required.
Selecting the Right Bandana Base
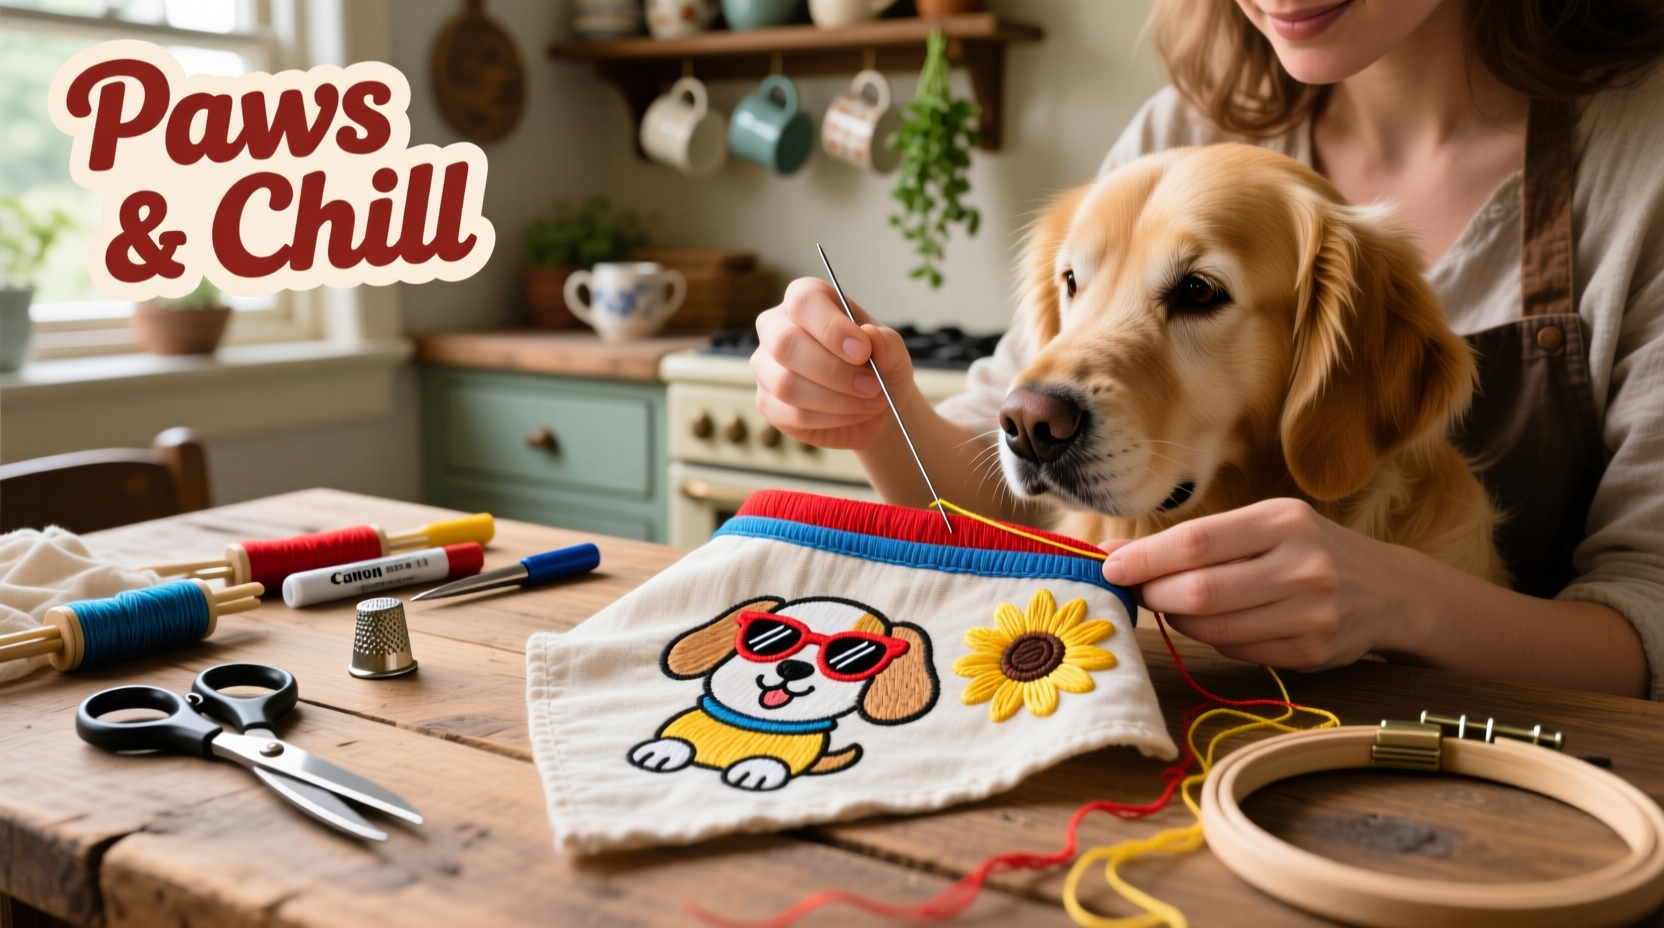
The foundation of any great embroidered piece starts with the right material. Not all fabrics respond well to needlework, so choosing a stable, tightly woven cotton or cotton-blend bandana ensures clean stitching and long-term durability.
Solid colors work best as backdrops because they provide contrast for thread visibility. Avoid stretchy or silky materials—they shift during stitching and can pucker or tear under tension. Triangle-shaped bandanas are ideal due to their flat surface area and classic pet fashion appeal.
Tip: Pre-wash your bandana to prevent shrinkage after embroidery. Iron it smooth before starting to eliminate wrinkles that could distort your design.Design Planning: From Concept to Stitch
Before threading your needle, spend time sketching your idea. Simplicity often wins when working on small textiles. Consider elements like your pet’s name, a favorite hobby (“Adventure Dog”), or a playful pun (“Barkitecture Enthusiast”).
Use fabric-safe chalk or a water-soluble pen to lightly trace your design onto the bandana. Center the text or image near the top point of the triangle, where it will be most visible when worn. For symmetry, fold the bandana in half vertically to find the centerline.
“Hand embroidery allows pet owners to infuse emotion directly into the fabric. Each stitch becomes part of the story.” — Lena Torres, Textile Artist & Pet Lifestyle Designer
Choosing Embroidery Styles That Work
Different stitches create different effects. Here are three beginner-friendly options perfect for pet accessories:
- Backstitch – Ideal for crisp lettering and outlines. Creates strong, continuous lines.
- Satin stitch – Best for filling small shapes like hearts or bones. Gives a smooth, polished appearance.
- French knots – Great for adding dimension (e.g., eyes on a face or polka dots).
For legibility, keep fonts large enough to read from a few feet away. Block letters or rounded sans-serif styles are easier to stitch and recognize than script fonts.
Step-by-Step Guide to Hand Embroidering Your Pet’s Bandana
You don’t need advanced skills to create something beautiful. Follow this straightforward sequence to complete your project confidently.
- Gather Supplies: Cotton bandana, embroidery floss (polyester resists fading), needle, hoop, scissors, tracing tool.
- Transfer Design: Lightly draw your motif using a washable fabric marker.
- Secure in Hoop: Place the marked area tautly in the embroidery hoop to stabilize the fabric.
- Thread Needle: Use 2–3 strands of floss for balance between coverage and flexibility.
- Begin Stitching: Start with outlining (backstitch), then fill details (satin or seed stitch).
- Knot Securely: On the backside, knot threads or weave them through existing stitches to avoid loose ends.
- Remove Hoop & Clean: Gently remove the hoop and dab away any visible tracing marks with a damp cloth.
Creative Embellishment Ideas Beyond Thread
While embroidery is the centerpiece, combining it with other touches elevates the uniqueness of your bandana.
- Add a tiny ribbon bow beneath the embroidered name for elegance.
- Incorporate glow-in-the-dark thread for evening walks with flair.
- Use metallic floss accents sparingly to highlight key parts of the design (like stars around a name).
- Border the edge with a contrasting whipstitch for a finished look.
Some pet owners embroider seasonal themes—pumpkins for Halloween, snowflakes in December—and rotate bandanas monthly. It’s a low-cost way to celebrate holidays while keeping your pet camera-ready.
Mini Case Study: Bella the Rescue Beagle’s Birthday Bandana
Sarah, a pet blogger from Portland, wanted to mark her rescue beagle Bella’s first adopted birthday with something special. She chose a deep coral bandana and hand-embroidered “Bella Belongs” in navy blue cursive, surrounding it with tiny yellow flowers using French knots.
She shared the photo online, and within days, received requests to make similar pieces for friends’ pets. What started as a personal gesture evolved into a side business selling customized rescue-themed bandanas. Her secret? Using emotionally resonant phrases like “Adopted & Adored” or “Forever Home Hero,” which speak directly to pet adopters.
This example shows how a simple embroidered message can carry deep meaning—and even spark a creative venture.
Do’s and Don’ts of Pet Bandana Embroidery
| Do’s | Don’ts |
|---|---|
| Use non-toxic, pet-safe thread | Use sharp beads or sequins that could detach and be swallowed |
| Keep stitching minimal to maintain comfort | Overload the fabric with dense embroidery that stiffens the bandana |
| Wash gently by hand after completion | Machine-wash aggressively; it can fray stitches |
| Test colors on a scrap first to prevent bleeding | Assume all floss is colorfast—some cheaper brands bleed when wet |
| Let your pet wear it briefly at first to check for irritation | Leave the bandana on overnight or unsupervised |
Frequently Asked Questions
Can I embroider over printed designs on bandanas?
Yes, but only if the print is flat and doesn’t add texture. Raised ink or glitter coatings can interfere with stitching. Test a small area first to ensure the needle passes smoothly.
How do I care for an embroidered bandana?
Hand wash in cool water with mild detergent. Lay flat to dry to preserve shape and prevent hoop marks. Avoid wringing or ironing directly over stitched areas.
Is machine embroidery better than hand stitching for pets?
Machine embroidery offers precision and speed, especially for bulk production. However, hand stitching gives greater control over delicate fabrics and allows for spontaneous creativity. For one-off, heartfelt pieces, handwork often feels more personal.
Checklist: Create Your First Embroidered Pet Bandana
- ☐ Choose a cotton or cotton-blend bandana in a solid color
- ☐ Pre-wash and press the fabric
- ☐ Sketch your design on paper first
- ☐ Transfer the design using a water-soluble marker
- ☐ Set up your embroidery hoop securely
- ☐ Select 2–3 strands of colorfast embroidery floss
- ☐ Begin with outline stitches, then add details
- ☐ Secure all thread ends on the back
- ☐ Remove hoop and gently clean any markings
- ☐ Let your pet try it on under supervision
Conclusion: Make Every Walk a Statement
Personalizing a pet bandana with embroidery isn’t just about aesthetics—it’s about connection. Each loop of thread carries intention, turning a basic accessory into a wearable expression of love and identity. With minimal tools and a bit of patience, anyone can craft something both functional and memorable.
💬 Ready to start stitching? Grab a blank bandana and your favorite thread today. Share your creations online with #StitchedWithLovePet to inspire others and celebrate the joy of handmade pet fashion!