Creating a handmade dog leash isn’t just about function—it’s an opportunity to blend durability with personal flair. While commercial leashes are readily available, few offer the unique charm and emotional connection of one you’ve made yourself. Beaded leashes combine strength, comfort, and artistry, transforming a daily walk into a statement of style. With thoughtful material selection and careful construction, you can build a leash that withstands daily use while reflecting your pet’s personality—and your own creativity.
Selecting Materials for Strength and Aesthetics
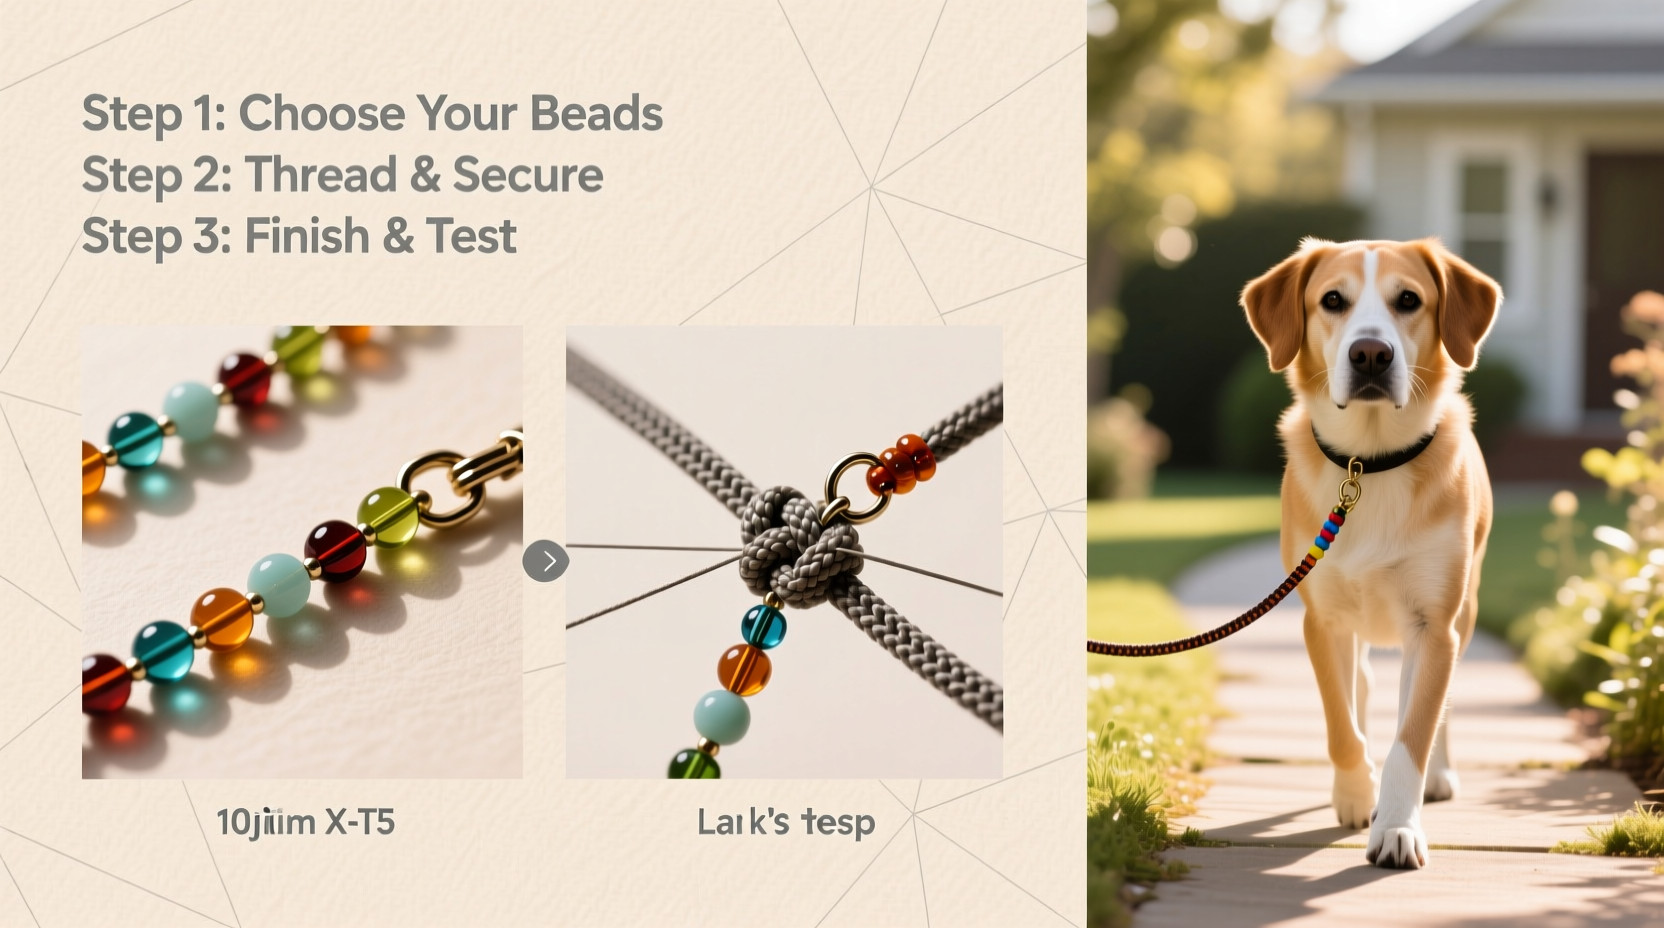
The foundation of any reliable leash lies in its materials. For a beaded version, two components dominate: the structural core and the decorative beads. The core must bear tension and resist fraying; the beads should enhance grip and appearance without compromising safety.
Paracord is a top choice for the inner strand—its 7-strand nylon construction supports up to 550 pounds, making it ideal for dogs of all sizes. Alternatives like marine-grade polyester rope or braided nylon offer similar resilience. Avoid cotton cord or thin twine, as they degrade faster under strain and moisture.
For beads, consider weight, texture, and hole size. Glass, wood, and acrylic beads are popular. Glass offers elegance but adds weight; wood provides warmth and lightness; acrylic gives vibrant colors at low cost. Ensure each bead has a hole diameter of at least 3mm to accommodate the paracord smoothly.
Tip: Test bead holes by threading a scrap piece of cord before purchasing in bulk.Design Planning: Balancing Form and Function
A well-designed beaded leash balances visual appeal with ergonomic usability. Begin by sketching a pattern. Decide whether you want evenly spaced beads, clustered sections, or a gradient fade across colors. Consider your dog’s breed and walking habits: larger dogs benefit from more grip zones, while smaller breeds allow for delicate detailing.
Measure standard leash lengths—typically 4 to 6 feet. A 5-foot leash offers control without restricting movement. Mark where beads will sit: near the handle for better grip, along the midsection for decoration, or close to the clasp for balanced weight distribution.
Color psychology plays a subtle role. Bright hues increase visibility during evening walks, while earth tones suit outdoor adventures. You might even match the leash to your dog’s collar or your own wardrobe for a coordinated look.
“Handcrafted pet accessories foster a deeper bond between owner and animal. When you invest time in making something functional and beautiful, it becomes part of your shared story.” — Lena Torres, Artisan Pet Designer & Founder of Paws & Thread Studio
Step-by-Step Construction Guide
Follow this detailed sequence to assemble a secure, long-lasting beaded leash:
- Cut the Paracord: Use sharp scissors to cut a single strand 6 feet long (allowing extra for knots and attachments).
- Attach the Bolt Snap: Melt the end of the cord slightly with a lighter, then thread it through the metal loop of a heavy-duty bolt snap. Tie a double overhand knot and secure with a drop of fabric glue.
- String the Beads: Slide beads onto the cord following your planned pattern. Use a temporary clip or tape to prevent them from slipping off.
- Create the Handle Section: After placing initial beads, form a loop at one end (about 6 inches from the end) to serve as the handhold. Secure with a barrel knot or whipping knot.
- Add Grip Zones: Cluster beads every 8–10 inches along the leash to improve handling and reduce slippage.
- Finish the Other End: Once all beads are positioned, attach a second bolt snap or trigger clasp using the same knotting method as step 2.
- Seal All Knots: Trim excess cord, melt the ends carefully, and press them into the knots to prevent unraveling.
For added comfort, wrap the handle area with soft leather strips or woven thread. This reduces hand fatigue on longer walks and gives a professional finish.
Do’s and Don’ts: Best Practices Table
| Do’s | Don’ts |
|---|---|
| Use UV-resistant cord to prevent sun degradation | Don’t overload with heavy beads that strain the cord |
| Test knots under tension before finalizing | Don’t skip sealing knots—this leads to premature fraying |
| Incorporate non-slip materials in grip areas | Don’t use toxic glues near areas your dog may chew |
| Wash gently with mild soap and air dry | Don’t machine wash or soak for extended periods |
| Inspect monthly for wear and tear | Don’t ignore frayed sections—replace immediately |
Real Example: From Sketch to Sidewalk Success
Sophia, a graphic designer in Portland, wanted a leash that matched her rescue terrier Milo’s bold personality. She sketched a zigzag pattern using alternating black and mustard-yellow glass beads. Using military-grade paracord and stainless steel clasps, she built a 5-foot leash with dense bead clusters near the handle and a lighter trail toward the clip.
After three months of daily use—including rainy hikes and muddy parks—the leash showed no signs of weakness. The beads remained intact, and the knots held firm. Neighbors began asking where she bought it. When she revealed it was homemade, several requested tutorials. Her project evolved into a small weekend workshop series at a local pet boutique, proving that craftsmanship resonates beyond utility.
Maintenance and Longevity Tips
A handmade leash requires minimal upkeep, but consistent care extends its life. Wipe down after wet walks with a dry cloth. If dirty, clean with a damp sponge and mild detergent, then air-dry away from direct heat. Store coiled loosely in a drawer or hook—never crumpled in a bag where beads can chip.
Check stress points regularly: the knots near clasps and the base of the handle. Re-tighten or re-glue if movement is detected. Replace the entire leash if the core cord shows internal fiber breaks, even if the surface looks intact.
Tip: Rotate between two handcrafted leashes to distribute wear and prolong both.Frequently Asked Questions
Can I make a beaded leash for a large, strong dog?
Yes, provided you use high-tensile cord like paracord or kernmantle rope and reinforce all attachment points with multiple knots and adhesive. Avoid excessive beads in load-bearing zones to maintain flexibility and strength.
How do I choose non-toxic materials?
Opt for lead-free glass beads, natural wood finished with pet-safe sealants, and nickel-free metal hardware. Always verify product labels or consult suppliers for material safety data sheets (MSDS).
Is it safe if my dog chews the leash?
No leash is chew-proof. If your dog tends to bite accessories, prioritize durable plain cord with minimal beads. Supervise closely and redirect chewing behavior. Handmade items should be used under control, not left unattended.
Conclusion: Craft With Purpose, Walk With Pride
Building a beaded dog leash at home merges practicality with personal expression. Every knot tied and bead placed becomes part of a tool you rely on daily—one that reflects patience, care, and attention to detail. Beyond aesthetics, you gain confidence knowing exactly what went into its making: quality materials, tested methods, and intention.
Whether you’re crafting for your own pup or designing gifts for fellow dog lovers, the process deepens your appreciation for handmade goods. These small acts of creation strengthen the everyday moments we share with our pets.
💬 Ready to start your first beaded leash? Gather your supplies, sketch a design, and take the first step today. Share your finished project online and inspire others to craft with love and purpose.