For fans of the Warriors book series by Erin Hunter, bringing the world of forest clans, moonlit gatherings, and fierce feline warriors to life can go beyond reading. Crafting your own DIY warrior cat toys allows children and collectors alike to engage with the stories through hands-on creativity. These handmade figures aren’t just playthings—they become characters in epic tales of loyalty, bravery, and survival.
Whether you're making them for storytelling, display, or imaginative play, creating custom warrior cats offers a chance to personalize each character’s appearance, clan, and personality. This guide walks you through practical techniques, material choices, and creative enhancements to build authentic-looking warrior cat figures that reflect the spirit of ThunderClan, ShadowClan, WindClan, RiverClan, and even SkyClan.
Why Make Your Own Warrior Cat Toys?
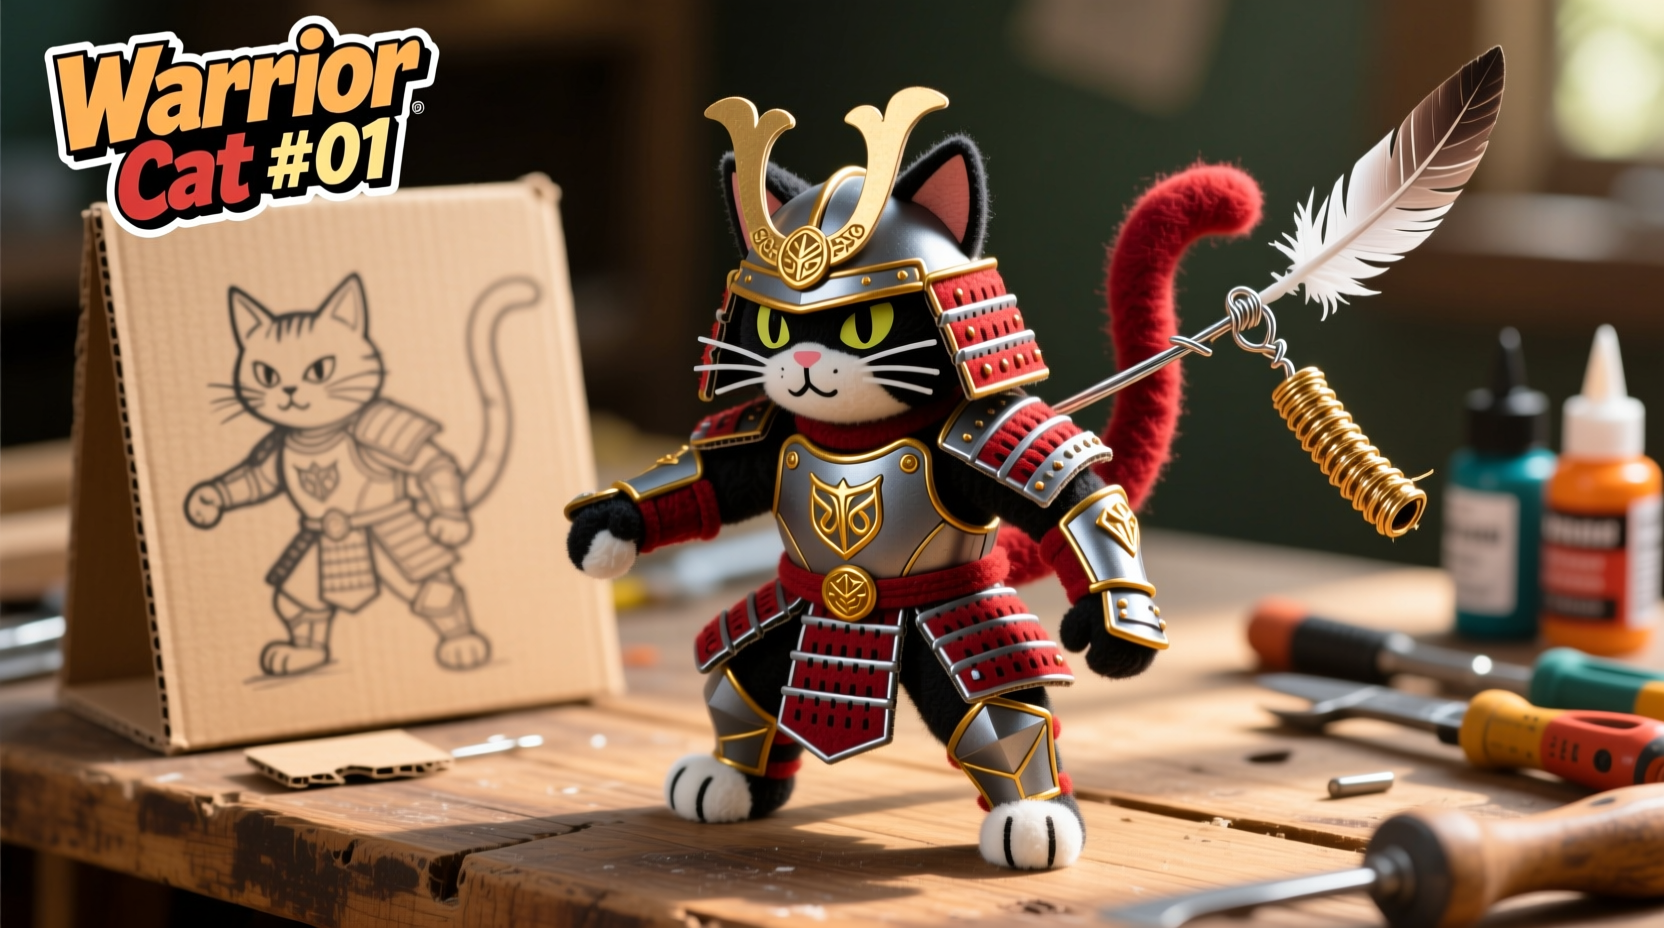
Purchased toy lines rarely capture the specific details of beloved characters like Firestar, Leafpool, or Breezepelt. Commercial options may also lack diversity in poses, markings, or accessories. By making your own, you gain full creative control over fur patterns, eye color, collars, injuries, and even symbolic items like herbs or prey.
Additionally, the process strengthens narrative skills. Children who build their own warrior cats often develop deeper connections to the storylines, inventing backstories, rivalries, and alliances. It's a blend of art, storytelling, and fine motor development—all wrapped into one satisfying project.
“Handmade toys foster emotional investment and creative ownership. When kids craft their own characters, they don’t just play—they co-author the story.” — Dr. Lila Montgomery, Child Development Specialist
Materials You’ll Need: A Starter Kit
The beauty of this craft is its accessibility. Most materials can be found at home or purchased inexpensively from craft stores. Below is a basic inventory to begin:
| Material | Purpose | Alternative Options |
|---|---|---|
| Fuzzy pipe cleaners (chenille stems) | Skeleton/frame for limbs and tail | Thick wire coated in tape |
| Felt sheets (assorted colors) | Body covering, ears, paws | Fleece scraps, old sweaters |
| Acrylic paint & small brushes | Facial details, paw pads, scars | Non-toxic markers |
| Googly eyes or embroidery thread | Eyes | Black beads, painted dots |
| Hot glue gun or fabric glue | Assembly | Needle and thread for sewn versions |
| Ribbon or thin cord | Collars (for kittypets or rogues) | Leather strips, yarn |
Step-by-Step Guide: Building a Warrior Cat Figure
Follow these steps to assemble a durable, expressive warrior cat toy suitable for ages 6 and up (adult supervision recommended for younger crafters).
- Create the armature: Twist two pipe cleaners together along the spine, leaving one end extended for the tail and branching off four legs. Bend the leg ends slightly for stability.
- Wrap the body: Cut a piece of felt large enough to wrap around the central frame. Use fabric glue to secure it, leaving openings for head, limbs, and tail. Overlap seams neatly.
- Form the head: Crumple a small ball of aluminum foil (about marble-sized), then wrap it tightly in felt. Glue it securely to the front of the body frame.
- Add facial features: Paint on eyes, nose, and whisker spots using acrylics. Allow to dry completely before handling.
- Attach ears and paws: Cut triangular ears and oval paws from contrasting felt. Glue them in place. Reinforce with stitching if desired.
- Detail the coat: Use markers or paint to add tabby stripes, spots, or bi-color patterns. Reference your favorite warrior’s description for accuracy.
- Personalize: Add a tiny leaf-shaped herb pouch (glued to the side) for medicine cats, or a feather tied to the collar for deputies.
Advanced Touches
- Incorporate real feathers or dried moss for den scenes.
- Use embroidery floss to stitch on realistic whiskers.
- Add movable joints by leaving pipe cleaner ends unglued—allows poseability.
- Write name and clan on a miniature scroll tied with thread.
Mini Case Study: The RiverClan Medicine Apprentice
Lena, a 10-year-old fan from Vermont, wanted to create Mothwing’s apprentice for a school book report. She used light gray felt for the base, added yellow-orange ear tips with marker, and glued on tiny white felt fish scales along the back as “river blessings.” For authenticity, she attached a dandelion seed puff as a traveling herb pouch and wrote a backstory explaining how her cat healed an injured sparrow.
Her teacher noted not only the craftsmanship but also the depth of narrative understanding. Lena later started a club where classmates built their own cats and acted out original Clan meetings during recess.
Do’s and Don’ts: Best Practices Summary
| Do | Don't |
|---|---|
| Label each cat with name and clan on a tag | Use sharp scissors without adult help |
| Let paint dry fully before playing | Submerge felt toys in water |
| Store in a breathable box with cedar chips to deter moths | Leave hot glue accessible to young children |
| Encourage storytelling after creation | Discourage “imperfect” designs—each cat should feel unique |
Checklist: Build Your Warrior Cat in One Afternoon
- ☐ Gather materials (pipe cleaners, felt, glue, paint)
- ☐ Choose a clan and character role (warrior, medicine cat, elder)
- ☐ Sketch a quick design or reference a favorite cat
- ☐ Build the frame and wrap the body
- ☐ Sculpt and attach the head
- ☐ Paint face and add eyes
- ☐ Cut and glue ears, paws, and tail tip
- ☐ Add markings and accessories
- ☐ Write a short profile card (name, mentor, skill)
- ☐ Stage a ceremonial “Clan welcoming” with other handmade cats
FAQ: Common Questions About DIY Warrior Cats
Can I wash my handmade warrior cat toy?
No, submerging the toy will cause the felt to fray and glue joints to weaken. Instead, gently dab stains with a damp cloth and let air dry away from heat sources.
How do I make my cat look more lifelike?
Focus on asymmetry—real cats have uneven markings. Slightly mismatched eyes or a crooked scar adds realism. Also, vary ear angles; one upright, one slightly back conveys alertness.
Are these toys safe for younger siblings?
While generally safe, small parts like googly eyes or glued-on beads can be choking hazards. Supervise toddlers closely, or modify designs using painted details instead.
Bring the Forest Clans Home
Creating DIY warrior cat toys isn’t just about crafting—it’s about honoring imagination, storytelling, and the timeless appeal of brave cats living by honor and code. Each figure becomes a vessel for adventure, whether displayed proudly on a shelf or carried into battle across living room floor territories.
These handmade companions connect readers more deeply to the Warriors universe, transforming passive consumption into active participation. Whether you’re a lifelong fan or discovering the series for the first time, building your own warrior cat invites you to step beneath the trees, listen to the rustle of prey in the undergrowth, and answer the call of the wild.
💬 Ready to form your own Clan? Start today with one warrior cat, then gather allies. Share your creations online with #MyDIWWarrior and inspire others to join the quest!