
Creating your own dog leash from 550 paracord isn’t just a satisfying weekend project—it’s a practical way to ensure your pet has a strong, lightweight, and customizable accessory. Originally designed for military parachutes, 550 paracord can support up to 550 pounds of weight, making it ideal for leashes that endure daily tugs, weather exposure, and active dogs. With the right technique, you can build a leash that’s both functional and uniquely yours.
Why Choose Paracord for a Dog Leash?
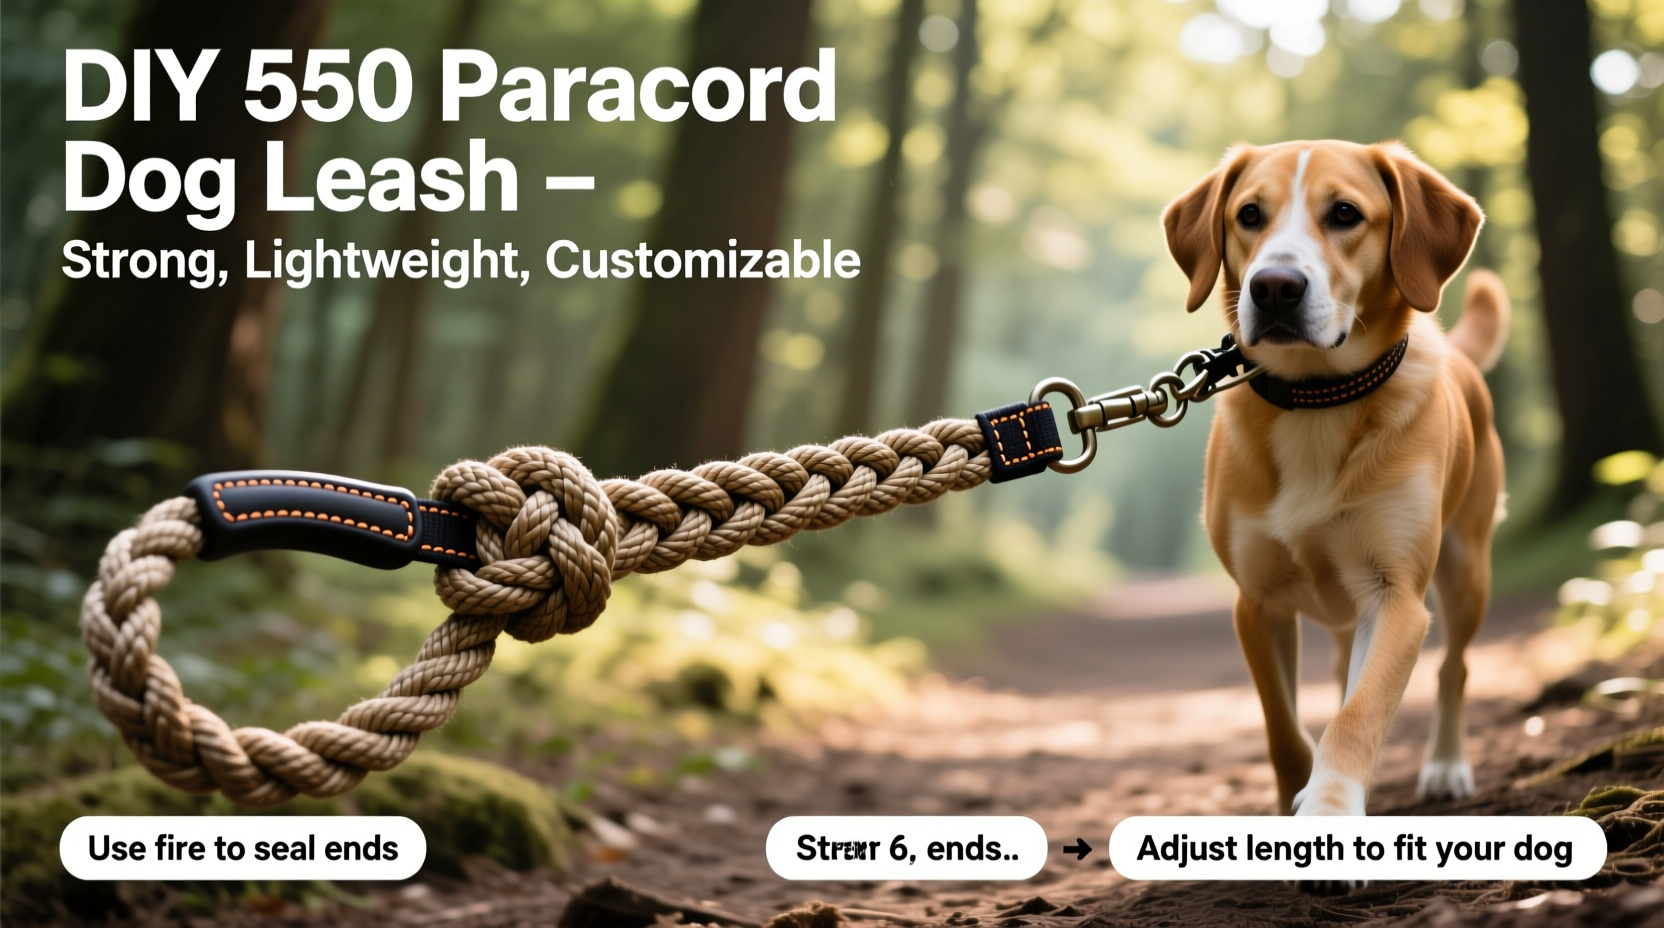
Paracord’s reputation for strength and versatility makes it a favorite among outdoor enthusiasts, survivalists, and crafters. When woven correctly, a paracord leash becomes more than just a walking tool—it transforms into a reliable piece of gear that resists fraying, UV damage, and moisture. Unlike nylon or leather leashes that may degrade over time, a well-made paracord leash can last for years with minimal maintenance.
The inner strands of 550 paracord (typically seven yarn-like fibers) contribute to its tensile strength, while the smooth outer sheath provides abrasion resistance. This dual-layer construction ensures durability even during spirited pulls from large or energetic dogs.
“Paracord is one of the most underrated materials in pet gear. A properly braided leash distributes force evenly and reduces stress points better than many commercial options.” — Jordan Hale, Outdoor Gear Designer and Pet Safety AdvocateTip: Use high-visibility colors like blaze orange or neon yellow if you walk your dog in low-light conditions.
Materials and Tools You’ll Need
Before starting, gather all necessary supplies. Most items are affordable and reusable for future projects.
- 550 paracord – 100 feet recommended for a standard 4-foot leash
- Carabiner or heavy-duty metal snap hook – rated for at least 500 lbs
- Fixed anchor point – such as a door handle, bench vise, or sturdy table clamp
- Lighter or matches – for sealing cut ends
- Measuring tape or ruler
- Scissors – sharp and dedicated to cord work
- Alligator clip or S-hook – to secure the working end during braiding
The length of paracord depends on the desired leash size. As a rule of thumb, use about 25 times the finished length. For a 4-foot (48-inch) leash, 100 feet allows room for weaving, knots, and trimming.
Step-by-Step Construction Guide
Follow this detailed process to create a secure, tightly braided paracord leash using the cobra weave—a popular choice for its strength and aesthetic appeal.
- Prepare the hardware: Attach the carabiner or snap hook to your anchor point. Measure and cut a 12-inch piece of paracord to serve as the lanyard loop at the handle end.
- Create the handle loop: Fold the 12-inch piece in half and tie a square knot around the metal ring of the snap hook. This forms a secure base for the main braid.
- Begin the cobra weave: Take the main paracord strand and feed it through the looped end, leaving a 6-inch tail. Secure the tail with a temporary overhand knot. Clip the working end to a fixed surface using the alligator clip.
- Weave the first row: Bring the working cord under the snap hook loop, then over both sides and back through the center. Pull tight. Repeat across the entire width of the loop to form the first row of cobra stitch.
- Continue the body braid: Move down the length, maintaining consistent tension. Each stitch should sit snugly against the previous one. Aim for uniformity—this enhances both appearance and structural integrity.
- Maintain length control: Stop weaving when you reach approximately 42 inches from the handle. This leaves space for the final knot and attachment loop.
- Finish with a stopper knot: Tie a tight barrel knot or monkey’s fist knot at the end to prevent unraveling. Trim excess and melt the ends carefully with a lighter to seal the fibers.
- Inspect and test: Gently tug the leash along its entire length to check for loose weaves or weak spots. Ensure the hardware moves freely and the knots hold firm.
Design Options and Customization Ideas
One of the greatest advantages of a DIY paracord leash is personalization. You’re not limited to single-color designs. Consider these creative variations:
- Two-tone patterns: Alternate between two colors every few rows for a striped effect.
- Spiral weave: Use a different knotting technique to create a helix pattern along the leash.
- Reflective thread: Weave in luminous paracord sections for nighttime visibility.
- Name tags: Incorporate a small braided ID sleeve near the handle.
- Handle texture: Add thicker wraps or diamond knots for improved grip comfort.
For larger dogs, consider doubling the core by inserting additional inner cords during weaving. This increases load capacity without sacrificing flexibility.
Do’s and Don’ts of Paracord Leash Building
| Do’s | Don’ts |
|---|---|
| Use UV-resistant paracord if used frequently outdoors | Don’t skimp on hardware quality—weak clasps fail first |
| Seal all cut ends to prevent fraying | Don’t rush the weave; uneven tension causes weak spots |
| Test the leash with gradual pressure before full use | Don’t expose to open flames or extreme heat |
| Wash occasionally with mild soap and air dry | Don’t machine wash or tumble dry |
Real-World Example: A Hiker’s Reliable Companion
Mark, an avid hiker from Colorado, built a 550 paracord leash for his German Shepherd, Rex, after losing two commercial leashes to rugged terrain and snowmelt moisture. Using tan and black cord in a spiral pattern, he added a reflective middle stripe and reinforced the handle with extra wraps for winter glove compatibility. Over 14 months of daily use—including river crossings and alpine trails—the leash showed no signs of wear. “It’s lighter than my old nylon one, dries fast, and hasn’t faded,” Mark said. “Plus, I’ve got 30 feet of emergency cord hidden inside if needed.”
Frequently Asked Questions
Can a paracord leash safely handle large dogs?
Yes, provided it’s properly constructed. A tightly woven cobra braid using genuine 550 paracord can support far more than the average pull from even a 100-pound dog. Reinforce the handle and attachment points with additional knots for heavier breeds.
How do I clean a paracord dog leash?
Hand wash with lukewarm water and mild detergent. Soak for 10–15 minutes, gently scrubbing stained areas. Rinse thoroughly and hang to dry away from direct sunlight. Avoid bleach or fabric softeners.
What if the leash starts to fray?
Minor fraying can be addressed by re-melting the affected end. If the braid itself loosens, inspect for broken inner strands. Small repairs can be made with a needle and matching thread, but extensive damage warrants rebuilding.
Final Thoughts and Call to Action
Crafting a durable dog leash from 550 paracord blends utility with craftsmanship. Beyond providing a dependable walking companion for your pet, it gives you peace of mind knowing every knot and fiber was placed with intention. Whether you're preparing for outdoor adventures or simply want a unique, long-lasting leash, this DIY approach offers unmatched value and satisfaction.
🚀 Ready to make your own? Gather your paracord and hardware today—your dog deserves a leash as tough and unique as they are. Share your finished design online and inspire others to build smarter, stronger pet gear!