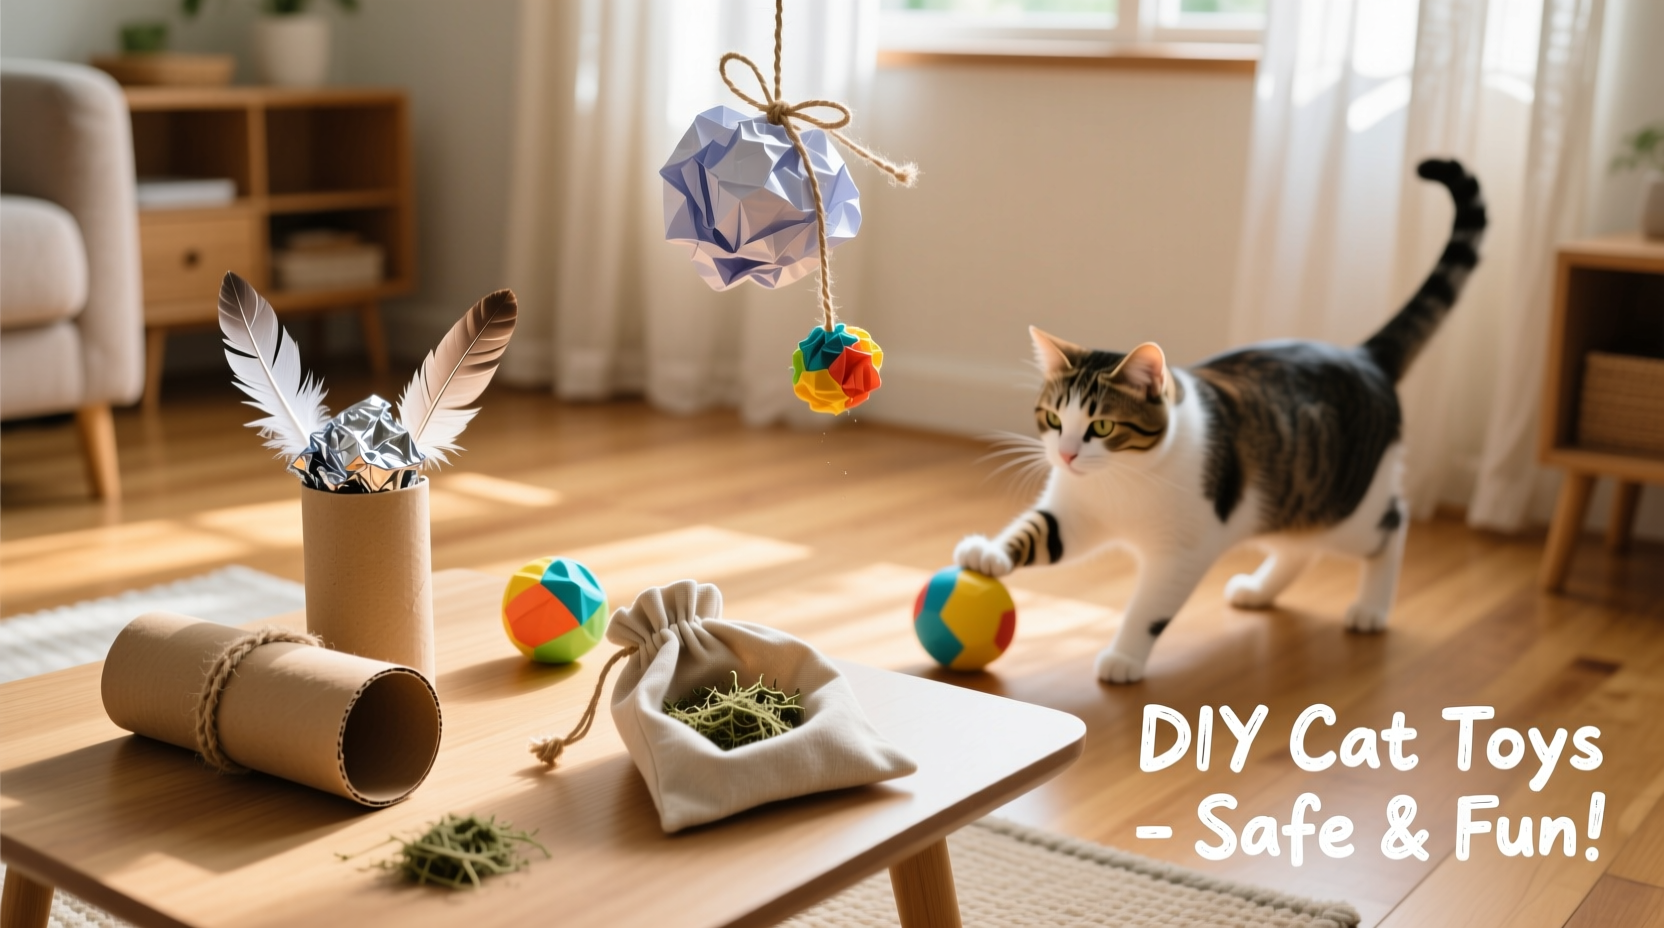
Cats are natural hunters with sharp instincts, but indoor living can dull their senses without proper stimulation. Boredom leads to destructive behavior, excessive meowing, or even health issues. The good news? You don’t need expensive gadgets or specialty stores to keep your feline engaged. With a few common household items and a bit of creativity, you can craft safe, fun, and enriching toys that tap into your cat’s primal instincts—pouncing, chasing, batting, and exploring.
The key is safety: avoid small parts, toxic materials, or anything that could be swallowed. When done right, DIY cat toys aren’t just budget-friendly—they’re often more effective than store-bought versions because they’re tailored to your cat’s preferences.
Why DIY Cat Toys Work Better Than Store-Bought
Commercial cat toys often follow trends rather than feline psychology. Many are overdesigned, noisy, or made with synthetic scents that cats find off-putting. In contrast, simple homemade toys mimic the movement and texture of real prey—something cats respond to instinctively.
Dr. Lydia Miele, a certified feline behavior consultant, explains:
“Cats are drawn to unpredictability and subtle motion. A crumpled paper ball rolling under a couch looks like fleeing prey. That’s more exciting than a plastic mouse on a spring.” — Dr. Lydia Miele, Feline Behavior Specialist
DIY toys also allow you to rotate options regularly, preventing habituation—a major cause of toy rejection. Plus, making them strengthens your bond with your pet through interactive play.
Essential Safety Guidelines for Homemade Cat Toys
Before diving into projects, prioritize safety. Cats explore with their mouths, so every toy must pass the “chew test.”
Tip: Always supervise your cat during initial play sessions with new DIY toys to ensure they don’t chew or swallow unsafe components.- No small detachable parts: Buttons, beads, or loose strings can become choking hazards.
- Avoid toxic materials: Never use glue, paint, or adhesives unless labeled non-toxic and fully dried.
- Check for wear daily: Replace any toy showing fraying, tearing, or stuffing leakage.
- Limit string and yarn: Only use under supervision; never leave unattended due to entanglement or ingestion risks.
- Wash regularly: Cloth-based toys should be cleaned weekly to prevent bacteria buildup.
Creative DIY Toy Ideas Using Household Items
You likely have everything you need already. Below are five proven designs, ranked by ease and effectiveness.
1. Crinkle Ball from Recycled Paper
Tightly crumple a sheet of scrap paper or used parchment paper into a golf-sized ball. The irregular shape and crinkling sound mimic rustling leaves or scurrying rodents.
Tip: Add a pinch of catnip inside the ball before crumpling for extra appeal.2. Toilet Paper Roll Treat Puzzle
Take an empty toilet paper roll, fold one end shut, insert kibble or treats, then fold the other end. Watch your cat bat and roll it until food falls out. This encourages problem-solving and mimics hunting effort.
3. Sock-on-a-Rope Wand Toy
Cut the foot off an old cotton sock, stuff it lightly with polyester fiberfill (or clean scraps), tie a knot, then securely attach it to a wooden dowel or broom handle using strong twine. Wave it like a snake for dynamic chase play.
4. Cardboard Box Maze
Use leftover shipping boxes to create tunnels and compartments. Cut entry holes at different heights, stack boxes, and connect them with tape. Place toys or treats inside to encourage exploration.
5. Water Bottle Cap Rattle
Collect clean plastic bottle caps. Link three together with non-stretchy thread and hang from a stick or doorjamb. The soft clinking noise draws attention without being jarring.
Do’s and Don’ts of DIY Cat Toy Making
| Do | Don't |
|---|---|
| Use plain cardboard, paper, or cotton fabric | Use staples, pins, or metal fasteners |
| Add catnip or silvervine for scent enrichment | Glue small parts that could detach |
| Rotate toys weekly to maintain novelty | Leave string toys unattended |
| Test toys for sharp edges or loose threads | Use balloons or plastic bags (choking risk) |
| Involve children in safe crafting (under supervision) | Assume all “cute” designs are cat-safe |
Step-by-Step: Build a Cardboard Cat Castle in 30 Minutes
Transform unused packaging into a stimulating hideout. Here’s how:
- Gather materials: 3–5 sturdy cardboard boxes, packing tape, box cutter, ruler, and a pen.
- Plan layout: Sketch a simple design with at least two rooms and multiple entrances.
- Cut entryways: Make 6–8 inch circular or oval holes at varying levels on each box side.
- Assemble structure: Stack and tape boxes together, ensuring stability. Leave one box open for easy cleaning.
- Enhance engagement: Drape a lightweight towel over part of the structure for a “cave” effect. Tuck a crinkle ball inside.
- Introduce gradually: Let your cat sniff and explore. Reward with treats near entrances to build positive association.
Real Example: How Maya the Shy Rescue Learned to Play
Maya, a 3-year-old domestic shorthair adopted from a shelter, was withdrawn and rarely moved from her bed. Her owner, Jenna, tried several commercial toys with no success. After learning about sensory enrichment, she built a low-height cardboard maze with hidden treat pockets.
At first, Maya only sniffed the entrance. But within days, she began nudging the walls and eventually chased a paper ball through the tunnels. Within two weeks, her activity level doubled, and she started initiating play. “It wasn’t the toy itself,” Jenna said. “It was giving her a space where she felt safe enough to explore.”
DIY Cat Toy Checklist
Before finalizing any toy, run through this checklist:
- ✅ All materials are non-toxic and pet-safe
- ✅ No small or loose parts that could be swallowed
- ✅ Edges are smooth and free of splinters or sharp corners
- ✅ Toy moves unpredictably (encourages pouncing)
- ✅ Easy to clean or replace
- ✅ Supervised during first use
- ✅ Stored safely when not in use (away from chewing dogs or toddlers)
Frequently Asked Questions
Can I use rubber bands in DIY cat toys?
No. Rubber bands pose a severe ingestion hazard. If swallowed, they can cause intestinal blockages. Opt for knotted fabric strips instead for stretchy textures.
How often should I rotate DIY toys?
Every 5–7 days. Cats lose interest quickly. Store unused toys in a bin and reintroduce them after a few weeks—they’ll seem new again.
Are plastic bottles safe for cat toys?
Only if completely sealed and supervised. A water bottle with caps removed and filled with coins can rattle enticingly, but never let your cat chew it. Discard immediately if cracked.
Final Thoughts: Enrichment Is Part of Responsible Care
Mental stimulation is as vital as food and vet visits. A cat that plays is a cat that thrives—less stressed, more confident, and physically healthier. The beauty of DIY toys lies not in perfection but in intention. You don’t need crafting skills, just observation and care.
Start small: today, crumple a piece of paper and toss it gently across the floor. Watch your cat’s ears twitch. That flicker of curiosity is the start of something powerful. Tomorrow, build a tunnel. Next week, invent a new puzzle. Each creation deepens your understanding of your cat’s unique personality.
💬 What household item has surprised you by becoming your cat’s favorite toy? Share your story and inspire others to see the playful potential in everyday things!