
Cats thrive on movement, texture, and surprise—elements often found in the simplest objects. While store-bought toys have their place, nothing captures a cat’s attention quite like a handmade creation made from everyday materials. Cardboard, in particular, is an ideal medium: it’s inexpensive, widely available, and completely non-toxic when used appropriately. With just a few tools and some creativity, you can transform discarded boxes into engaging playthings that stimulate your cat’s instincts and enrich their daily life.
Beyond entertainment, DIY cardboard toys support mental health in cats by encouraging hunting behaviors, reducing boredom, and preventing destructive habits. This guide walks through five inventive yet simple toy designs, complete with step-by-step instructions, safety tips, and real-life insights to ensure both you and your feline companion enjoy the process.
Why Cardboard Works Wonders for Cats
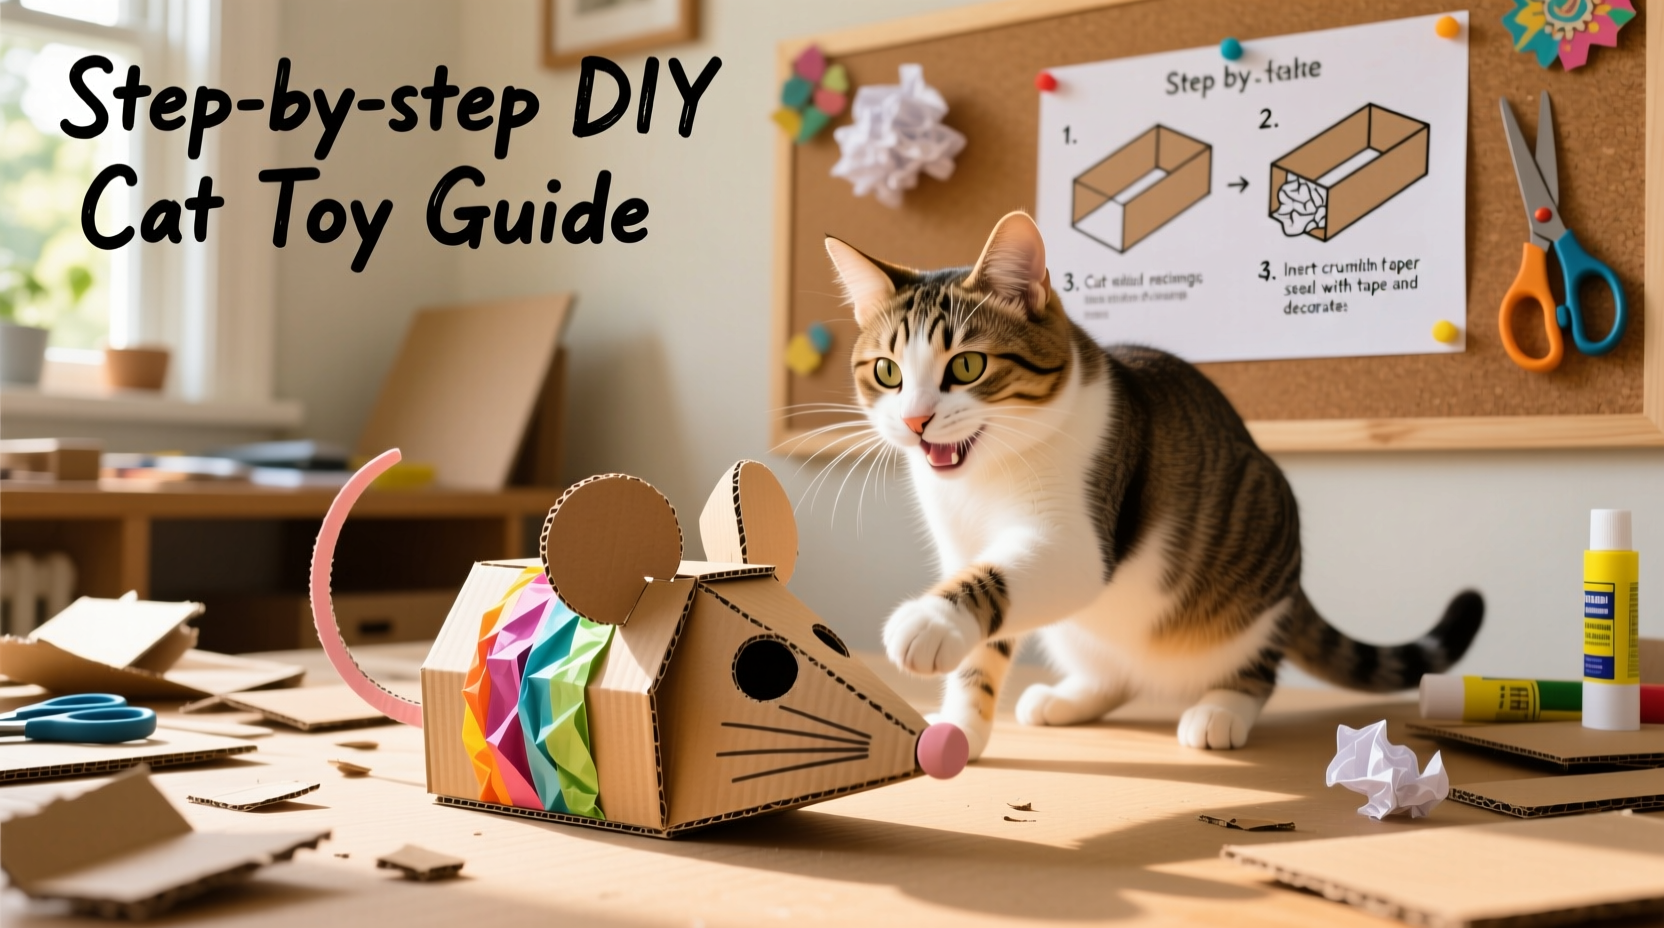
The appeal of cardboard goes beyond its accessibility. Its rough texture satisfies scratching urges, its crinkly sound mimics prey movements, and enclosed shapes provide secure hiding spots—key elements in feline environmental enrichment. According to Dr. Sarah Thompson, a certified feline behavior consultant:
“Cats are natural predators who need outlets for stalking, pouncing, and exploring. Simple cardboard structures activate these instincts without overstimulating them.” — Dr. Sarah Thompson, Feline Behavior Specialist
Unlike plastic or fabric toys, cardboard allows for customization and quick replacement. It also absorbs your cat’s scent, making it more familiar and comforting over time. When designed thoughtfully, cardboard toys double as both play items and stress-reducing sanctuaries.
Essential Materials and Safety Guidelines
Before starting any project, gather basic supplies. Most are likely already at home:
- Corrugated cardboard (from shipping boxes or packaging)
- Non-toxic glue or masking tape
- Scissors or utility knife
- Ruler and pencil
- Hole punch (optional)
- Natural twine or jute string (avoid synthetic strings that can fray)
- Organic catnip (optional)
Avoid glossy or wax-coated cardboard, which may contain chemicals. Never use adhesives containing solvents or strong fragrances. Supervise initial play sessions to ensure your cat doesn’t chew off large pieces.
Step-by-Step Guide to 5 Creative Cardboard Cat Toys
1. The Crinkle Tunnel Maze
A multi-chambered tunnel encourages exploration and ambush play.
- Cut four identical rectangles: 12” x 18” each.
- Score along the 12-inch side every 3 inches to create accordion folds.
- Fold and glue/tape edges to form semi-circular arches.
- Connect each arch end-to-end using tape, leaving small gaps between sections.
- Sprinkle crushed dried silvervine or catnip inside each chamber.
This collapsible design fits under furniture and unfolds for active play. The crinkling noise triggers curiosity, while peek-a-boo gaps invite pouncing.
2. Puzzle Box with Moving Balls
Mental stimulation meets physical activity in this interactive feeder-style toy.
- Take a shoebox and remove the lid.
- Cut three 2-inch wide slits across the top (long side), spaced evenly.
- Roll up two smaller cardboard strips into tubes and insert through opposite slits to act as rollers.
- Place lightweight balled-up paper or ping pong balls on top.
- Encourage your cat to bat the balls, watching them roll unpredictably.
To increase difficulty, add holes on the sides where treats can fall out after sufficient nudging.
3. Scratch & Shred Mat
Satisfy clawing instincts safely with a replaceable shredding surface.
- Collect several sheets of corrugated cardboard.
- Stack them vertically so the fluted (ridged) side faces up.
- Cut into a 10” x 10” square bundle.
- Secure corners with non-toxic glue or small staples (ensure no sharp ends).
- Place near resting areas or alongside existing scratching posts.
The exposed flutes shred easily under claws, providing tactile feedback cats love. Replace monthly or when heavily worn.
4. Peekaboo Window Box
Turn a standard box into an observation deck with hidden surprises.
- Select a medium-sized box with a lid (e.g., cereal box size).
- Cut viewing windows on all four sides, about 2” x 2”, staggered at different heights.
- Thread a loop of jute string through the top center to hang securely on a doorknob or shelf.
- Inside, attach dangling ribbons or tie a bell (ensuring it's fully enclosed in fabric).
- Add a pinch of organic catnip beneath one window flap.
This toy combines visual stimulation with scent and touch, keeping curious cats engaged for extended periods.
5. Rolling Mouse Tube
A self-propelled “prey” simulation built entirely from scrap rolls.
- Use empty toilet paper or paper towel rolls.
- Fill one roll halfway with dried peas or lentils (sealed with tape) to create rattling motion.
- Wrap the exterior in black felt scraps or draw eyes/whiskers with non-toxic markers.
- Link multiple silent rolls behind it with short strings to mimic a wiggling trail.
- Place on a smooth floor and give a gentle push.
The erratic rolling pattern simulates escaping prey, triggering high-intensity chases ideal for exercise.
Checklist: Building Safe and Engaging DIY Cat Toys
- ☐ Remove all staples, tape residue, and glossy coatings from cardboard
- ☐ Use only pet-safe adhesives and dyes
- ☐ Avoid small parts that could be swallowed
- ☐ Inspect toys weekly for wear and tear
- ☐ Rotate toys every 7–10 days to maintain novelty
- ☐ Introduce new toys gradually during relaxed moments
- ☐ Supervise first interactions, especially with moving components
Real Example: How Mia Transformed Her Kitten’s Behavior
Mia, a pet owner from Portland, noticed her 6-month-old kitten Luna was excessively biting furniture and curtains. After consulting her vet, she learned this stemmed from unmet predatory needs. She began crafting cardboard tunnels and puzzle boxes using old delivery packages.
Within two weeks, Luna shifted focus from household items to the new toys. “She spends nearly 20 minutes chasing the rolling mouse,” Mia shared. “And she naps inside the tunnel now—it’s become her safe zone.”
This case highlights how targeted enrichment reduces stress-related behaviors while strengthening the human-cat bond.
Do’s and Don’ts of DIY Cat Toy Making
| Do’s | Don’ts |
|---|---|
| Use untreated, corrugated cardboard | Use colored inks or laminated surfaces |
| Incorporate natural textures like sisal or crinkle paper | Attach loose bells or small beads that can detach |
| Design for easy disassembly and recycling | Create enclosed spaces too tight for escape |
| Add cat-safe scents like nepeta or valerian root | Leave sharp edges or protruding fasteners |
| Rotate toys regularly to sustain interest | Leave string-based toys unsupervised for long durations |
FAQ
How often should I replace homemade cardboard toys?
Inspect weekly. Replace immediately if they become soggy, torn, or start shedding fibers. On average, expect 2–4 weeks of regular use before needing renewal.
Can I make waterproof cardboard toys?
No—waterproofing agents often involve chemicals unsafe for pets. Instead, keep toys in dry areas and discard if damp. For wet environments, consider dedicated washable toys.
Are there cats that won’t play with DIY toys?
Some cats are less playful due to age, health, or personality. Start with scent-enhanced options (like catnip-infused tunnels) and engage alongside them to spark interest. Patience and repetition often yield results.
Final Thoughts
Creating DIY cat toys from cardboard isn’t just economical—it’s an act of care. Each cut, fold, and assembly reflects attention to your cat’s emotional and physical well-being. These simple projects foster deeper connections, reduce environmental waste, and deliver endless joy in unexpected forms.
💬 Ready to delight your cat? Grab a spare box today and build your first toy. Share your creations online and inspire others to turn trash into purr-fect playtime!