
Keeping your dog’s leash organized doesn’t have to mean buying a mass-produced wall mount. With a little creativity and basic crafting skills, you can build custom, long-lasting hooks that reflect your style and meet your household’s needs. Whether you’re working with wood, metal, or upcycled materials, these DIY solutions offer both function and charm. From rustic farmhouse designs to sleek modern styles, the right leash hook keeps essentials within reach while protecting walls and preventing clutter.
Why Build Your Own Dog Leash Hook?
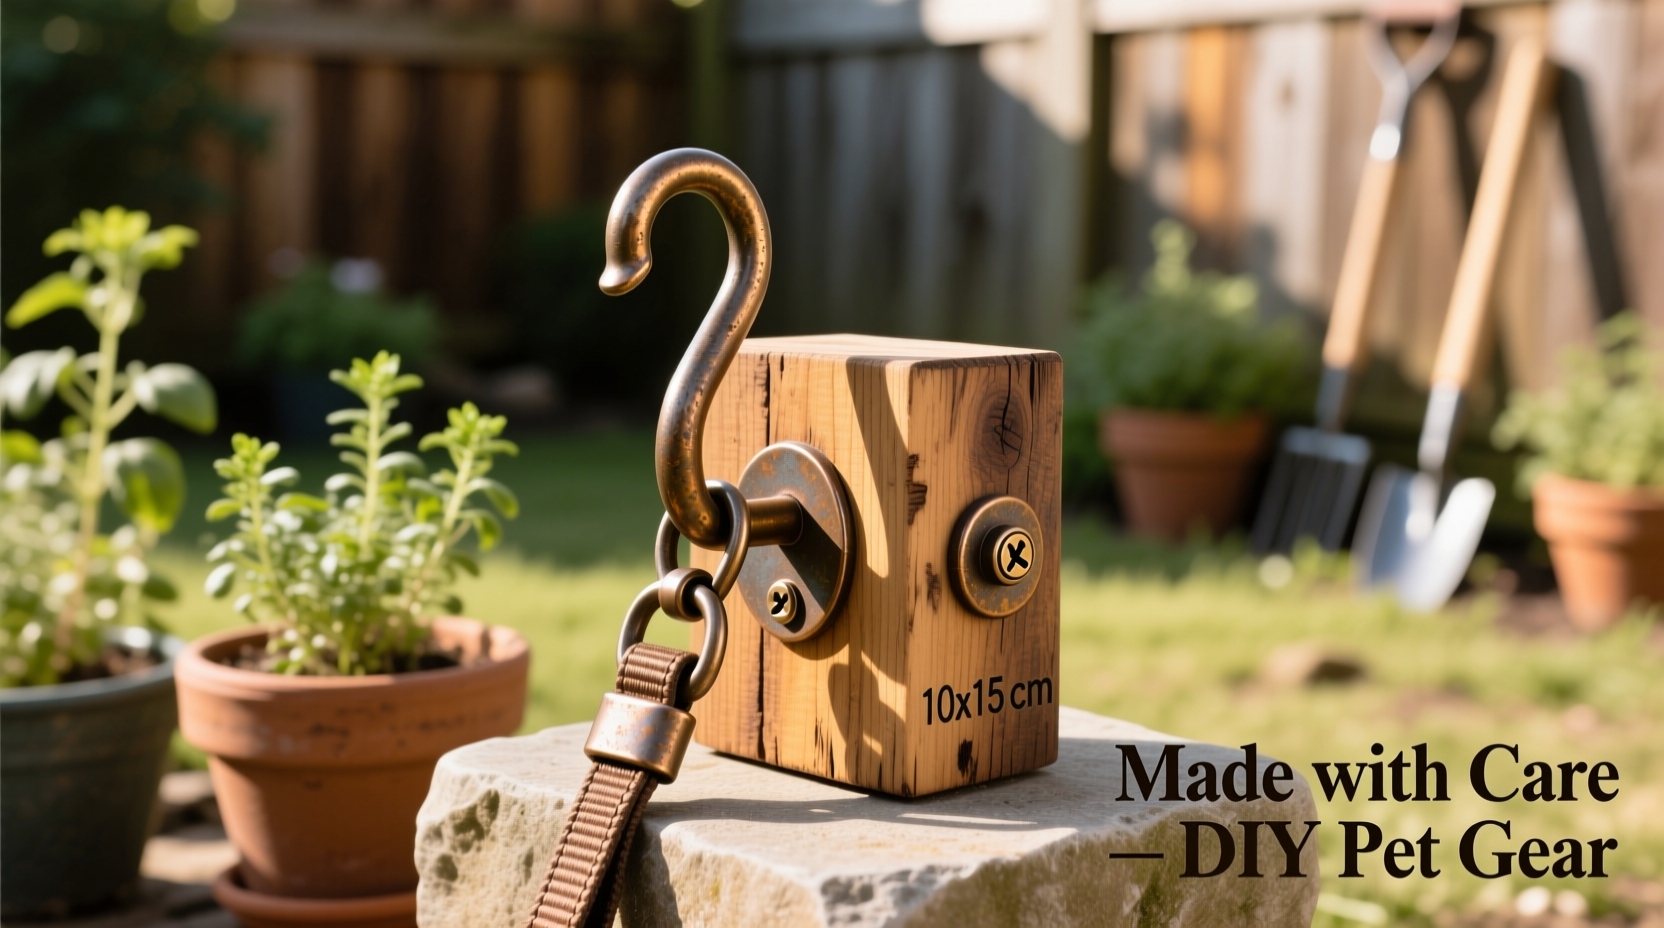
Store-bought hooks are convenient, but they often lack durability or aesthetic appeal. A homemade version allows full control over design, size, and materials. You can tailor the hook to match your home’s decor, reinforce it for heavy leashes or multiple dogs, and even incorporate additional storage for waste bags, collars, or treats. Plus, building one yourself is cost-effective and environmentally friendly—especially when repurposing scrap wood or old hardware.
“Custom-built hooks not only serve a practical purpose but also become part of a home’s character.” — Jordan Fields, Pet Lifestyle DesignerTip: Always anchor your hook into a wall stud or use heavy-duty drywall anchors to support weight from large dogs’ leashes.
Durable Materials for Long-Lasting Hooks
The strength of your DIY leash hook depends largely on the materials used. Choose wisely based on where the hook will be installed and how much stress it will endure.
| Material | Pros | Cons | Best For |
|---|---|---|---|
| Hardwood (e.g., oak, maple) | Natural beauty, high strength, easy to shape | Requires sealing; can warp if untreated | Indoor entryways, decorative spaces |
| Steel or Iron Pipe Fittings | Extremely durable, industrial look, rust-resistant options | Heavier, harder to install without tools | Kennels, mudrooms, garages |
| Reclaimed Barn Wood | Eco-friendly, unique texture, aged charm | May need sanding or treatment | Rustic homes, farmhouse entries |
| Upcycled Tools or Handles | Creative reuse, conversation starter | Limited structural reliability | Light-duty use, accent pieces |
5 Creative DIY Dog Leash Hook Ideas
1. The Reclaimed Wood Slat with Metal Hooks
Cut a piece of barn wood or pallet board into a rectangle (about 12” x 4”). Sand thoroughly and apply outdoor-grade sealant. Attach two or three heavy-duty cup hooks using a drill. Mount with screws into wall studs. This version works beautifully near back doors or in mudrooms.
2. Pipe Flange Wall Hook
Use a threaded iron pipe flange, a short length of black iron pipe, and a cap. Screw the flange to a wooden backplate or directly into the wall stud. Thread the pipe into the flange and secure the cap on top. The exposed threads act as a gripping point for leashes. This industrial-style hook withstands years of use.
3. Vintage Doorknob Hook
Repurpose an old glass or brass doorknob by attaching a mounting plate to its base. Secure it to a hardwood block mounted on the wall. Loop the leash around the knob’s neck. This elegant option suits traditional or vintage-themed homes.
4. Tree Branch Hook
Select a sturdy, dried branch with natural forks. Cut to about 10–14 inches and seal with polyurethane. Drill small holes through the thickest sections and insert screw eyes for hanging. Mount horizontally using L-brackets. Each hook is one-of-a-kind and blends seamlessly into nature-inspired interiors.
5. Upcycled Wrench or Tool Hook
Find an old adjustable wrench or pliers at a thrift store. Clean and spray-paint it matte black or bright color. Bolt it vertically to a wall-mounted wood block using the tool’s original hole. The handle forms a perfect loop for a leash. Ideal for workshops or playful pet owners.
Tip: Test paint adhesion on metal tools by lightly sanding before painting. Use rust-inhibiting primer for longevity.Step-by-Step: Building a Hardwood & Steel Hook Unit
This project combines natural warmth with industrial strength. Estimated build time: 90 minutes. No advanced woodworking experience required.
- Gather materials: 12” oak board (¾” thick), 3 stainless steel cup hooks (2” long), wood stain, clear sealant, 2-inch wood screws, stud finder, drill, screwdriver.
- Prepare the wood: Sand all edges smooth. Apply wood stain evenly and let dry for 4 hours. Seal with two coats of water-resistant finish, drying between layers.
- Mark hook positions: Measure and mark three evenly spaced points along the bottom edge, starting 1 inch from each end.
- Install cup hooks: Pre-drill small pilot holes. Screw in cup hooks by hand first, then tighten with pliers if needed.
- Mount the board: Locate wall studs using a stud finder. Align the board and secure it with two screws driven through pre-drilled holes at the top corners.
- Test stability: Hang a fully loaded leash and gently tug to ensure no movement.
Common Mistakes to Avoid
- Using weak anchors in drywall: Never rely on plastic anchors for heavy leashes. Opt for toggle bolts or find a stud.
- Skipping moisture protection: Entryways are prone to humidity. Sealing wood prevents warping and mold.
- Overcrowding hooks: Allow at least 3–4 inches between hooks to prevent tangles and wear.
- Ignoring leash weight: Thick, wet leashes add significant load. Design accordingly with reinforced materials.
Mini Case Study: The Rainy Day Solution
Sarah, a dog owner in Seattle, struggled with muddy leashes dripping onto her hallway floor. She built a wall-mounted cedar board with three downward-facing cup hooks and added a small tray beneath to catch moisture. By staining the wood with a mildew-resistant finish and angling the hooks slightly forward, she created a system that kept leashes off the ground and allowed airflow for drying. Six months later, the unit remains intact despite daily use by her two Labrador retrievers.
Checklist: Before You Install Your DIY Hook
- Confirm the wall type (drywall, plaster, wood panel) and choose appropriate fasteners.
- Locate and mark wall studs for maximum support.
- Ensure the hook height is accessible—ideally between 36” and 48” from the floor.
- Verify all materials are sealed against moisture if placed near exterior doors.
- Test the installation with weight before regular use.
Frequently Asked Questions
Can I paint my wooden hook instead of staining it?
Yes, but use exterior-grade paint and finish with a clear protective topcoat to resist chipping and moisture damage. Matte or satin finishes hide scratches better than gloss.
How many hooks should I install?
One per dog is ideal. If space is limited, use double-ended hooks or stagger placement vertically. Avoid stacking leashes on a single hook to reduce strain and tangling.
Are pipe fittings safe for indoor use?
Galvanized or black iron pipes are safe indoors once sealed. To prevent rust, avoid humid areas unless coated with enamel or clear lacquer.
Final Thoughts
A well-crafted DIY dog leash hook does more than hold gear—it reflects care for your home and your pet. These projects take just a few hours but deliver lasting value. Whether you choose rugged steel, warm wood, or a quirky upcycled twist, the result is a personalized organizer built to last. Durability comes from smart materials and proper installation; creativity comes from you.
🚀 Grab your tools this weekend and build a leash hook that works as hard as you do. Share your creation online and inspire others to organize with purpose!