A well-made paracord dog leash isn’t just functional—it’s a reliable companion for daily walks, hikes, and training sessions. Parachute cord, or paracord, is known for its high tensile strength, resistance to abrasion, and versatility. With a breaking strength of around 550 pounds, it’s more than capable of handling even the most energetic dogs. Crafting your own 4-foot paracord leash allows you to customize length, color, and grip while building something far more durable than many store-bought options. This guide walks you through every stage of construction, from selecting materials to finishing techniques that ensure longevity.
Why Build Your Own Paracord Leash?
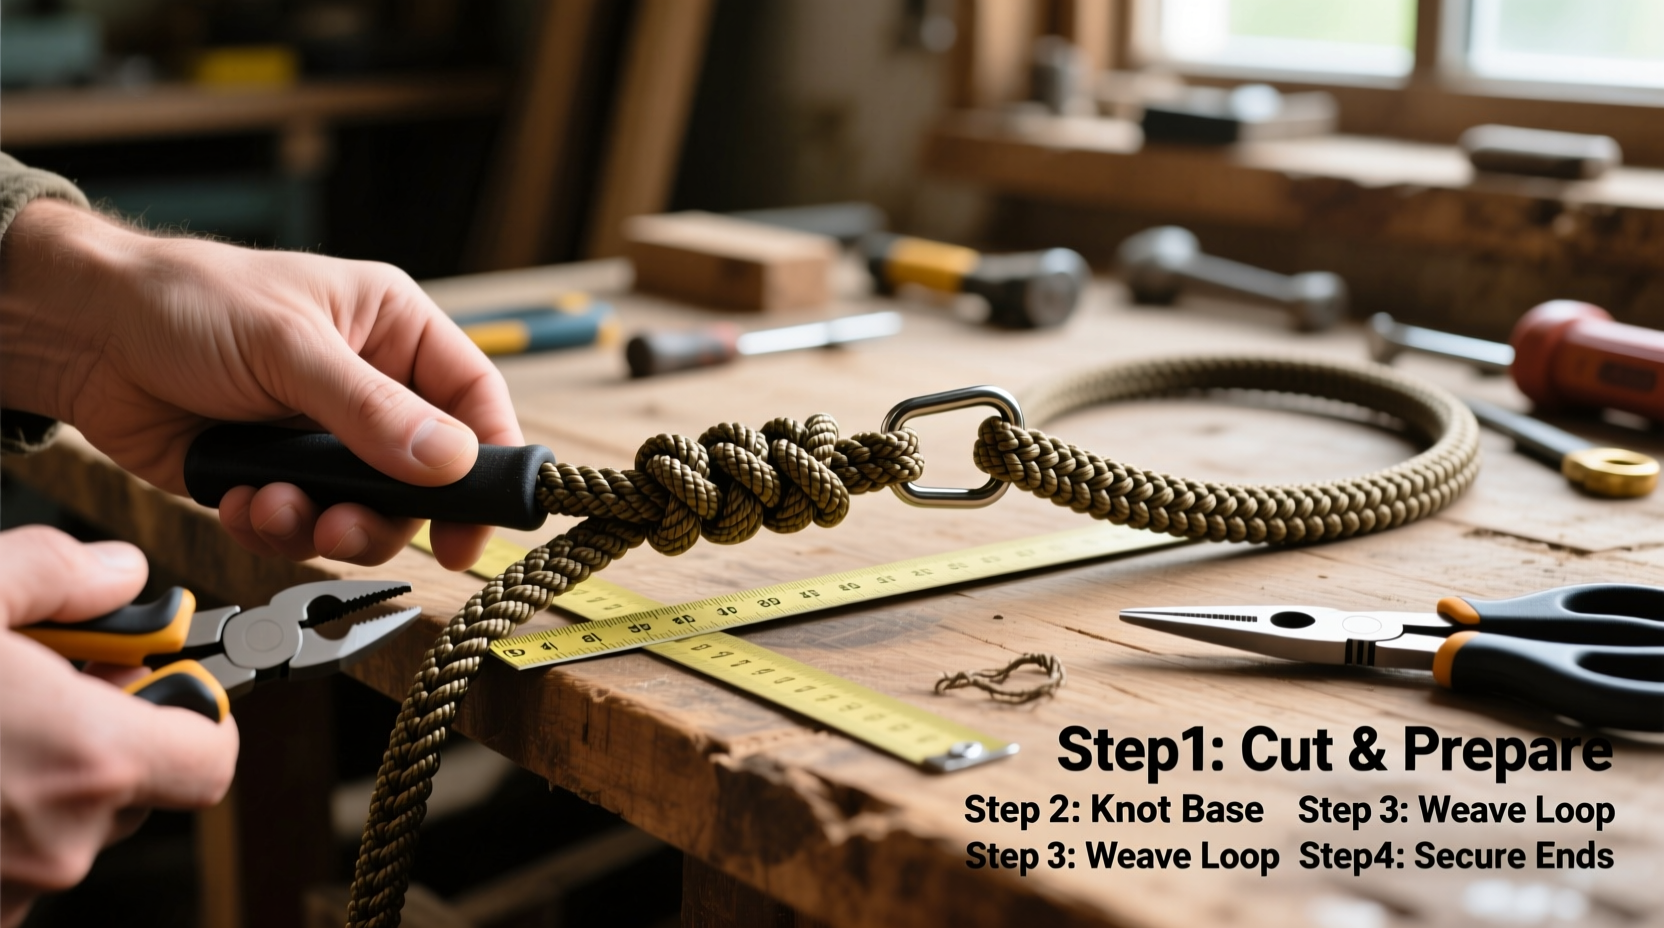
Commercial leashes often use lightweight materials that degrade over time, especially when exposed to moisture, dirt, or constant pulling. A handmade paracord leash offers superior durability, comfort, and personalization. You control the quality of materials, the thickness of the braid, and the design. Additionally, paracord leashes are water-resistant, mildew-resistant, and can be unraveled in emergencies to provide cordage for survival situations—a practical bonus for outdoor enthusiasts.
“Handcrafted gear builds confidence. When you know exactly how something was made and what it can endure, you trust it more—especially with your dog’s safety on the line.” — Jordan Hale, Wilderness Guide & Outdoor Educator
Materials and Tools Checklist
Before beginning, gather all necessary components. Using the right tools ensures clean work and reduces frustration during braiding.
Tip: Use military-spec Type III paracord (550 cord) for maximum strength and consistency.- 100 feet of 550 paracord (Type III) – two colors recommended for visual appeal
- One heavy-duty metal carabiner or bolt snap (rated for at least 500 lbs)
- Lighter or matches (for sealing cut ends)
- Measuring tape or ruler
- Masking tape or clips (to secure work)
- Work surface with clamping ability (or a door anchor)
- Scissors or utility knife
- Lighter fluid (optional, for controlled flame)
Step-by-Step Construction Process
Building a 4-foot paracord leash using a diamond braid (also known as a cobra weave) provides both strength and ergonomic comfort. Follow these steps precisely for best results.
- Measure and Cut the Core Cord: Cut a 4.5-foot section of paracord to serve as the inner core. This will run through the center and add structural integrity.
- Attach the Snap Hook: Thread one end of the core through the carabiner or bolt snap. Fold it back about 2 inches and tie a tight barrel knot or double fisherman’s knot to secure it. Trim excess and melt the end to prevent fraying.
- Prepare the Outer Cords: Cut two strands of paracord, each 50 feet long. These will form the outer braid. Using two colors enhances visibility and aesthetics.
- Begin the Diamond Braid: Center one of the 50-foot cords over the secured core near the snap. This creates a loop at the base. Use this loop to start the cobra weave:
- Bring the left strand over the core and up through the loop on the right.
- Bring the right strand over the core and up through the new loop formed on the left.
- Pull both strands tight to form the first interlock.
- Continue Braiding: Repeat the over-and-up motion consistently down the length of the leash. Keep tension even but not overly tight—this prevents kinking and ensures smooth handling.
- Maintain Length Accuracy: Stop braiding at exactly 4 feet from the snap. Use tape to mark this point early to avoid overshooting.
- Finish the Handle End: Once the 4-foot length is complete, tie off with a barrel knot or whipping knot. Trim excess and seal all cut ends with a lighter to prevent unraveling.
- Test for Strength: Apply firm pressure to both ends to simulate strain. Inspect knots and braid integrity before first use.
Design Options and Customization
The beauty of a DIY paracord leash lies in personal expression. Consider these variations:
| Feature | Option | Benefit |
|---|---|---|
| Braid Style | Cobra, King Cobra, Fishtail | Knot density affects grip and flexibility |
| Color Pattern | Two-tone, tri-color, camo | Improved visibility or aesthetic appeal |
| Handle Thickness | Sparse or tight braid | Thicker = more cushion, tighter = stronger |
| Length Adjustment | 3.5 ft or 5 ft | Shorter for control, longer for freedom |
For dogs that pull heavily, consider adding an extra core strand inside the braid during construction. This triples the internal load-bearing capacity without significantly increasing bulk.
Real-World Example: Max’s Mountain Leash
Taylor, an avid hiker from Colorado, built a custom 4-foot paracord leash for her 70-pound Australian Shepherd, Max. She chose tan and black paracord in a king cobra braid for enhanced grip during steep trails. After six months of weekly mountain hikes, river crossings, and exposure to mud and snow, the leash showed no signs of wear. “I’ve had synthetic leashes fray after three uses,” she said. “This one looks brand new. Plus, I love telling people I made it myself.”
Care and Maintenance Tips
To extend the life of your handmade leash:
- Rinse with fresh water after exposure to salt, sand, or mud.
- Hang to dry completely before storage—never roll damp paracord.
- Inspect knots monthly for loosening or abrasion.
- Store in a cool, dry place away from direct sunlight to prevent UV degradation.
- Re-seal frayed ends immediately with a lighter.
“Paracord is tough, but neglect is its biggest enemy. A quick rinse and proper drying go a long way.” — Dana Ruiz, Search and Rescue Team Lead
Frequently Asked Questions
Can I make this leash shorter or longer than 4 feet?
Absolutely. Adjust the braid length accordingly. For a 3-foot leash, reduce outer cord to 40 feet per strand. For a 5-footer, use 60 feet. Maintain at least a 1:10 cord-to-leash ratio for full coverage.
Is paracord safe for puppies or small dogs?
Yes, but adjust the braid tightness and handle diameter for comfort. Smaller dogs benefit from a slimmer profile. Use softer colors and smoother finishes to avoid irritation.
What if my dog chews on the leash?
Paracord is not chew-proof. If your dog exhibits chewing behavior, supervise closely and consider a nylon leash for primary use. The paracord leash can be reserved for training or backup.
Final Thoughts and Call to Action
Creating a 4-foot paracord dog leash is more than a craft project—it’s an investment in reliability, safety, and personal satisfaction. With basic knot-tying skills and a few hours of focused work, you can produce a leash that outperforms most retail versions. Whether you’re preparing for rugged terrain, seeking a personalized gift, or simply enjoying the pride of handmade gear, this DIY build delivers on every front.
🚀 Grab your paracord and start braiding today. Share your finished leash design in the comments or tag us online—your creation might inspire the next adventurer!