A well-seasoned cast iron skillet is a kitchen heirloom—durable, versatile, and capable of developing a natural nonstick surface over time. But when rust appears, many home cooks assume the pan is beyond saving. That couldn’t be further from the truth. With the right approach, even a heavily rusted skillet can be revived to its former glory. Rust doesn’t mean failure; it’s simply a sign that moisture and oxygen found their way in. The good news? You can reverse the damage, reclaim the integrity of your cookware, and return it to reliable daily use.
This guide walks you through every step of rust removal, cleaning, re-seasoning, and long-term maintenance. Whether your skillet has light surface rust or deep pitting, the methods here are safe, effective, and rooted in both tradition and modern best practices.
Understanding Cast Iron Rust: Why It Happens
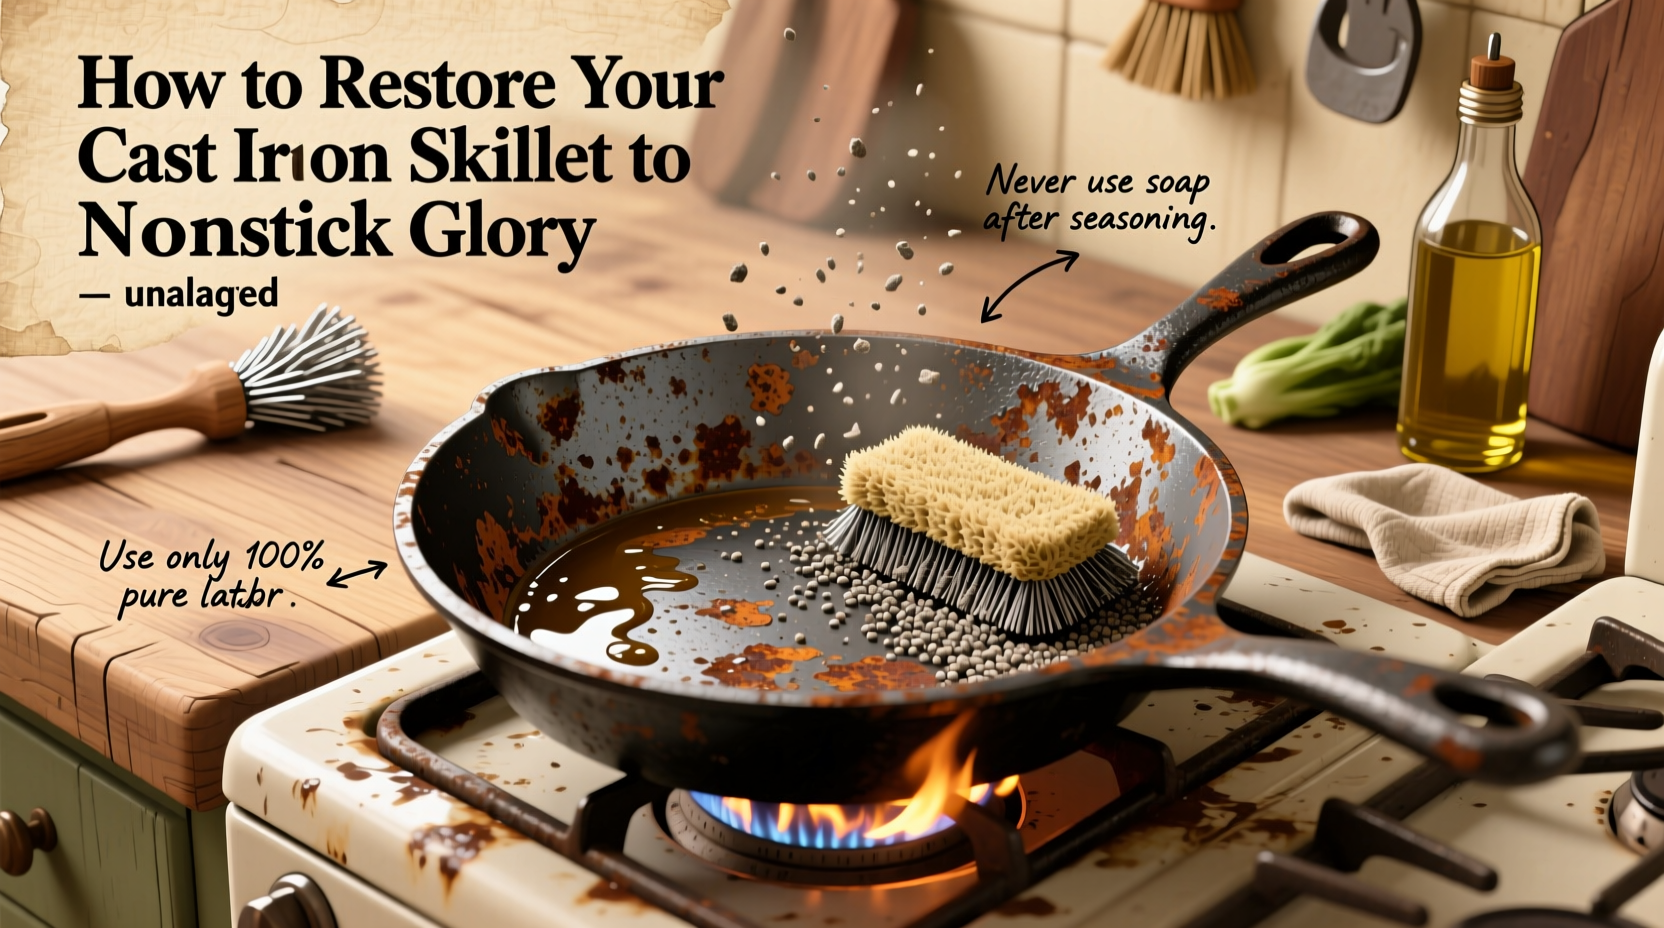
Cast iron is reactive. When exposed to water—especially if left wet—and air, oxidation occurs. This chemical reaction forms iron oxide, commonly known as rust. Unlike stainless steel or nonstick-coated pans, cast iron lacks a protective barrier unless properly seasoned. The seasoning layer—a polymerized oil coating—acts as a shield against moisture and corrosion.
Rust typically develops due to:
- Washing with soap and not drying immediately
- Storing the skillet while still damp
- Leaving acidic foods (like tomatoes) in the pan for extended periods
- Infrequent use without proper storage
The presence of rust doesn’t ruin the metal structure. In fact, most rust is superficial and removable. Even skillets pulled from garages or attics after years of neglect can often be restored with patience and the correct process.
Tip: Never soak a cast iron skillet in water. Clean it quickly, dry thoroughly, and apply a thin coat of oil after each use.Step-by-Step Guide to Rust Removal
Restoring a rusted cast iron skillet involves three core phases: removing the rust, cleaning the surface, and rebuilding the seasoning. Follow this timeline for best results.
- Assess the Rust Level: Light rust (orange speckles) requires minimal effort. Heavy rust (thick flakes or deep pits) may need aggressive scrubbing or sanding.
- Gather Supplies: Steel wool, stiff brush, vinegar, baking soda, coarse salt, paper towels, oven, vegetable oil (high smoke point), gloves.
- Scrub Off Loose Rust: Use a steel wool pad (grade 0000) or stiff nylon brush to remove flaky rust. Work in circular motions until the surface feels smooth.
- Vinegar Soak (for heavy rust): Submerge the skillet in equal parts white vinegar and water for 1–4 hours. Do not exceed 6 hours—vinegar eats metal too. Check periodically.
- Neutralize & Scrub: After soaking, rinse thoroughly and scrub again with a brush or sponge. To stop the acid reaction, dip the pan in a baking soda bath (1 tbsp per quart of water) for 5 minutes, then rinse.
- Dry Immediately: Place the skillet on the stove over low heat for 10–15 minutes to ensure all moisture evaporates.
- Sanding (if needed): For stubborn spots or deep pits, lightly sand with 200–400 grit sandpaper until smooth. Wipe clean with a lint-free cloth.
At this stage, your skillet should be bare metal—free of rust, debris, and old seasoning. It may look dull or uneven, but that’s expected. The next phase rebuilds protection from scratch.
Re-Seasoning: Building a Nonstick Surface from Scratch
Seasoning isn’t magic—it’s science. When oil is heated past its smoke point on cast iron, it undergoes polymerization, forming a hard, slick layer bonded to the metal. This layer prevents rust and creates natural nonstick performance.
Follow this method for a durable, long-lasting seasoning:
- Preheat your oven to 375°F–450°F (check oil smoke point).
- Apply a thin layer of high-smoke-point oil (grapeseed, sunflower, or flaxseed) using a paper towel.
- Wipe off excess—this is critical. Too much oil leads to sticky residue.
- Place the skillet upside down on the middle rack. Put a foil-lined baking sheet on the lower rack to catch drips.
- Bake for 1 hour, then turn off the oven and let cool inside.
- Repeat 2–3 times for a strong base layer.
After each cycle, the skillet will darken and feel smoother. Avoid cooking acidic foods for the first few uses as the seasoning stabilizes.
| Oils for Seasoning | Smoke Point | Pros | Cons |
|---|---|---|---|
| Flaxseed Oil | ~225°F | Forms hardest seasoning layer | Fragile; prone to flaking if applied thickly |
| Grapeseed Oil | ~420°F | Durable, neutral flavor, widely available | Slightly less glossy than flaxseed |
| Crisco/Shortening | ~360°F | Inexpensive, consistent results | May leave slight residue if not wiped well |
| Vegetable Oil | ~400–450°F | Common, stable | Slower to polymerize |
“Seasoning is cumulative. Each layer builds on the last. Consistency matters more than perfection.” — Harold McGee, food scientist and author of *On Food and Cooking*
Maintenance Checklist: Keep Your Skillet Rust-Free
Prevention is easier than restoration. Once your skillet is back in shape, follow these habits to keep it performing flawlessly.
Tip: After cooking, clean while the pan is still warm—not hot—to avoid thermal shock and make residue easier to remove.- ✔️ Clean promptly after use with hot water and a brush or sponge
- ✔️ Use minimal soap if necessary—modern dish soaps won’t strip well-bonded seasoning
- ✔️ Dry completely on the stovetop over low heat
- ✔️ Apply a micro-thin coat of oil after drying
- ✔️ Store in a dry place with airflow—avoid stacking without protection
- ✔️ Re-season every few months or if food starts sticking
- ❌ Never soak in water or put in the dishwasher
- ❌ Avoid cooking highly acidic foods (tomato sauce, wine-based dishes) in new or lightly seasoned pans
- ❌ Don’t use non-stick sprays containing lecithin or propellants—they gunk up the surface
Real Example: Restoring a Family Heirloom
Martha, a home cook from Ohio, inherited her grandmother’s 1940s Wagner cast iron skillet. It had been stored in a damp basement for decades. The handle was covered in rust, and the cooking surface felt rough. She almost discarded it—until she watched a restoration video online.
She started by scrubbing loose flakes with steel wool. Then, she soaked the skillet in a vinegar solution for 3 hours, checking every 30 minutes. After neutralizing with baking soda, she dried it on the stove and sanded the worst spots with 320-grit paper. Following three rounds of grapeseed oil seasoning at 425°F, the skillet transformed. Today, it’s her go-to pan for searing steaks and baking cornbread. “It’s better than new,” she says. “And now I know how to care for it.”
Her story isn’t unique. Millions of vintage skillets sit unused in garages and thrift stores, waiting for someone willing to invest a few hours to bring them back.
Do’s and Don’ts of Cast Iron Care
| Do’s | Don’ts |
|---|---|
| Use coarse salt and oil as a natural scrub for stuck-on food | Never use steel wool on a well-seasoned pan unless rust is present |
| Heat gradually to prevent warping | Avoid rapid temperature changes (e.g., cold water on a hot pan) |
| Store with a paper towel inside to absorb moisture | Don’t wrap in plastic or store in airtight containers—trapped moisture causes rust |
| Use oven mitts—the handle stays hot long after cooking | Don’t leave empty skillet on high heat for prolonged periods |
| Re-season occasionally for peak performance | Avoid citrus-based cleaners or degreasers |
FAQ: Common Questions About Rust and Restoration
Can I still use a skillet with minor rust?
No—ingesting rust isn’t toxic in small amounts, but it compromises the seasoning and can lead to uneven cooking. Remove all rust before using. Once cleaned and re-seasoned, the pan is perfectly safe.
Will vinegar damage my cast iron?
Yes, if overused. Vinegar is acidic and dissolves rust—but it also etches metal. Limit soaks to 1–4 hours, always followed by thorough rinsing and immediate drying. Extended exposure weakens the pan over time.
Why is my newly seasoned skillet sticky?
Excess oil. Polymerization leaves behind gummy residue if too much oil is applied. Strip the seasoning by burning it off in the oven (500°F for 1 hour), then re-season with a much thinner coat.
Conclusion: A Cast Iron Skillet Can Last Generations
A rusted cast iron skillet isn’t trash—it’s a project waiting to be completed. With basic tools and a clear process, you can rescue even the most neglected pan and return it to daily service. The effort pays off in unmatched heat retention, natural nonstick performance, and the satisfaction of preserving a piece of culinary history.
Restoration isn’t just about fixing metal; it’s about reclaiming self-reliance in the kitchen. Every time you cook with a revived skillet, you’re reminded that some things get better with age, attention, and care.
💬 Have an old skillet you brought back to life? Share your restoration story in the comments and inspire others to save their cast iron instead of replacing it.