Crafting your own resin pendants offers a unique blend of creativity and precision. When infused with glitter and tinted in soft or vibrant shades of pink, the result is a dazzling piece of wearable art. Whether you're new to resin work or refining your technique, making glitter pink resin pendants at home is both accessible and deeply satisfying. With the right materials and methodical approach, you can produce professional-quality jewelry that reflects your personal style.
Gathering Your Materials and Tools
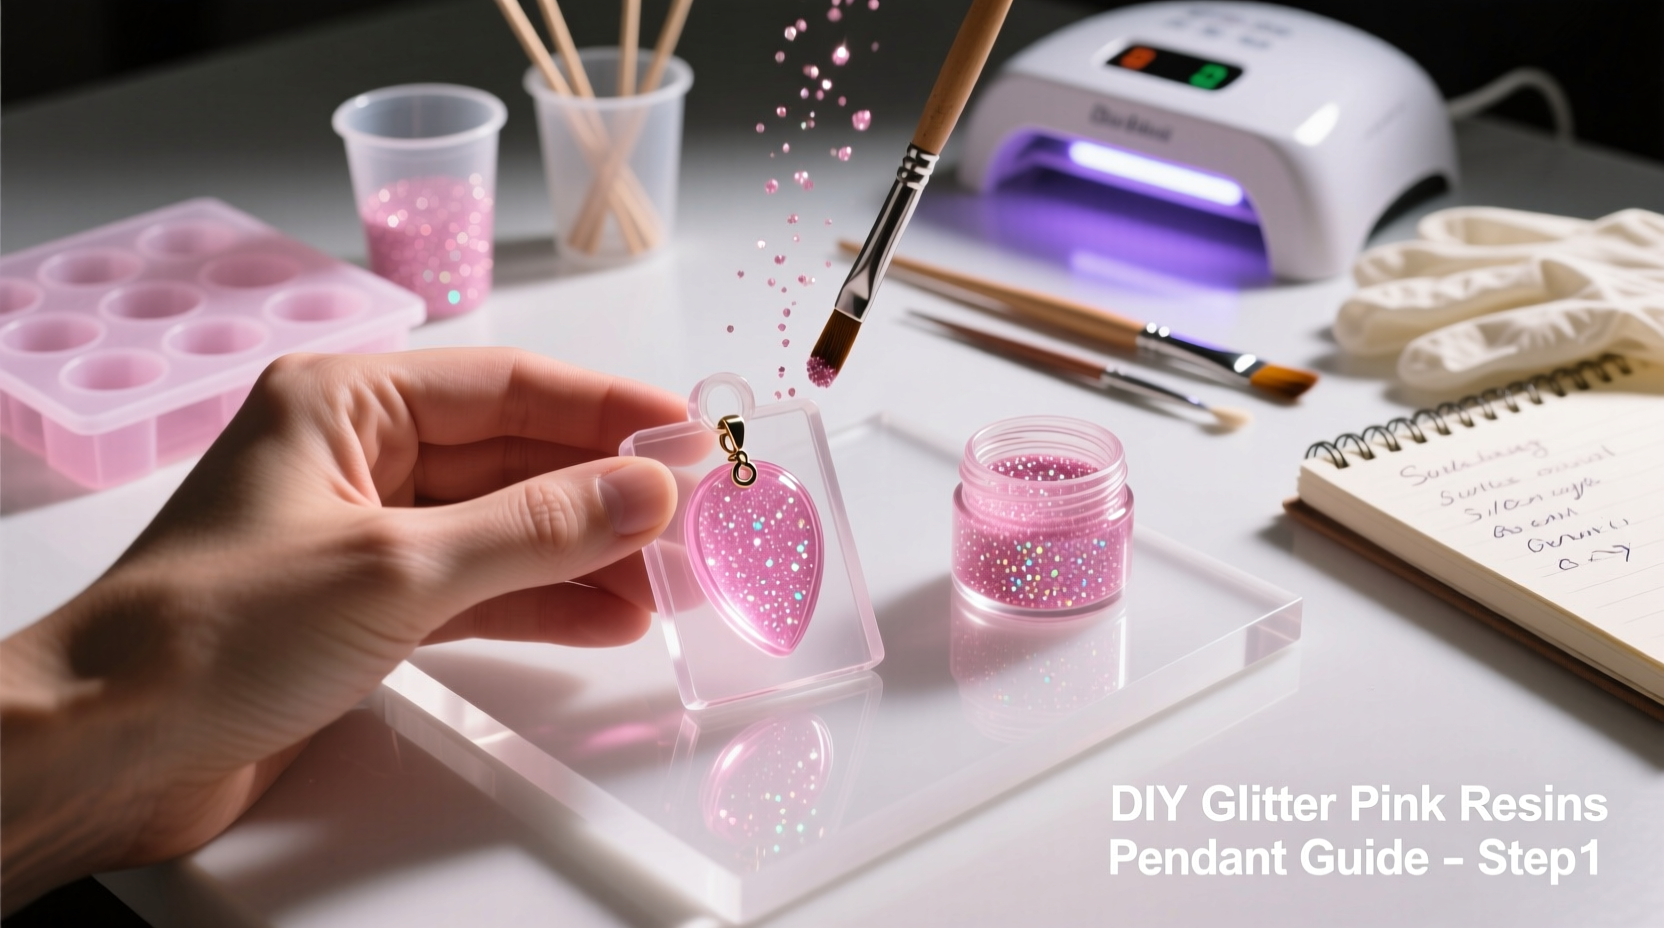
The foundation of any successful resin project lies in preparation. Before mixing a single drop of resin, ensure all necessary supplies are on hand. Working with epoxy resin requires attention to detail and safety, so assembling everything ahead of time prevents interruptions once the clock starts ticking on your curing window.
- Epoxy resin and hardener (preferably jewelry-grade)
- Pink mica powder or liquid resin dye
- Fine cosmetic-grade pink glitter (non-metallic recommended)
- Silicone pendant molds (teardrop, heart, circle, etc.)
- Disposable plastic or silicone mixing cups
- Plastic stir sticks or silicone spatulas
- Digital scale (for precise measurements)
- Latex or nitrile gloves
- Respirator mask or well-ventilated workspace
- Popsicle sticks or toothpicks (for removing bubbles)
- Isopropyl alcohol (90%+) and lint-free wipes
- Jewelry findings (jump rings, chains, bail backs)
Step-by-Step Process: From Resin Mix to Finished Pendant
Creating a flawless glitter pink resin pendant involves several stages: measuring, mixing, coloring, pouring, degassing, and demolding. Each phase contributes to the clarity, color consistency, and structural integrity of the final piece.
- Prepare your workspace. Cover surfaces with wax paper or silicone mats. Ensure good ventilation and wear gloves and a mask.
- Measure resin and hardener precisely. Follow the manufacturer’s ratio (commonly 1:1 or 2:1). Use a digital scale for accuracy—improper ratios lead to sticky, uncured resin.
- Mix slowly and thoroughly. Stir for at least 3 minutes, scraping the sides and bottom of the cup to eliminate unmixed pockets.
- Add pink colorant. Start with a small amount of mica powder or liquid dye. Stir until evenly dispersed. You can always add more, but you can’t remove excess.
- Incorporate glitter. Sprinkle a pinch of glitter into the mixed resin. Stir gently to avoid introducing air bubbles. For layered effects, reserve some glitter for later pours.
- Pour into molds in stages if desired. For multi-layered pendants, pour a thin base layer first, let it set for 1–2 hours (until tacky), then add the next layer with more glitter.
- Eliminate bubbles. Use a toothpick to pop visible bubbles or lightly blow across the surface with a straw. For best results, use a heat gun or torch briefly to burst micro-bubbles.
- Cure undisturbed. Place molds on a level surface, cover with a box to prevent dust, and allow 24–72 hours to fully cure depending on resin type and ambient temperature.
- Demold carefully. Gently flex the silicone mold to release the pendant. If resistance occurs, chill in the freezer for 15 minutes to shrink the resin slightly.
- Finish and assemble. Sand rough edges with fine-grit sandpaper (600–2000 grit), wipe clean with alcohol, then attach jump rings and chains.
Common Challenges and How to Solve Them
Even experienced crafters encounter issues like cloudiness, incomplete curing, or uneven glitter distribution. Understanding root causes helps troubleshoot effectively.
| Issue | Possible Cause | Solution |
|---|---|---|
| Resin remains sticky after 48 hours | Incorrect mixing ratio or cold environment | Double-check measurements; warm room to 70–75°F (21–24°C); consider re-pouring a thin top coat |
| Glitter sinks to the bottom | Resin too thin or excessive stirring | Use thicker resin formulas; add glitter just before pouring; pour in layers |
| Hazy or cloudy appearance | Moisture contamination or curing in humid conditions | Work in dry environment; pre-dry molds with a hairdryer; use fresh resin |
| Bubbles throughout pendant | Stirring too vigorously or trapped air in mold | Stir slowly; tap mold gently; use a heat source to pop bubbles |
“Resin is as much about chemistry as it is about creativity. Precision in measurement and patience in curing separate amateur attempts from lasting art.” — Lena Reyes, Resin Artist & Instructor
Design Variations and Creative Enhancements
Once you’ve mastered the basic pink glitter pendant, explore creative variations to elevate your designs:
- Ombre effect: Mix two batches—one light pink, one deep magenta—and pour gradually for a gradient.
- Glitter placement: Use a small brush to position glitter in patterns like stars or hearts before the resin sets.
- Inclusions: Embed tiny dried flowers, holographic flakes, or gold leaf for added dimension.
- Matte finish: After curing, lightly sand the surface and apply a matte sealant for a soft, non-reflective look.
- Color-shifting glitter: Use iridescent or UV-reactive glitter for dynamic visual effects under different lighting.
Mini Case Study: Sarah’s First Batch of Pink Glitter Pendants
Sarah, a hobbyist crafter from Portland, decided to try resin jewelry after seeing glitter pendants online. She purchased a beginner kit but initially struggled with sticky results. Her first batch remained tacky after 48 hours. After researching, she realized she had eyeballed the resin-to-hardener ratio instead of using a scale. On her second attempt, she measured precisely and worked in a warmer part of her apartment. This time, the pendants cured perfectly. She experimented with layering fine rose-gold glitter over a pale pink base, creating a “cotton candy” effect that became a hit at her local craft fair. Today, Sarah sells custom orders and teaches weekend workshops.
Essential Safety and Storage Practices
Epoxy resin is safe when handled correctly, but proper precautions are non-negotiable. Always work in a space with cross-ventilation or use an exhaust fan. Wear nitrile gloves—latex does not block resin chemicals. A respirator with organic vapor cartridges is recommended, especially during large pours.
Store unused resin and hardener in tightly sealed containers away from sunlight and moisture. Keep them upright in a cool, stable environment (ideally between 65–75°F). Avoid freezing temperatures, which can alter chemical composition.
FAQ
Can I use nail polish to color resin?
No. Nail polish contains solvents and pigments not designed for resin compatibility. It can inhibit curing and create a cloudy finish. Stick to mica powders, alcohol inks, or resin-specific dyes.
How do I fix a scratch on a cured pendant?
Light scratches can be buffed out with polishing compound and a soft cloth. For deeper marks, wet-sand with 1000+ grit paper, rinse, then apply a thin layer of fresh resin as a top coat.
Are glitter resin pendants durable enough for daily wear?
Yes, when made with quality materials and fully cured. However, avoid prolonged exposure to chlorinated water, perfumes, or abrasive surfaces to maintain shine and integrity.
Conclusion: Create, Experiment, and Share
Crafting sparkling glitter pink resin pendants at home blends science, artistry, and personal expression. With each pour, you refine your technique and expand your creative vocabulary. The joy isn’t just in wearing the finished piece—it’s in knowing you shaped light, color, and texture with your own hands. Whether you make them for gifts, sales, or self-expression, these pendants reflect imagination made tangible.
💬 Start your next batch this weekend—share your creations online and inspire others to dive into the world of resin art!