Creating compelling artwork on canvas is more than just applying paint—it’s a deliberate fusion of technique, vision, and patience. Whether you're transitioning from sketching to painting or refining your existing skills, mastering the fundamentals can elevate your work from amateur to exceptional. With the right approach, even simple compositions gain depth, emotion, and presence. This guide explores practical methods used by accomplished artists, offering actionable insights to help you develop confidence and control in your canvas work.
Understanding Your Materials
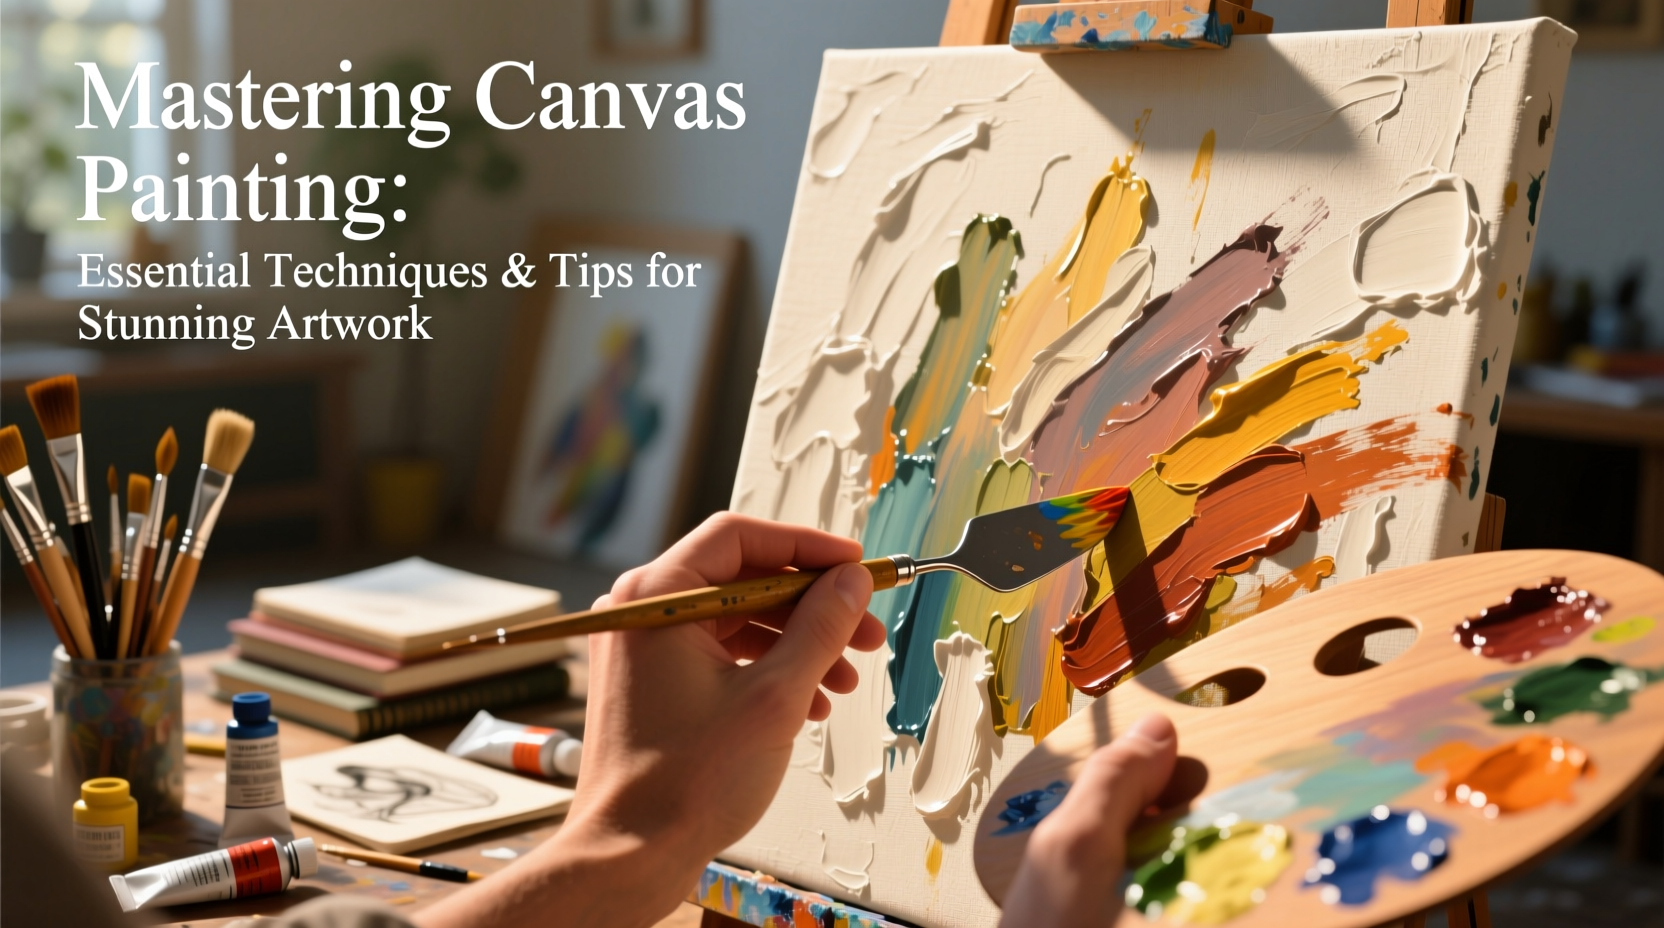
The foundation of any great painting lies in understanding your tools. Canvas, paint, brushes, and mediums each play a distinct role in shaping the final piece. Not all canvases are created equal—stretched cotton duck is ideal for beginners, while linen offers superior durability and texture for advanced work. Acrylics dry quickly and are forgiving; oils provide richer blending but require solvents and longer drying times. Water-mixable oils offer a middle ground, combining oil-like consistency with easier cleanup.
Brush selection matters as much as paint choice. Round brushes excel at detail, flats are perfect for broad strokes, and filberts blend soft edges beautifully. Natural bristles work best with oils; synthetics suit acrylics and water-based paints.
Tip: Label your brushes by size and type, and clean them immediately after use to extend their lifespan.Essential Techniques for Depth and Dimension
One hallmark of professional canvas work is the illusion of three-dimensionality. Achieving this requires mastery of value contrast, layering, and edge control. Start with an underpainting—a monochrome base that establishes light and shadow. This preliminary layer acts as a roadmap, allowing you to focus on form before introducing color.
Glazing, the application of thin, transparent layers of paint, adds luminosity unattainable with opaque mixing. A single glaze over dried underpainting can transform a flat sky into a glowing dusk. Scumbling—dragging a dry, light-colored brush over a darker surface—creates atmospheric texture, ideal for clouds or aged surfaces.
Impasto, the thick application of paint, brings physical texture to the canvas. Van Gogh famously used this to convey emotional intensity. Use a palette knife for controlled ridges or a stiff brush for expressive strokes. Remember: impasto areas take weeks to dry fully, especially in oil.
“Painting is not about replicating reality. It’s about interpreting light, mass, and mood through gesture and tone.” — Lena Torres, Contemporary Landscape Artist
Color Theory in Practice
Choosing harmonious colors isn’t guesswork—it’s science informed by intuition. The color wheel remains a vital tool. Complementary colors (opposites like red and green) intensify each other when placed side by side. Analogous schemes (colors adjacent on the wheel, such as blue, blue-green, and green) create serene, cohesive moods.
Avoid muddy mixes by limiting the number of pigments per blend. Mixing ultramarine blue with cadmium red yields a vibrant purple; adding yellow or white too early can dull it. Instead, adjust temperature and value in subsequent layers.
| Color Pair | Visual Effect | Best Used For |
|---|---|---|
| Cadmium Yellow + Ultramarine Blue | Vibrant greens | Lush foliage, natural scenes |
| Burnt Sienna + Phthalo Green | Earthy, natural tones | Soil, shadows, realism |
| Titanium White + Alizarin Crimson | Soft pinks to deep magentas | Skin tones, floral highlights |
| Payne’s Gray + Yellow Ochre | Muted olives and taupes | Atmospheric distance, fog |
Composition That Captivates
A technically sound painting can still fall flat without strong composition. The rule of thirds divides the canvas into nine equal sections; placing key elements along these lines or at their intersections creates visual interest. Leading lines—roads, rivers, gazes—guide the viewer’s eye toward focal points.
Negative space, often overlooked, shapes perception. In a portrait, the area around the face defines its prominence. Too much symmetry can feel static; slight imbalance introduces tension and movement. Consider cropping subjects dramatically—one eye near the edge—to create immediacy.
Before committing to canvas, thumbnail sketches help test layouts. These small, quick drawings (2–3 inches wide) allow rapid iteration. Spend five minutes on ten variations rather than hours on one flawed concept.
Step-by-Step Guide: Building a Landscape Painting
- Sketch the composition lightly in pencil, focusing on horizon line and major shapes.
- Apply an imprimatura—a diluted wash of burnt umber—to unify the surface and reduce glare.
- Block in values using large brushes. Ignore details; focus on light vs. dark zones.
- Establish color masses. Apply local colors (e.g., green trees, blue sky) thinly at first.
- Refine edges and forms. Soften distant mountains; sharpen foreground textures.
- Add highlights and details last. Reserve the brightest whites and finest lines for the final stage.
- Step back regularly. View your work from across the room to assess balance and clarity.
Avoiding Common Pitfalls
New painters often overwork areas, leading to muddied colors and lost textures. Resist the urge to constantly re-blend. Let layers dry between sessions, especially with oils. Another frequent error is neglecting tonal range—paintings lacking true darks appear washed out. Test your values by photographing the work in black and white; if distinctions vanish, strengthen contrasts.
Over-reliance on outlines flattens forms. Instead, model volume through shifts in hue, value, and temperature. A cheekbone isn’t defined by a line but by a warm highlight next to a cool shadow.
| Do | Don't |
|---|---|
| Prime your canvas with gesso for better paint adhesion | Start painting on raw canvas |
| Work from general to specific | Add tiny details in the first hour |
| Mix extra of key colors to ensure consistency | Recreate complex mixes repeatedly |
| Use a limited palette to maintain harmony | Throw every tube color onto the canvas |
Real Example: From Blank Canvas to Gallery Submission
Sophie Chen, an emerging artist from Portland, struggled with her cityscape paintings appearing cluttered. After studying compositional principles, she began using thumbnail sketches to isolate the strongest element—the interplay of neon signs and rain-slicked pavement. She simplified her palette to cobalt blue, quinacridone magenta, and titanium white. By reserving pure white for reflections and using glazes to build glow, her final piece conveyed urban energy without chaos. The painting was accepted into a regional juried show within two months.
Frequently Asked Questions
How do I prevent my acrylics from drying too fast?
Use a stay-wet palette: place a damp sponge in a sealed container, cover it with parchment paper, and store your paint on top. Mist occasionally. Alternatively, add a retarder medium to slow drying time.
Can I paint oils over acrylics?
Yes—this is safe because acrylics form a flexible, absorbent base. However, never paint acrylic over oil, as it may crack due to poor adhesion and differing flexibility.
What’s the best way to sign a painting?
Sign in the lower corner, opposite your dominant hand (e.g., lower left for right-handed artists). Use a small brush and permanent paint matching the painting’s medium. Avoid bright colors unless intentional.
Final Checklist Before Varnishing
- Ensure the painting is completely dry (6–12 weeks for oils, 72 hours for acrylics)
- Remove dust with a soft, lint-free cloth
- Apply varnish in a well-ventilated area with even temperature
- Use a wide, soft brush or spray for uniform coverage
- Allow 24 hours between coats if multiple layers are needed
Conclusion
Mastering canvas painting isn’t about perfection—it’s about progress. Each stroke builds knowledge, each mistake refines judgment. By grounding your practice in proven techniques, thoughtful composition, and disciplined experimentation, you cultivate not just skill, but artistic voice. The most stunning artworks emerge not from flawless execution, but from authentic expression guided by craft.
🚀 Pick up your brush today and apply one new technique in your next session. Share your journey—what will you create?