Stainless steel appliances are prized for their sleek appearance and durability, but over time, they can lose their luster due to fingerprints, water spots, smudges, and minor surface oxidation. While the material is resistant to rust and corrosion, improper cleaning methods can leave streaks, scratches, or a hazy film that dulls the finish. The good news is that restoring shine doesn’t require harsh chemicals or expensive products. With the right tools and techniques, you can bring back the brilliance of your refrigerator, oven, dishwasher, or range hood—safely and effectively.
Understanding Stainless Steel Finishes
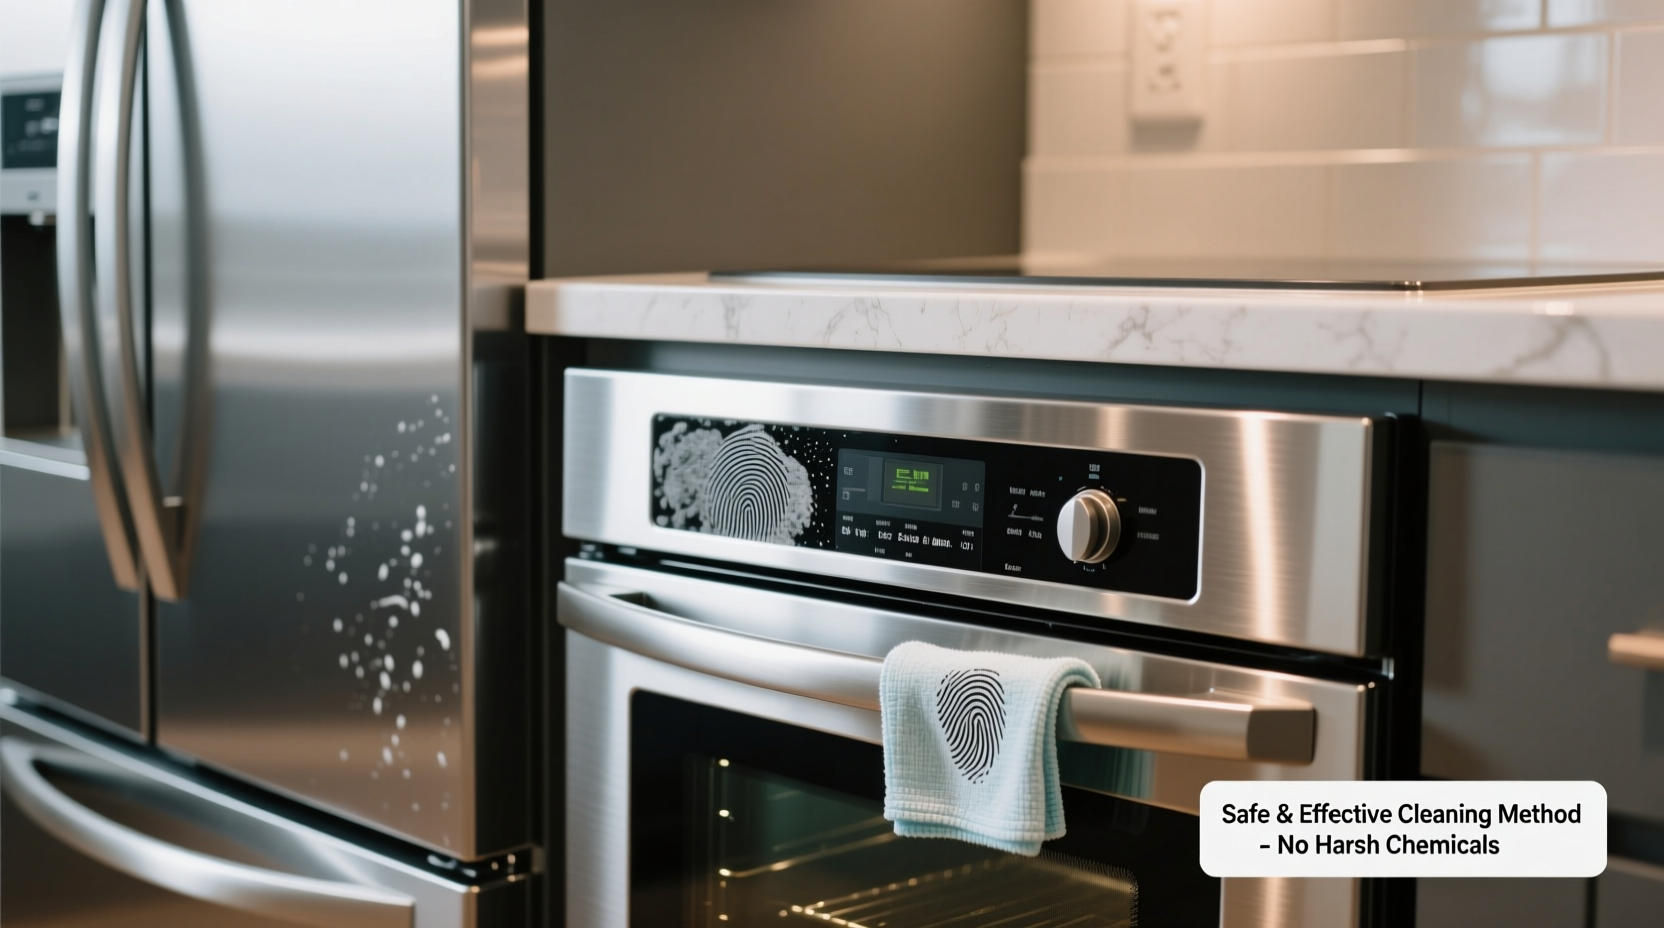
Not all stainless steel is created equal. Most modern appliances feature brushed, satin, or matte finishes designed to hide fingerprints and minor scratches. These finishes have a directional grain, meaning the metal has been polished in one direction to create a uniform texture. Cleaning against the grain or using abrasive pads can disrupt this pattern, leading to visible swirl marks and permanent dullness.
The protective layer on stainless steel is a thin chromium oxide film that forms naturally when the alloy is exposed to oxygen. This layer prevents rust but can be compromised by chlorine, salt, or acidic cleaners. When this happens, the surface may appear cloudy or develop fine pits. Recognizing the type of finish and its vulnerabilities is the first step toward safe restoration.
Tip: Always check your appliance manufacturer’s care guide before applying any cleaner. Some brands void warranties if abrasive or ammonia-based products are used.Common Causes of Dullness
Dullness in stainless steel rarely occurs overnight. It accumulates gradually due to repeated exposure to common household elements. Understanding these causes helps prevent future damage while guiding effective restoration.
- Fingerprints and Oils: Skin oils transfer easily to metal surfaces, attracting dust and creating a greasy film that diffuses light and reduces shine.
- Hard Water Spots: Minerals like calcium and magnesium in tap water leave behind white residues that etch into the surface over time.
- Improper Cleaners: Glass cleaners with ammonia, bleach, or vinegar can strip the protective layer and cause discoloration.
- Scratches from Abrasives: Steel wool, scrubbing pads, or powdered cleansers create micro-scratches that scatter light and make the surface look faded.
- Environmental Exposure: High humidity, cooking grease, and salt air accelerate oxidation, especially near stovetops or dishwashers.
“Many people unknowingly degrade their stainless steel by using what they think are ‘stronger’ cleaners. In reality, gentler, pH-neutral solutions preserve both appearance and integrity.” — Dr. Alan Reeves, Materials Scientist at the National Appliance Research Lab
Step-by-Step Guide to Restore Shine Safely
Restoring shine requires more than wiping down the surface. A systematic approach ensures deep cleaning without compromising the finish. Follow this timeline-based process for best results.
- Clear and Prep (5 minutes): Remove items from around the appliance. Open doors if necessary to access edges. Unplug the unit if working near electrical components.
- Dust First (3 minutes): Use a dry microfiber cloth to wipe away loose dust and debris. This prevents scratching during wet cleaning.
- Apply Mild Cleaner (7 minutes): Mix a few drops of dish soap with warm water. Dip a soft cloth into the solution, wring it out well, and wipe along the grain of the metal. Avoid circular motions.
- Rinse Thoroughly (5 minutes): Use a second cloth dampened with clean water to remove any soapy residue. Residue attracts dirt and leaves streaks.
- Tackle Stains and Buildup (10–15 minutes): For stubborn water spots or haze, apply a paste of baking soda and water. Gently rub along the grain with a soft cloth. Rinse immediately.
- Dry Completely (3 minutes): Use a dry, lint-free microfiber towel to buff the surface. This eliminates water marks and enhances reflectivity.
- Polish for Shine (5 minutes): Apply a small amount of food-grade mineral oil or a dedicated stainless steel polish to a clean cloth. Wipe evenly along the grain to restore luster and repel fingerprints.
Do’s and Don’ts: What to Use and What to Avoid
Choosing the right products makes all the difference. The table below summarizes recommended practices based on manufacturer guidelines and materials testing.
| Category | Do | Don't |
|---|---|---|
| Cleaners | pH-neutral dish soap, commercial stainless steel cleaners, baking soda paste | ammonia, bleach, vinegar, oven cleaner, drain cleaner |
| Cloths | microfiber, lint-free cotton, soft terry cloth | steel wool, scouring pads, paper towels (can scratch) |
| Motion | wipe along the grain (follow visible lines) | circular motions, cross-grain scrubbing |
| Frequency | weekly wiping, monthly deep cleaning | daily abrasive scrubbing, infrequent maintenance |
| Protection | mineral oil, specialized polishes, anti-fingerprint coatings | WD-40, cooking oils (can go rancid), silicone sprays (attract dust) |
Real Example: Reviving a Ten-Year-Old Refrigerator
Sarah M., a homeowner in Portland, Oregon, noticed her stainless steel refrigerator had turned uniformly dull over several years. Despite regular cleaning with a popular glass cleaner, the surface looked foggy and showed every fingerprint. She avoided professional services, assuming replacement was inevitable.
After researching safe methods, she followed the seven-step restoration process. She started with a soapy wash, then addressed hard water buildup near the handle with a baking soda paste. After rinsing and drying, she applied a dime-sized drop of mineral oil to a microfiber cloth and buffed the entire front panel along the grain.
The transformation was immediate. “It looked like we’d installed a brand-new fridge,” Sarah said. “The depth of the shine came back, and now it repels smudges better than before.” She now maintains it with biweekly wipes and monthly polishing, extending its life without costly refinishing.
Alternative Natural Methods That Work
For those preferring eco-friendly or pantry-based solutions, several natural options effectively restore shine when used correctly.
- White Vinegar (Diluted): Though pure vinegar is too acidic, a 1:1 mix with water can remove light water spots. Apply briefly, rinse thoroughly, and dry immediately.
- Lemon Juice and Baking Soda: Combine to form a gentle abrasive paste. Effective on minor stains but must be rinsed quickly to avoid citric acid damage.
- Olive Oil (Sparingly): Can add temporary shine but risks becoming sticky or rancid over time. Not recommended for long-term use.
- Isopropyl Alcohol (70%): Excellent for cutting through grease and disinfecting. Use after cleaning to prep the surface for polishing.
Preventive Maintenance Checklist
To keep your stainless steel looking its best between deep cleanings, follow this simple checklist:
- Wipe down surfaces weekly with a damp microfiber cloth and mild soap.
- Dry completely after each cleaning to prevent water spotting.
- Buff weekly with a dry cloth to maintain sheen and reduce static dust attraction.
- Use stainless steel conditioner or mineral oil monthly for high-touch areas.
- Avoid placing adhesive labels or tape directly on the surface.
- Install a water softener if hard water is a persistent issue in your home.
- Keep cleaning cloths dedicated solely to stainless steel to avoid cross-contamination.
Frequently Asked Questions
Can I use Windex on stainless steel appliances?
Traditional Windex contains ammonia, which can damage the protective layer and cause discoloration over time. If you choose to use it, opt for the \"Ammonia-Free\" version and always follow with a water rinse and thorough drying. However, dedicated stainless steel cleaners or mild dish soap are safer and more effective long-term.
Why does my stainless steel look cloudy after cleaning?
Cloudiness usually results from leftover cleaner residue, hard water minerals, or micro-scratches from improper wiping. To fix it, re-clean with a fresh microfiber cloth and distilled water. If the haze persists, gently polish with a baking soda paste and buff thoroughly. Ensure you're wiping along the grain, not across it.
How often should I deep clean my stainless steel appliances?
A deep clean—meaning a full wash, stain treatment, rinse, and polish—should be performed every four to six weeks, depending on usage. High-touch areas like refrigerator handles may need attention more frequently. Light surface wiping can be done weekly or as needed.
Final Thoughts and Action Plan
Restoring shine to dull stainless steel appliances is not only possible—it’s surprisingly simple when approached with care and knowledge. The key lies in respecting the material’s properties: clean gently, follow the grain, avoid corrosive substances, and protect the surface with proper finishing.
Unlike painted or coated metals, stainless steel can regain its original brilliance multiple times over its lifespan if maintained correctly. The effort required is minimal compared to the cost of replacement or professional refinishing. By incorporating safe cleaning habits and preventive measures, you preserve both aesthetics and value.
💬 Ready to revive your kitchen’s look? Pick one appliance today, gather a microfiber cloth and dish soap, and start restoring its shine. Share your results or tips in the comments—your experience could help another homeowner avoid costly mistakes.