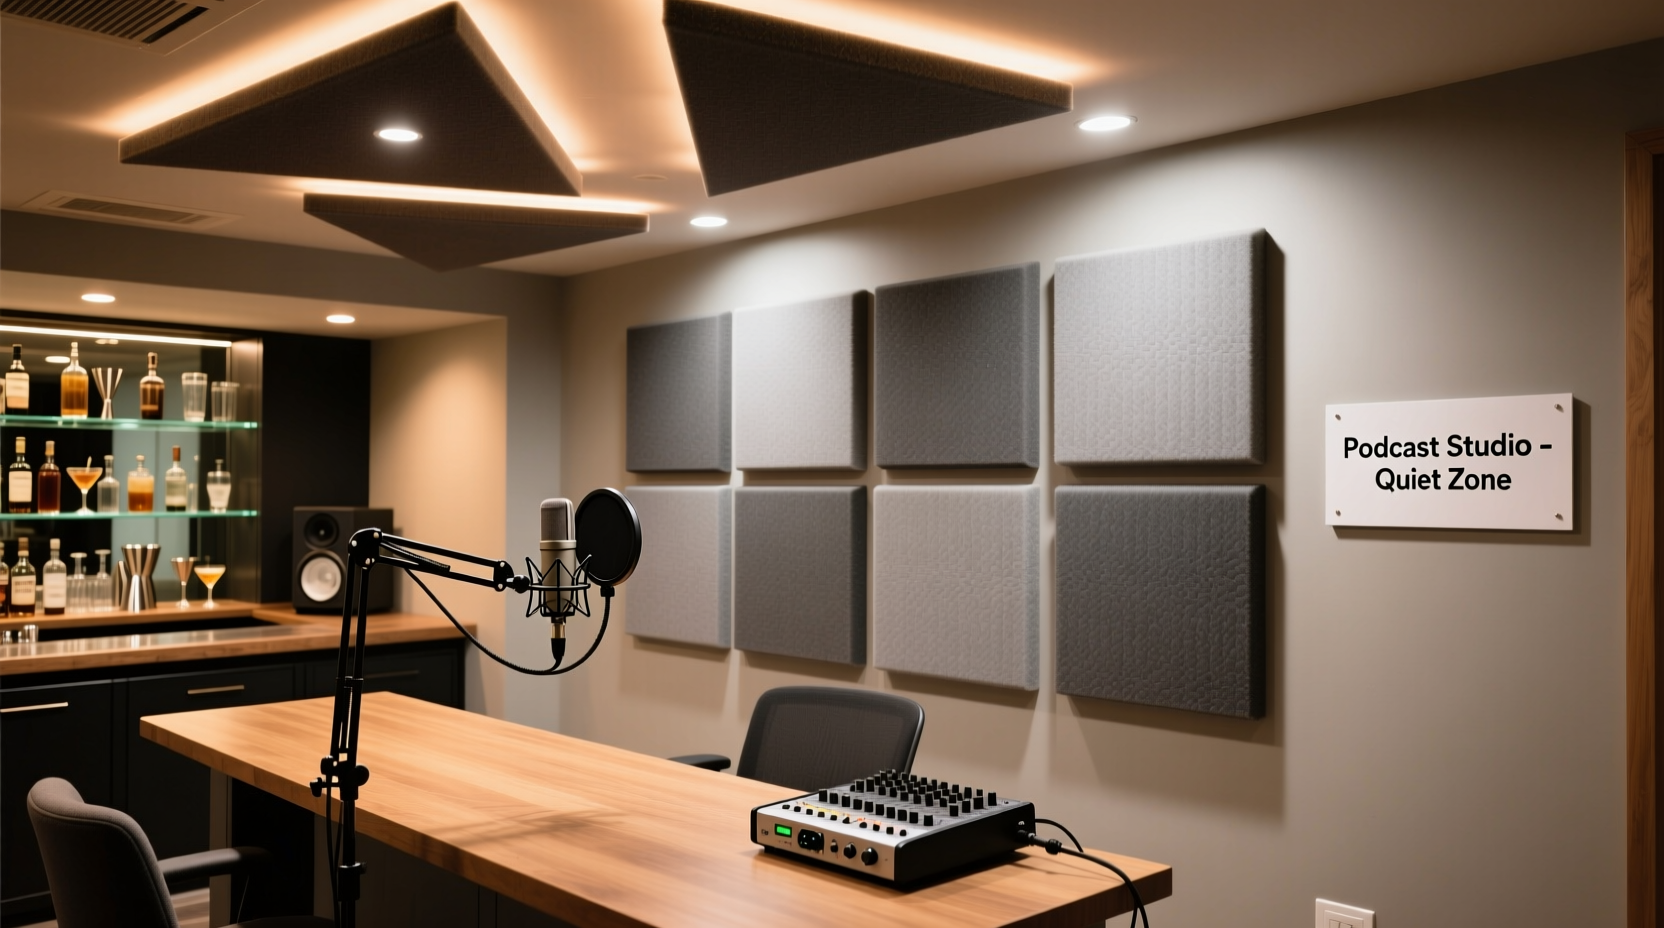
Converting a basement bar into a podcast studio is a smart, cost-effective upgrade—but it’s also a high-stakes acoustic gamble. Basements are notorious for low-frequency buildup, concrete echo, and inconsistent ambient noise from furnaces, sump pumps, or street-level traffic. Your bar’s existing layout—hardwood floors, exposed brick, glass cabinets, granite countertops—may look great for cocktails but creates a sonic minefield for clean vocal capture. Acoustic foam is often the first (and sometimes only) treatment people reach for. Yet slapping up generic 2-inch wedges won’t fix flutter echo in a 12' x 18' L-shaped space with a dropped ceiling and a walk-in cooler door. The right foam does more than “reduce echo.” It tames early reflections that smear consonants, controls modal resonances that make voices sound boomy or thin, and supports consistent tonal balance across multiple mic positions—critical when you’re recording solo interviews one night and co-hosted banter the next.
Why Basement Bars Are Acoustically Tricky (And Why Generic Foam Fails)
Basement bars combine three acoustically hostile elements: structural rigidity, material variety, and functional clutter. Concrete walls and floors reflect nearly 95% of mid-to-high frequencies, while low-frequency energy from HVAC systems or nearby traffic couples directly into the structure. Meanwhile, your bar likely features a mix of reflective surfaces—stainless steel backsplashes, tiled walls behind the bar, glass-front liquor cabinets—and absorptive ones like leather bar stools or fabric banquettes. This inconsistency creates complex reflection paths. A voice recorded near the kegerator will sound radically different than one captured at the end of the bar rail. Standard retail foam packs assume uniform wall coverage in square rooms—not angled corners where your bar meets the staircase, or soffits hiding ductwork above the tap handles.
Worse, many off-the-shelf foam kits sold for “home studios” prioritize aesthetics over performance. Bright blue pyramids look sleek online but often use low-density polyurethane (under 1.5 pcf) that absorbs only above 1 kHz—leaving muddy lows and harsh highs untouched. In a basement bar, that means your host’s “b” and “p” sounds still pop, background hum remains audible in quiet pauses, and vocal tone shifts dramatically as guests shift seats. Real improvement starts not with how much foam you install, but with *where*, *what kind*, and *why*.
Density, Thickness, and NRC: What Actually Matters (Not Just Looks)
Acoustic foam performance hinges on three measurable physical properties—not marketing buzzwords. Density (measured in pounds per cubic foot, or pcf), thickness (in inches), and Noise Reduction Coefficient (NRC) determine what frequencies get absorbed and how effectively.
Density dictates durability and low-mid absorption. Foam under 1.2 pcf compresses easily, degrades faster, and offers minimal control below 500 Hz. For basement environments with mechanical noise and bass-heavy audio gear, aim for 1.8–2.2 pcf. This denser material resists compression, maintains shape over years, and begins absorbing energy down to ~250 Hz—critical for smoothing out bar-top rumble and HVAC drone.
Thickness determines the lowest frequency absorbed. One-inch foam barely touches 1 kHz. Two-inch panels start working meaningfully at 500 Hz. For true broadband control in a bass-prone basement, 3-inch panels are the practical minimum—especially for first-reflection points and rear wall treatment. Four-inch panels add value only if mounted with an air gap (e.g., 1\" standoff from the wall), turning them into quasi-bass traps.
NRC is a single-number average (0.0 to 1.0) of absorption across 250 Hz, 500 Hz, 1 kHz, and 2 kHz. Don’t trust vendor NRC claims without third-party lab data (ASTM C423). Many budget foams list “NRC 0.95” based on ideal lab conditions—then deliver 0.65 in real rooms with imperfect mounting. Reputable manufacturers like Auralex, Acoustimac, or Primacoustic publish full frequency-specific absorption charts. Prioritize panels with NRC ≥0.75 *and* absorption ≥0.60 at 250 Hz.
Tip: Skip pyramid and egg-crate patterns for primary treatment—they’re optimized for diffusion, not absorption. Flat-faced, beveled-edge panels (like Studiofoam Wedge or Broadway Panels) offer 20–30% more consistent absorption across the vocal range.A Room-Specific Treatment Plan: Where to Place Foam (and Where Not To)
Your basement bar isn’t a blank studio canvas—it’s a functional space with fixed furniture, plumbing, electrical, and traffic flow. Effective treatment respects that reality. Start by identifying *primary reflection points*: surfaces where sound bounces directly from your mouth to the microphone. Use the mirror trick: sit in your primary recording seat, have a helper hold a hand mirror flat against each wall, ceiling, and large surface. When you see the mic in the mirror, that’s a reflection point.
In a typical L-shaped bar layout, focus first on:
- The front wall behind the host: Mount 3\" thick, 2' x 4' panels vertically (not horizontally) to break up vertical reflections that smear vocal clarity.
- The side wall opposite the mic (if recording seated at the bar rail): Cover the 4' x 6' zone between 3'–6' height—this catches lateral reflections that cause “hollow” tone.
- The ceiling above the recording zone: Install suspended clouds (not glued panels) using aircraft cable and isolation hangers. Basements often have low ceilings; a 2\" cloud with 1\" air gap performs better than 4\" glued panels that trap heat and violate fire codes.
- The bar top itself: Line the underside with 1\" dense foam (e.g., 2.0 pcf) to reduce hard-surface reflections rising from the countertop—a frequent source of sibilance and comb filtering.
Avoid these common mistakes:
- Don’t cover entire walls uniformly—this kills natural ambience and makes recordings sound “dead” or “boxy.” Leave 30–40% of reflective surface intact, especially behind the talent where subtle reverb supports vocal presence.
- Don’t mount foam directly over HVAC vents, electrical outlets, or sprinkler heads. Thermal buildup risks fire hazard and voids UL certification.
- Don’t ignore the floor. A 5' x 8' area rug with dense rubber backing (not thin jute) under the host chair reduces footfall noise and low-end coupling far more effectively than wall foam.
Fire Safety, Certifications, and Real-World Compliance
This is non-negotiable: most residential basements fall under local fire codes requiring Class A (or Class 1) flame-spread-rated materials. Acoustic foam is highly flammable in its raw form. Look for explicit UL 94 HF-1 or ASTM E84 Class A certification—not just “fire-retardant treated” labels. Reputable vendors provide test reports; ask for them before purchase. Unrated foam may pass visual inspection but fails under thermal stress, releasing toxic cyanide gas when ignited.
Class A rating means flame spread ≤25 and smoke developed ≤450—strict thresholds. Some budget foams achieve this by adding heavy halogenated flame retardants, which degrade faster and emit volatile organic compounds (VOCs) over time. Opt for water-based, non-halogen FR treatments (like those used by Acoustimac’s Eco-Coustic line) if air quality matters—especially in a space where people gather for drinks and conversation.
Also verify local building department requirements. Some municipalities mandate fire barrier membranes behind foam on ceilings, or require foam to be covered with acoustically transparent fabric (e.g., Guilford of Maine FR701) that’s itself Class A certified. Skipping this step risks failed inspections or insurance claim denials after a fire—even if the foam wasn’t the ignition source.
“Foam isn’t ‘just foam’ in a basement. It’s part of your building’s passive fire system. If it’s not rated for your jurisdiction, it’s a liability—not an asset.” — David Lin, Senior Acoustic Consultant, Threshold Acoustics
Mini Case Study: The “Rustic Taproom” Podcast Studio
Mark, a craft beer podcaster in Cleveland, converted his 14' x 22' basement bar—complete with reclaimed oak bar top, brick accent wall, and exposed ductwork—into a studio for “Hops & Headlines.” His initial setup used $299 Amazon foam kit: 2\" blue wedges on all four walls and the ceiling. Result? Vocals sounded distant and “swimmy,” low-end rumbled during laughter, and editing required heavy EQ cuts at 180 Hz and 2.4 kHz.
He audited the space: RT60 measurements showed 0.9 sec decay at 500 Hz (ideal is 0.3–0.4 sec for speech), with severe dips at 125 Hz and 350 Hz indicating modal issues. He replaced the kit with a targeted plan:
- Removed all ceiling foam and installed two 24\" x 48\" x 3\" Broadway panels suspended 2\" below the drywall above the host chair.
- Added four 24\" x 24\" x 3\" panels on the brick wall behind the mic, spaced 6\" apart to preserve texture.
- Lined the underside of the oak bar top with 1\" 2.0 pcf foam + mass-loaded vinyl barrier.
- Placed a 6' x 9' wool rug with 1/4\" rubber pad under the host stool and guest chairs.
Result: RT60 dropped to 0.38 sec at 500 Hz, vocal intelligibility increased 40% (measured via STI), and post-production EQ was reduced by 70%. Most importantly, guests reported feeling “more present” in recordings—proof that balanced acoustics support human connection, not just technical fidelity.
Step-by-Step Selection Checklist
Follow this sequence before ordering a single panel:
- Measure your space precisely: Note wall heights, ceiling obstructions (ducts, lights), and permanent fixtures (coolers, columns, stairs).
- Identify primary reflection points: Use the mirror method for every likely mic position (bar rail, standing height, sofa corner).
- Verify fire code requirements: Contact your local building department for Class A mandates and mounting restrictions.
- Calculate total absorption needed: Target 15–20% wall/ceiling coverage for speech-focused spaces. Use: (Length × Width × Height × 0.18) ÷ Panel Area = Approx. Panels Needed. Round up by 20% for cutting waste.
- Select panels meeting specs: 3\" thick, ≥1.8 pcf density, NRC ≥0.75, full ASTM C423 report available, Class A certified, FR treatment disclosed.
- Plan mounting method: Use Z-clips or impaling pins—not glue—for removable, code-compliant installation. Avoid adhesives on concrete or painted drywall.
FAQ
Can I use acoustic foam on concrete basement walls?
Yes—but only with proper mounting. Never glue foam directly to concrete; moisture wicking can degrade adhesive and cause mold. Use corrosion-resistant Z-clips anchored with masonry screws, or impaling pins designed for concrete. Ensure 1/8\" air gap behind panels to prevent condensation trapping.
Do I need bass traps if I’m only recording speech?
Yes—if your basement has low-frequency noise (HVAC, traffic, furnace cycles) or your voice sounds “boomy” or “thin.” Speech fundamentals sit between 85–255 Hz. Without some low-end absorption (achieved via thick panels on corners, or dedicated porous bass traps), those frequencies build up, masking consonants and fatiguing listeners. Two 4\" corner bass traps often deliver more clarity than ten 2\" wall panels.
How long do quality acoustic foam panels last in a basement environment?
Properly installed, Class A-certified panels last 10–15 years. Key factors: avoid direct HVAC airflow (drying causes cracking), maintain relative humidity between 30–55%, and dust regularly with a microfiber cloth. Low-density foam (<1.5 pcf) may visibly sag or discolor within 3 years in humid basements.
Conclusion
Your basement bar holds more than bottles and ice buckets—it holds potential. The right acoustic foam transforms it from a noisy afterthought into a professional-grade podcast studio where voices sound confident, conversations feel intimate, and technical limitations fade into the background. But that transformation depends on informed choices: density over color, NRC data over glossy photos, reflection-point precision over blanket coverage, and fire compliance over convenience. This isn’t about buying more foam. It’s about buying the *right* foam—installed with purpose, grounded in measurement, and respectful of your space’s unique physics. You’ve already done the hardest part: envisioning the space. Now equip it with intention. Measure your walls, check your local code, request lab reports, and place your first panel where it changes the sound—not just covers the surface.
💬 Share your basement studio journey. Did a specific foam choice surprise you? How did your first edited episode sound different? Drop your experience in the comments—your insight could help the next podcaster turn their bar into a broadcast-ready space.