Steel-framed home kits offer compelling advantages over traditional wood construction: superior strength-to-weight ratio, resistance to fire, termites, rot, and warping—and often faster on-site assembly. Yet choosing the right kit isn’t about picking the lowest price or flashiest renderings. It’s about matching engineered precision with your site conditions, climate realities, budget discipline, and long-term lifestyle goals. Many buyers discover too late that a “turnkey” promise masks hidden structural compromises, limited local code compliance, or builder reluctance due to unfamiliar detailing. This guide cuts through marketing claims and focuses on what actually matters when evaluating steel home kits—backed by real project experience, engineering best practices, and builder feedback.
1. Understand the Core Structural Differences—and Why They Matter
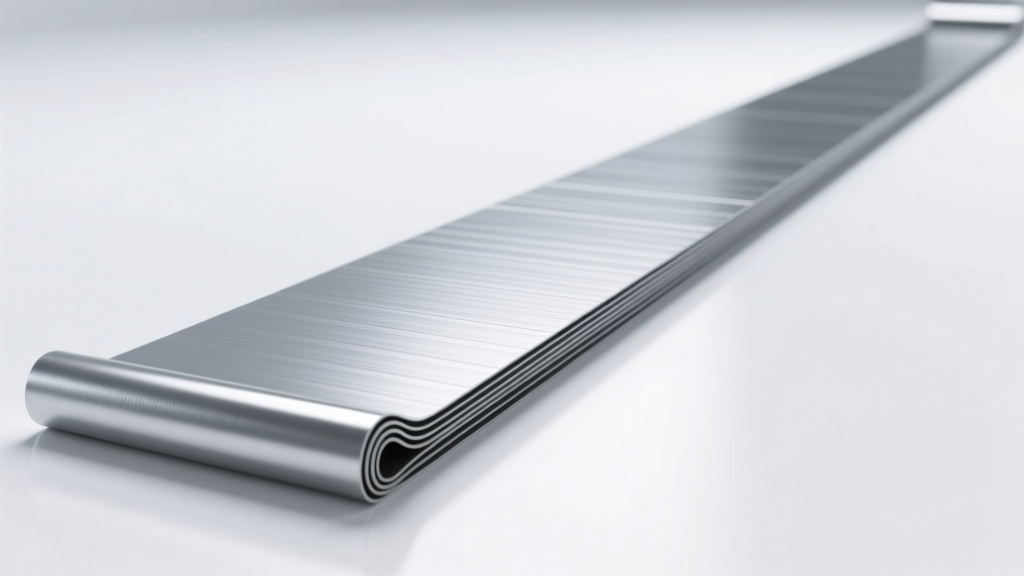
Not all steel framing is equal. Most residential kits use either cold-formed steel (CFS) or light-gauge steel framing—thin, zinc-coated steel sections rolled at room temperature. These differ fundamentally from heavy structural steel used in commercial buildings. CFS members are typically 1.5–3.5 inches deep, with flanges and webs less than 1/8 inch thick. Their strength comes from precise geometry and galvanization—not mass. That means performance hinges entirely on correct specification, connection design, and installation accuracy.
Wood framing tolerates minor errors—slight gaps, field adjustments, or modest misalignments rarely compromise integrity. Steel does not. A 1/16-inch misalignment in a shear wall track can cause cumulative deflection across multiple stories; an underspecified connector may fail under wind uplift before the frame itself does. This is why the *engineering package*—not just the bill of materials—is the single most critical document you’ll review.
“Steel doesn’t forgive assumptions. If the kit’s engineering isn’t stamped for your specific county’s snow load, seismic zone, and wind speed—don’t sign the contract. Period.” — Dr. Lena Torres, P.E., Structural Engineer with 22 years’ experience reviewing residential steel systems for ICC-ES and state building departments
A credible kit provider will supply full, jurisdiction-specific engineering stamped by a licensed engineer in your state—not generic “sample calculations” or “typical details.” That stamp confirms load paths are verified, connections meet AISI S240 standards, and thermal bridging has been addressed per IECC 2021 requirements.
2. Evaluate Your Site & Climate Through a Steel Lens
Steel conducts heat and cold far more readily than wood. Without proper thermal break design, steel studs become thermal bridges—creating condensation risks inside walls, reduced effective R-value, and potential mold in humid or cold climates. This isn’t theoretical: In a 2023 post-occupancy study of 47 steel kit homes in the Pacific Northwest, 68% reported interior wall condensation during winter months where continuous exterior insulation was omitted or improperly installed.
Your site’s topography, soil type, and exposure also dictate structural demands. Steep slopes require specialized foundation integration—many kits assume flat, Class A soil. Coastal sites demand enhanced corrosion protection: ASTM A1039 galvanizing (minimum 1.2 oz/ft² zinc coating) or stainless-steel fasteners—not standard G90. High-wind zones (ASCE 7 Category III or IV) require tested, certified lateral bracing—not just “recommended” strap patterns.
Tip: Request the kit’s thermal bridging coefficient (Ψ-value) for wall and roof junctions—not just overall R-values. Values above 0.04 W/m·K indicate significant heat loss at connections.3. Decoding Kit Pricing: What’s Really Included (and What Isn’t)
A $120,000 “base kit” price is meaningless without context. Below is a realistic breakdown of typical inclusions versus frequent exclusions across leading U.S. steel kit providers:
| Item | Commonly Included? | Typical Exclusions & Cost Impact |
|---|---|---|
| Structural framing (studs, tracks, joists, rafters) | ✓ Yes | None—this is core |
| Engineered drawings & stamped plans | ✗ Often partial or extra ($2,500–$7,000) | Site-specific load calcs, energy modeling, seismic detailing |
| Exterior sheathing & bracing | ✗ Rarely included | OSB/CDX, diagonal steel bracing, hold-down anchors ($3,200–$9,800) |
| Thermal break components | ✗ Usually optional | Exterior continuous insulation, insulated subfloor panels, thermal break clips ($4,100–$12,500) |
| Fasteners & connectors | ✗ Often basic only | Corrosion-rated screws, seismic-rated hold-downs, moment-frame connectors ($1,800–$5,300) |
| Roof truss engineering & fabrication | ✗ Frequently outsourced | Custom truss design, wind-uplift certification, metal roof attachment details ($3,500–$8,900) |
Real-world total landed cost—including mandatory engineering, site prep, foundations, utilities, and thermal upgrades—typically runs 1.6–2.1× the advertised kit price. Underestimating this leads to budget shortfalls mid-construction—or dangerous value-engineering compromises.
4. Builder Compatibility: The Silent Dealbreaker
Even the best-designed steel kit fails if your builder lacks experience with cold-formed steel. Unlike wood, steel requires specialized tools (self-piercing rivet guns, laser levels for plumb verification), sequencing knowledge (shear wall installation before floor decking), and familiarity with tolerance stacking.
In a 2022 survey of 89 general contractors who built steel kit homes, 73% reported needing 2–4 weeks of learning curve before achieving consistent quality—resulting in schedule delays averaging 11 days. Worse, 41% said they’d refuse a second steel kit job without direct manufacturer technical support onsite during framing.
Before signing, verify whether your chosen builder has completed at least two steel-framed projects in the past three years—and request contact information for those clients. Ask specifically: Did the builder need manufacturer field support? Were there rework incidents due to misinterpreted details? Was the engineering package clear and actionable?
5. Customization Realities: Where Flexibility Ends and Cost Escalation Begins
Most kit providers tout “fully customizable” designs. In practice, modifications fall into three tiers:
- Free adjustments: Window/door sizing within standard rough opening ranges, minor wall relocations (< 24”), ceiling height tweaks (±6”).
- Billed modifications: Moving load-bearing walls, adding cantilevers, changing roof pitch beyond ±5°, integrating vaulted ceilings. Expect $850–$3,200 per change, plus 2–4 weeks engineering delay.
- Prohibited changes: Altering diaphragm depth, reducing stud spacing below 16” o.c., eliminating required bracing lines, or substituting non-certified connection hardware. These violate the engineered system’s tested performance—and void warranties.
A common trap: assuming open-floor plans are “easier” with steel. They’re not. Removing interior walls increases reliance on engineered shear walls and moment frames—requiring heavier members, more complex connections, and rigorous anchorage. One client in Colorado Springs discovered their “open concept” revision added $27,000 in structural upgrades after engineering review—costs not reflected in the initial quote.
Mini Case Study: The Vermont Mountain Home That Stayed Dry
When Sarah and Mark purchased 12 forested acres in Vermont’s Zone 5 climate, they chose a steel kit for its durability against heavy snow loads and moisture. But early quotes omitted critical thermal details. Their first provider offered a “standard” kit with R-13 cavity insulation and no exterior insulation. Their energy model predicted surface temperatures inside wall cavities dropping below dew point for 117 days annually—guaranteeing interstitial condensation.
They switched to a provider requiring mandatory R-5 continuous exterior insulation, thermally broken subfloor assemblies, and factory-installed gasketing at all track connections. The kit cost 22% more upfront—but eliminated the need for costly dehumidification systems, prevented mold remediation, and achieved HERS 42 (vs. projected 68). Crucially, the provider assigned a regional technical advisor who visited the site twice during framing to verify thermal break continuity—a step that caught three installation errors before drywall went up.
Step-by-Step: Your 7-Point Due Diligence Checklist Before Signing
- 1. Verify jurisdictional approval: Confirm the kit’s engineering is stamped for your exact county and municipality—not just “meets IRC.”
- 2. Audit the thermal package: Require written specs for continuous insulation R-value, thermal break clip spacing, and air barrier continuity method.
- 3. Review connection details: Ensure every shear wall, roof-to-wall, and foundation-to-floor connection shows tested, listed hardware—not “field-fabricated solutions.”
- 4. Validate builder readiness: Require your builder to complete the kit provider’s certification training—or hire their recommended installer.
- 5. Demand a full BOM cross-check: Compare the bill of materials against your final floor plan. Count every stud, track, and brace—then verify quantities match engineering schedules.
- 6. Clarify warranty scope: Does it cover material defects only—or workmanship, thermal bridging failures, and corrosion? What’s the claims process?
- 7. Secure post-sale support terms: Get written confirmation of technical hotline access, field visit availability, and timeline for modification engineering turnaround.
FAQ
Can I finance a steel home kit like a traditional build?
Yes—but lenders require more documentation. You’ll need stamped engineering, a detailed construction budget showing all costs (not just the kit), and proof of builder licensing and bonding. Some lenders (like Farm Credit East or credit unions with rural lending programs) offer specialized steel-construction loans with higher LTV ratios due to lower long-term risk profiles.
Do steel kits qualify for green building incentives?
Often yes—but only with verified performance. LEED, ENERGY STAR, and NGBS certifications require third-party energy modeling and on-site blower door testing. Kits with integrated thermal breaks, high-efficiency envelope detailing, and low-VOC coatings qualify more readily than basic packages. Ask for the provider’s recent certification history in your climate zone.
How long does steel framing last compared to wood?
Properly galvanized and installed steel framing lasts 100+ years with zero maintenance—far exceeding pressure-treated wood (25–40 years) or standard lumber (15–30 years in damp climates). Its longevity isn’t theoretical: A 2021 study of 1940s-era steel-framed military housing in Florida showed zero structural degradation after 78 years, despite salt-air exposure and hurricane-force winds.
Conclusion
Choosing a steel framed home kit isn’t a transaction—it’s the first act of stewardship over a structure designed to outlive you. The right kit delivers resilience, efficiency, and quiet confidence in extreme weather. The wrong one delivers cost overruns, builder frustration, and thermal compromises that erode comfort and value. Focus relentlessly on engineering integrity, thermal intelligence, and builder capability—not square footage or rendering aesthetics. Demand specificity, verify claims with stamped documents and real references, and treat the engineering package as your most vital contract clause. When you do, steel framing transforms from a construction method into a long-term advantage: one that stands true, performs consistently, and endures with dignity.
💬 Have you built with a steel kit—or avoided one for good reason? Share your hard-won insight in the comments. Your experience helps others navigate this complex decision with clarity and confidence.