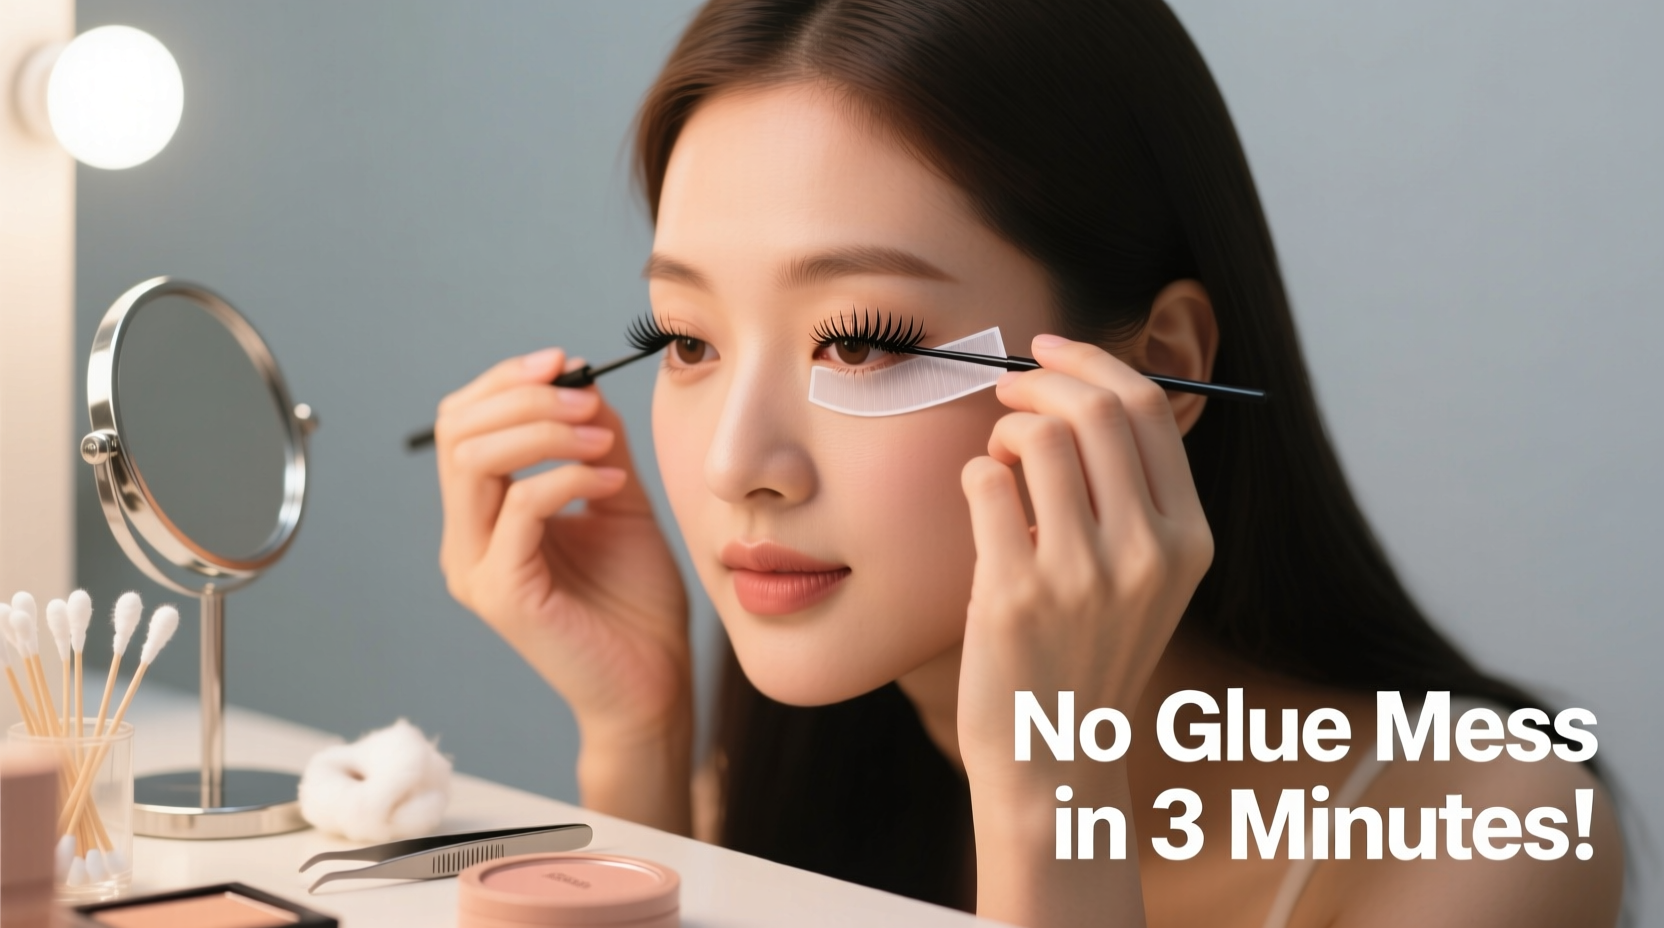
False eyelashes can transform your look from ordinary to dramatic in seconds. But for many, the process is more frustrating than fabulous—especially when dealing with sticky glue that dries too fast, smears on the skin, or causes lashes to shift during application. The good news? With the right tools, technique, and a little practice, you can apply falsies cleanly and confidently in under 180 seconds. No excess glue, no cleanup, just flawless volume and length.
The key lies not in rushing, but in precision: choosing the right lash style, prepping properly, using controlled adhesive, and mastering placement. Whether you're getting ready for a photoshoot, date night, or a last-minute event, this guide delivers a repeatable method that eliminates the mess while maximizing impact.
Select the Right Lash Style for Your Eye Shape
Not all false lashes are created equal—and not every pair will suit your eye shape. Choosing incorrectly often leads to poor adhesion, uneven gaps, and the need for multiple adjustments, which increases the chance of glue spreading beyond the band.
Consider these matches based on common eye types:
| Eye Shape | Recommended Lash Style | Avoid |
|---|---|---|
| Almond | Dramatic outer corners (cat-eye) | Overly long center lashes |
| Hooded | Wispy, medium-length with lift at base | Heavy, full-band lashes |
| Round | Natural, tapered ends | Exaggerated wings |
| Monolid | Voluminous inner and center focus | Thin, sparse lashes |
Lashes that fit your natural lid curve reduce the need for constant repositioning. A well-fitted band sits flush against your lash line, minimizing glue exposure and sealing neatly without overflow.
Tip: Trim the outer edge of your lashes slightly shorter if they extend past your natural lash line—this prevents lifting and glue seepage at the corners.Prep Your Natural Lashes and Eyelids
Applying falsies over oily lids or smudged mascara creates instability. Glue repels oil, so even small amounts of residue weaken adhesion, forcing you to add more product—which leads directly to mess.
Cleanse your eyelids with an oil-free makeup remover wipe. Follow with a light sweep of toner or micellar water on a cotton swab to ensure zero greasiness. Let the area dry completely before proceeding.
If you wear mascara, apply a light coat to your natural lashes and curl them. This helps blend real and fake lashes seamlessly and provides a subtle anchor point for better alignment. Avoid clumpy or waterproof formulas—they resist bonding and make removal harder later.
“Proper prep cuts application time in half. Clean, primed lids mean less glue, faster stick, and zero sliding.” — Dana Lin, Celebrity Makeup Artist
Use the Right Adhesive and Apply It Strategically
This is where most people go wrong. Standard black lash glue is effective but messy when applied liberally. Clear glues take longer to set, increasing the risk of shifting. The solution? Use a quick-dry formula and apply it with control.
Choose a latex-free, clear adhesive with a fine-tip applicator. These dry within 20–30 seconds and offer enough hold without excess tackiness. Popular options include Duo Quick-Dry Clear or Kiss Precision Tip Adhesive.
Instead of running glue along the entire band, use a targeted approach:
- Apply a rice-grain-sized dot at the center of the lash band.
- Place another tiny dot near each end—avoiding the very tips.
- Wait 20–30 seconds until the glue becomes tacky (not wet).
This method reduces squeeze-out when pressing the lash down. Wet glue pushes outward under pressure; tacky glue bonds instantly upon contact.
Tip: Store your lash glue upright in a cool, dry place. Seal the cap tightly after use to prevent premature drying.Step-by-Step Application: The Three-Minute Technique
Speed comes from consistency, not haste. Follow this precise sequence to apply lashes cleanly and efficiently:
Step 1: Align and Measure (0:00–0:20)
Hold the lash band against your lash line to check fit. If the outer edge extends beyond your natural eye corner, trim it with small scissors. Always cut from the outer end inward to preserve the lash gradient.
Step 2: Apply Glue Sparingly (0:20–0:40)
Squeeze a tiny amount of adhesive onto the back of your hand. Dip a toothpick or micro brush into the glue and transfer three small dots to the lash band—center, inner third, outer third. Wait 25 seconds until tacky.
Step 3: Position with Precision (0:40–1:30)
Using tweezers or a lash applicator, place the center of the lash band on the midpoint of your natural lash line. Press gently with a clean fingertip or tool. Then secure the inner corner, followed by the outer wing. Do not press the entire band at once—targeted pressure prevents glue displacement.
Step 4: Blend and Set (1:30–2:30)
Once the lash is secure, lightly press along the band with the flat side of a bobby pin or angled liner brush to ensure full adhesion. If needed, use tweezers to nudge any lifted edges.
Step 5: Conceal and Finish (2:30–3:00)
Apply a thin layer of liquid eyeliner over the lash band to hide any visible gaps or adhesive. This also reinforces the bond. Finally, gently press your natural lashes upward into the false ones using an eyelash curler for seamless blending.
“Most women spend two minutes fighting their lashes because they skip the tackiness window. Wait 30 seconds—that’s the golden rule.” — Marcus Reed, MUA & Beauty Educator
Common Mistakes That Cause Glue Mess
Even experienced users fall into traps that lead to sticky fingers and smudged makeup. Avoid these pitfalls:
- Applying too much glue: More isn’t better. Excess glue oozes out and sticks to eyelids or fingers.
- Placing lashes too close to the brow bone: This forces you to adjust repeatedly, dragging glue across the skin.
- Using old or dried-out adhesive: Thick, clumpy glue doesn’t spread evenly and takes longer to set.
- Skipping the tackiness phase: Applying while still wet causes slippage and reapplication, doubling glue exposure.
- Reusing dirty lash bands: Residual glue buildup affects adhesion and makes placement unpredictable.
Each mistake adds time and increases the likelihood of a messy outcome. Precision beats force every time.
Mini Case Study: From Frustration to Flawless in One Week
Sophie, a 28-year-old marketing executive, had avoided false lashes for years. “I’d try them for events, but always ended up with glue on my lid, one lash crooked, and the other falling off,” she said. After learning the targeted glue method and practicing the three-minute timeline daily for seven days, she reported a breakthrough.
“I started with inexpensive drugstore lashes and clear glue. I timed myself. Day one took five minutes and failed. By day four, I was under three minutes with zero mess. Now I wear them weekly—they’re part of my routine.”
Her turning point? Waiting for the glue to become tacky and using only three glue points. “It sounds minor, but it changed everything.”
Checklist: Clean False Lash Application in Under 3 Minutes
Follow this checklist every time for consistent results:
- ☐ Cleanse eyelids with oil-free remover
- ☐ Curl natural lashes and apply light mascara (optional)
- ☐ Trim lash band if necessary
- ☐ Apply three small dots of glue: center, inner, outer
- ☐ Wait 25–30 seconds until tacky
- ☐ Place center first, then inner, then outer corner
- ☐ Press gently with fingertip or tool—do not slide
- ☐ Seal band with eyeliner to hide edges
- ☐ Blend natural and false lashes with a mini curler
Practice this sequence twice a week, even if you don’t plan to wear lashes. Muscle memory builds confidence and speed.
Frequently Asked Questions
Can I use magnetic lashes instead to avoid glue?
Yes, magnetic lashes eliminate glue entirely. However, they require special magnetic eyeliner and may not provide the same snug fit as glued versions. Some users report visible liner lines or weaker hold during humidity or sweat. For a truly mess-free alternative, they’re worth trying—but traditional lashes with proper technique often deliver a more seamless finish.
What do I do if glue gets on my eyelid?
If a small amount of glue touches your skin, wait until it dries completely, then gently peel it off with clean fingertips. Do not pull on the skin. For larger smudges, use a pointed cotton swab dipped in micellar water to dissolve the area after removing the lashes. Never rub wet glue—it spreads further.
How do I remove lashes without damaging my natural ones?
Start at the outer corner and gently lift the band upward and away from your lash line. Do not pull downward. Use a cotton pad soaked in oil-based remover to loosen stubborn adhesive. After removal, cleanse your lids and apply a nourishing serum to your natural lashes to maintain strength.
Final Tips for Long-Term Success
Mastery comes with repetition. Even professionals spent hours perfecting their technique. Keep these final insights in mind:
- Invest in a good pair of curved lash tweezers—they offer superior grip and control.
- Keep your tools clean. Wipe tweezers with alcohol after each use.
- Store reusable lashes in their original tray to maintain shape.
- Replace lash glue every 4–6 months, even if not fully used.
With the right approach, applying false eyelashes shouldn’t be a chore. It should feel like the final flourish of your look—one that enhances your eyes, not stresses you out.
🚀 Ready to master flawless falsies? Practice the three-minute method tonight—even without an event. Build the habit, beat the mess, and step out with confidence every time.