Choosing between gel extensions and acrylic nails isn't just about aesthetics—it's also about long-term nail health. Both options offer durability, versatility, and instant length, but they interact with natural nails in different ways. For many, the real concern isn't how beautiful the nails look on day one, but how their natural nails feel and look months later. Understanding the structural differences, application techniques, and aftercare demands of each type is essential to minimizing damage and preserving nail integrity.
Damage to natural nails from enhancements typically stems not from the materials themselves, but from improper application, maintenance, and removal. However, inherent properties of gel and acrylic systems do influence how gently—or aggressively—they affect the nail plate over time. This article breaks down the science, technique, and real-world outcomes behind both types of nail extensions to help you decide which option is truly gentler on your natural nails.
Understanding Nail Anatomy and Vulnerability
The human nail is composed of keratin layers that form a protective plate over the nail bed. The surface may appear hard, but it’s porous and sensitive to chemical exposure, mechanical stress, and dehydration. When applying enhancements, technicians work directly on this plate, often preparing it by buffing or dehydrating the surface to improve adhesion.
This prep phase is where initial damage can occur. Over-buffing thins the nail, making it more prone to peeling, splitting, and sensitivity. Similarly, prolonged exposure to solvents like acetone—commonly used in acrylic removal—can strip natural oils, leading to brittleness and dryness. The goal of any enhancement system should be to provide strength without compromising the underlying structure.
“Nail health begins with respecting the nail plate as living tissue. Even minor trauma during prep or removal can trigger long-term weakening.” — Dr. Lena Torres, Dermatologist & Nail Health Specialist
Gel Extensions: Composition and Application Process
Gel nail extensions are made from a flexible, UV-cured resin that bonds to the natural nail or tip. They’re known for their glossy finish, natural appearance, and flexibility—qualities that contribute to reduced stress on the nail bed. Unlike acrylics, gel doesn’t harden in air; it requires curing under a UV or LED lamp at specific intervals.
The application process usually involves:
- Cutting and shaping the natural nail.
- Gently buffing the surface to remove shine (minimal abrasion).
- Applying a pH-balancing dehydrator and primer (non-acidic options available).
- Attaching a nail form or tip, then building the extension with liquid gel applied in thin layers.
- Curing each layer under a lamp before adding the next.
- Filing and finishing with a top coat.
Because gel is lightweight and flexible, it moves with the natural nail rather than resisting its slight flex. This reduces leverage and pressure at the cuticle line, decreasing the risk of lifting and subsequent trauma during wear.
Tip: Opt for soak-off gel systems instead of permanent gels that require drilling. Soakable gels reduce mechanical stress during removal.Acrylic Nails: How They Work and Their Impact
Acrylic nails are created by combining a liquid monomer with a powder polymer, forming a malleable putty that hardens in air. This mixture is sculpted onto the nail to build shape and length. Acrylics are praised for their strength and durability—ideal for people who bite their nails or use their hands frequently.
However, the very properties that make acrylics strong also increase the potential for damage:
- Rigidity: Acrylic is much stiffer than natural nails, creating a “lever effect” when the nail is bumped or pressed. This can cause micro-tears at the nail bed junction.
- Heat during curing: The chemical reaction produces heat, which some clients report as a burning sensation—especially if too much product is applied at once.
- Thicker application: Technicians often apply acrylic more heavily to prevent breakage, adding weight and stress to the natural nail.
- Removal process: Acrylics must be soaked in acetone for extended periods and then gently filed off. Aggressive scraping can rip layers from the nail plate.
Additionally, improper prep—such as excessive buffing to “rough up” the nail—compounds the risk. While skilled technicians minimize these issues, the margin for error is smaller with acrylics due to their aggressive bonding and removal requirements.
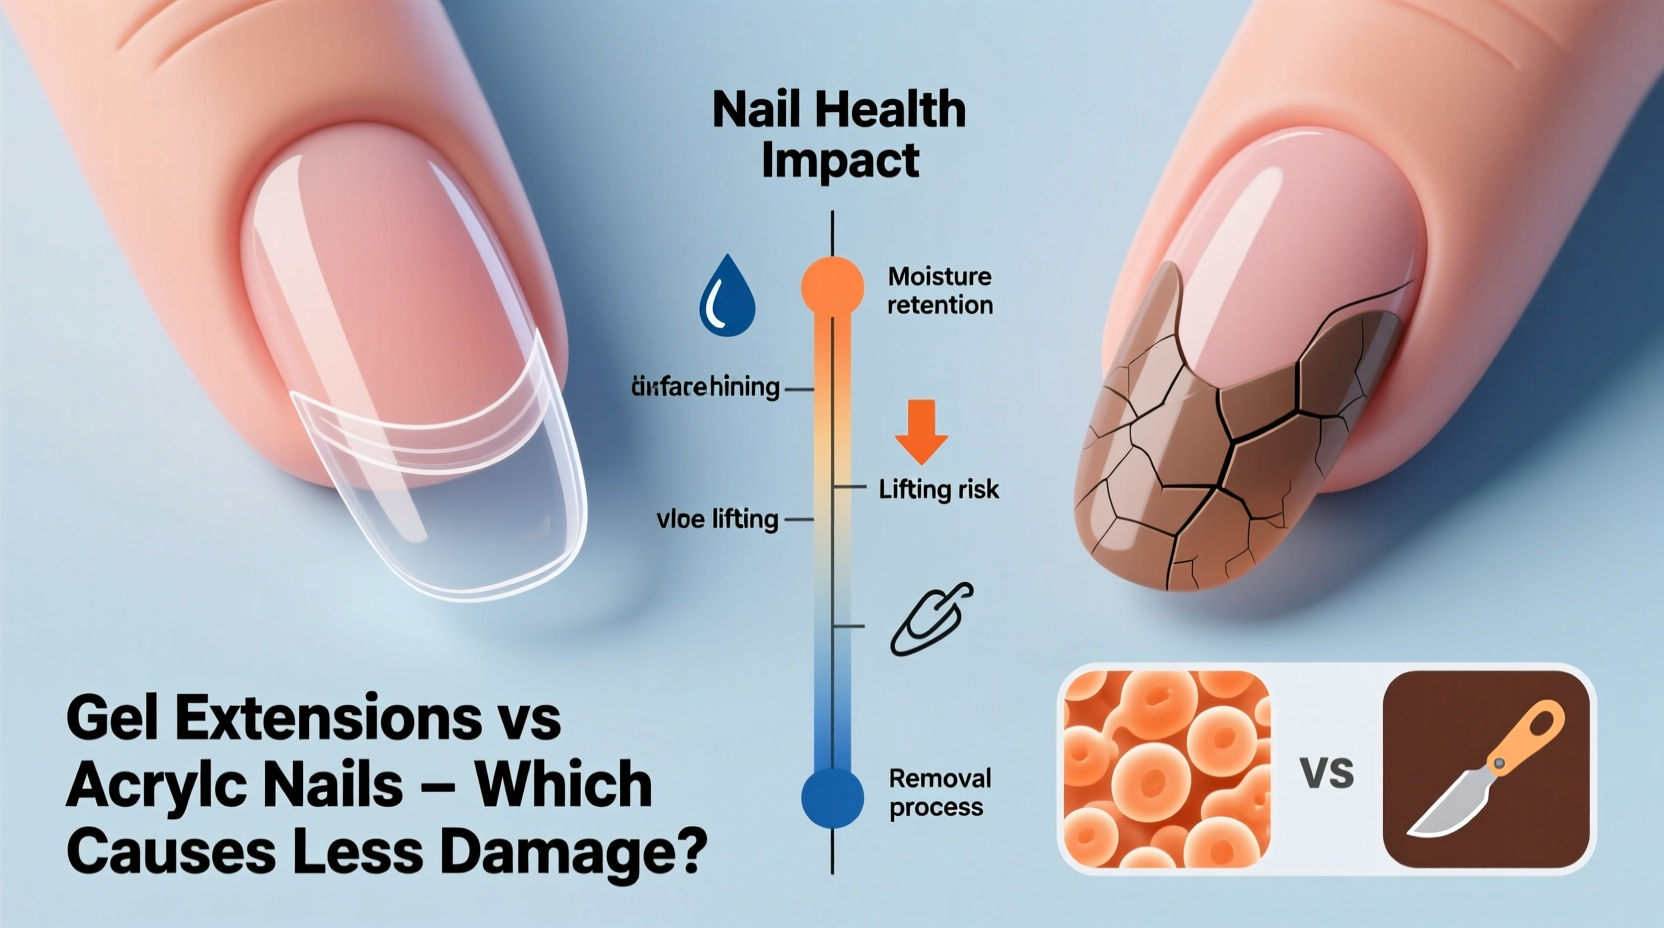
Comparative Analysis: Gel vs Acrylic – Which Causes Less Damage?
To determine which system is gentler, consider key factors related to application, wear, and removal. The table below summarizes critical differences:
| Factor | Gel Extensions | Acrylic Nails |
|---|---|---|
| Weight | Lightweight, flexible | Heavier, rigid |
| Natural Nail Prep | Minimal buffing required | Often requires more aggressive surface prep |
| Flexibility | High – moves with natural nail | Low – creates leverage stress |
| Chemical Exposure | Mild; low odor, non-porous cured gel | Strong monomer fumes; uncured resin can irritate |
| Removal Method | Soak-off (10–15 mins) with acetone wrap | Longer soak + filing; higher risk of scraping |
| Post-Removal Condition | Usually thin but intact | Often layered, peeled, or weakened |
| Lifting Risk | Lower due to flexibility | Higher; can lead to moisture trapping and fungal risk |
Based on clinical observations and client feedback, gel extensions consistently result in less post-removal damage when applied and removed correctly. Their flexibility, lighter weight, and gentler removal process make them a better choice for individuals with naturally thin or weak nails.
Real-World Example: A Client’s Journey
Sophia, a 32-year-old office worker, had worn acrylic nails for five years. Over time, she noticed her natural nails became increasingly thin, yellowed, and prone to peeling. After a particularly rough removal session, her nails split down to the quick, causing pain and discouragement.
She switched to gel extensions under the guidance of a certified nail technician who emphasized minimal prep and bi-weekly infills. Within three months, Sophia reported stronger growth, less sensitivity, and no peeling. After a year, she transitioned back to bare nails with confidence—something she hadn’t felt in nearly a decade.
Her experience reflects a growing trend: clients who prioritize nail health are opting for gel systems not just for beauty, but for sustainability.
Best Practices to Minimize Damage Regardless of Type
No enhancement is completely risk-free. Even the gentlest system can cause harm if misapplied or poorly maintained. Follow this checklist to protect your natural nails:
Checklist: Nail Health Protection Plan- Choose a licensed, experienced technician with positive reviews.
- Insist on minimal buffing—only enough to remove shine.
- Avoid “ripping off” or picking at enhancements; always schedule professional removal.
- Keep nails moisturized with cuticle oil twice daily.
- Take breaks between sets—at least two weeks of bare-nail recovery every 8–10 weeks.
- Wear gloves when doing dishes or cleaning to prevent waterlogging and chemical exposure.
- Never file down your natural nail aggressively after removal.
Step-by-Step: Safe Removal of Gel Extensions
Improper removal is one of the leading causes of nail damage. Follow this safe method for removing gel extensions:
- Gently file down the shiny top coat to break the seal (do not drill into the natural nail).
- Soak cotton pads in pure acetone and place them on each nail.
- Wrap each fingertip in aluminum foil to hold the cotton in place.
- Wait 10–15 minutes—no longer—to allow the gel to soften.
- Gently push or nudge the softened gel off with an orangewood stick.
- If resistance is felt, re-soak rather than force removal.
- Once clean, wash hands and apply cuticle oil immediately.
- Avoid water exposure for at least two hours post-removal.
Skipping steps—especially rushing removal—can lead to irreversible thinning. Patience is key.
Frequently Asked Questions
Can I wear gel or acrylic nails if I have weak natural nails?
Yes, but with caution. Weak nails may benefit from the protection of an overlay, but only if applied with minimal prep and proper technique. Gel overlays (without extensions) are often recommended in such cases, as they add strength without excess weight.
How long should I wait before reapplying after removal?
Allow at least 7–14 days of recovery. During this time, hydrate the nails with oils and avoid harsh chemicals. Reapplying too soon prevents the nail plate from regaining moisture and resilience.
Are dip powder nails safer than gel or acrylic?
Dip powders contain cyanoacrylate (similar to superglue) and require similar removal to acrylics—acetone soaking and filing. Though marketed as “safer,” they still pose risks if over-buffed or improperly removed. In terms of damage, they fall between gel and acrylic in severity.
Conclusion: Prioritizing Long-Term Nail Health
When comparing gel extensions and acrylic nails, the evidence points clearly toward gel systems as the less damaging option. Their flexibility, lighter weight, and safer removal process make them a superior choice for maintaining natural nail strength and integrity. That said, the technician’s skill and your aftercare habits play equally important roles.
Nail enhancements should enhance—not endanger—your natural beauty. By choosing gel extensions, insisting on gentle application, and allowing time for recovery, you can enjoy stylish nails without sacrificing long-term health.
💬 Have you switched from acrylics to gels—or vice versa? Share your experience and tips in the comments to help others make informed choices!