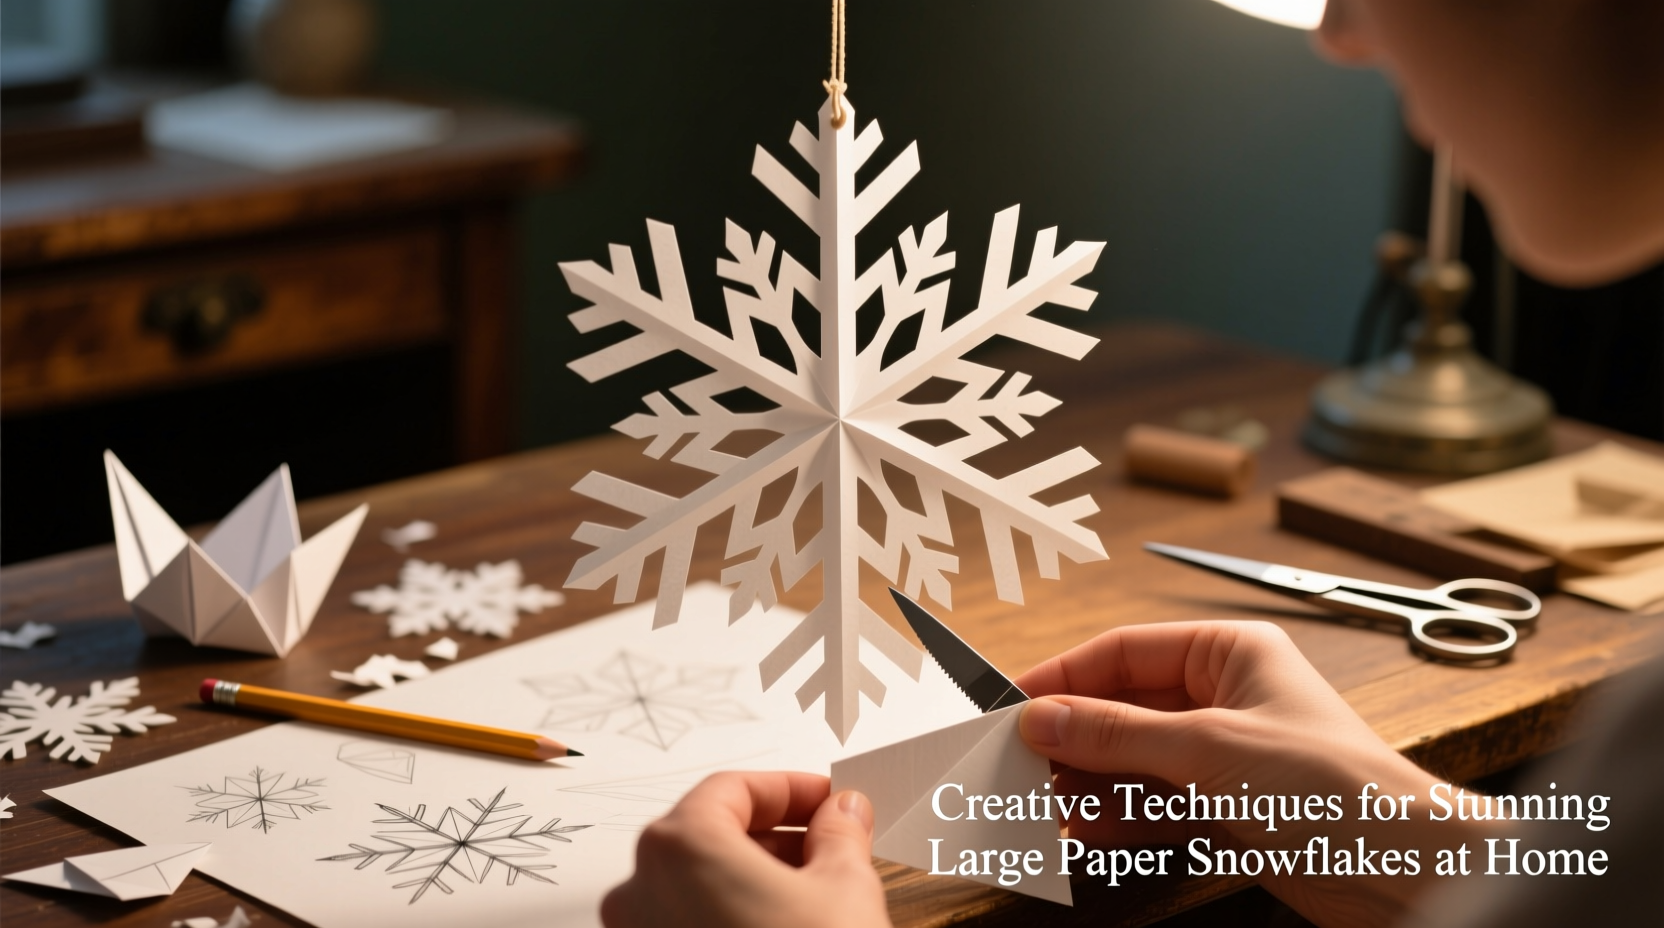
Creating large paper snowflakes is more than a seasonal craft—it’s an art form that blends symmetry, patience, and imagination. When done with intention, these intricate decorations can transform any space into a winter wonderland. While traditional small snowflakes have their charm, oversized versions command attention, making them ideal for holiday displays, classroom projects, or festive photo backdrops. With the right techniques, even beginners can produce breathtaking designs that rival professional installations.
Selecting the Right Materials
The foundation of a stunning large snowflake lies in material choice. Standard printer paper may suffice for small crafts, but larger snowflakes require sturdier, more flexible sheets to maintain shape and support detailed cuts. Tissue paper, while lightweight, tears easily and lacks structural integrity. Instead, consider using kraft paper, gift wrap, or lightweight cardstock—materials that balance durability with ease of folding and cutting.
For truly dramatic pieces (30+ inches in diameter), architectural tissue paper or Japanese washi paper offers both strength and translucency, allowing light to pass through when hung near windows or lamps. Scissors should be sharp and precision-tipped; craft knives are useful for fine interior details. A self-healing cutting mat and ruler help maintain clean folds and straight guide lines, especially when working with heavier paper.
Tip: Spray large snowflakes lightly with hairspray after completion to add stiffness and reduce dust accumulation.Folding Techniques for Maximum Symmetry
Symmetry defines a snowflake’s beauty. Most natural snowflakes exhibit six-fold radial symmetry, and replicating this requires precise folding. Start with a square sheet—larger dimensions (e.g., 24” x 24”) allow for more elaborate patterns. To achieve a six-pointed design, fold the square diagonally into a triangle, then divide it into thirds by bringing each corner toward the center. This creates a cone-like wedge perfect for radial cutting.
For bolder visual impact, some artists use eight-point symmetry by folding into quarters twice. Though not scientifically accurate, this style lends itself to geometric complexity and works well in modern decor. Use a bone folder or the back of a spoon to crease folds sharply—this prevents slippage during cutting and ensures clean unfolding.
“Precision in folding is half the art. If your base isn’t aligned, no amount of cutting will save the final piece.” — Lena Torres, Paper Art Instructor at the Northern Craft Institute
Design Innovation: Beyond Basic Cuts
Once folded, the real creativity begins. Move beyond repetitive triangular notches by incorporating varied shapes: spirals, stars, scallops, and crescents. Use templates lightly sketched in pencil before cutting—these act as guides without compromising the paper’s surface. For large-scale work, consider layering multiple snowflakes of decreasing size to create a 3D effect. Attach them with brass fasteners or thread them on fishing line for a cascading display.
Another advanced technique involves selective perforation. Instead of removing entire sections, punch tiny holes with a needle tool to mimic frost patterns. When lit from behind, these micro-perforations glow like constellations. Some crafters combine metallic gel pens or watercolor washes on the finished piece for added depth—apply color before unfolding to maintain symmetry.
| Technique | Best For | Difficulty Level |
|---|---|---|
| Basic wedge cut | Beginners, children's crafts | Easy |
| Spiral scrollwork | Dramatic centerpieces | Intermediate |
| Layered stacking | 3D installations | Intermediate |
| Perforation detailing | Backlit displays | Advanced |
| Hand-painted accents | Artistic expression | Intermediate |
Step-by-Step Guide to Crafting a 36-Inch Snowflake
- Prepare your paper: Use a 36” x 36” sheet of lightweight kraft paper or architectural tissue. Smooth it flat on a large table or floor space.
- Create a perfect square: If needed, trim the edges to ensure equal dimensions.
- Fold diagonally: Bring one corner to the opposite, forming a large triangle. Press firmly along the crease.
- Divide into thirds: Estimate the angle (60 degrees) and fold one side over approximately one-third of the triangle. Fold the remaining third over the top. Secure with clips if necessary.
- Sketch your design: Lightly draw curves, waves, or geometric motifs along the edges using a soft pencil.
- Cut carefully: Use sharp scissors or a craft knife to follow your lines. Avoid cutting the folded spine entirely—leave at least an inch connected to preserve structure.
- Unfold gently: Slowly open each fold, supporting the paper to prevent tearing. Lay flat or hang immediately.
- Reinforce if needed: Apply a light mist of starch or hairspray to add rigidity, especially in humid environments.
Real-World Application: A Community Holiday Project
In 2022, the Maplewood Public Library launched a “Snowflake Sky” initiative to decorate their atrium for the holidays. Volunteers—including children, seniors, and local artists—collaborated to create over 50 large paper snowflakes, each measuring between 24 and 40 inches. They used recycled book pages and donated wrapping paper, folding them with six-fold symmetry and incorporating cutouts inspired by local wildlife: deer silhouettes, pine branches, and owl eyes.
The snowflakes were suspended at varying heights using clear fishing line, creating a dynamic, immersive ceiling display. Natural light filtered through the translucent layers during the day, and string lights illuminated them at night. The project not only beautified the space but strengthened community bonds and showcased how accessible materials can yield extraordinary results with thoughtful design.
Common Pitfalls and How to Avoid Them
- Uneven folding: Misaligned creases lead to lopsided snowflakes. Always measure and mark folding points.
- Overcutting: Removing too much paper weakens the structure. Maintain connecting bridges between sections.
- Rushing the unfold: Impatience causes tears. Support the paper evenly as you open each fold.
- Ignoring environment: Humidity warps paper. Store and display snowflakes in dry areas away from vents.
- Using dull tools: Jagged edges ruin delicate lines. Replace blades frequently during long sessions.
FAQ
Can I make large snowflakes with kids?
Absolutely. Use smaller large-scale paper (18–24 inches) and pre-fold the bases. Let children focus on safe, guided cutting with safety scissors. Their creations can be part of a family gallery or window display.
How do I hang a giant paper snowflake without damaging walls?
Use removable adhesive hooks or transparent tape designed for delicate surfaces. Alternatively, drape fishing line across a ceiling beam or attach to curtain rods. Avoid nails or tacks that could tear the paper.
Are there eco-friendly options for large snowflakes?
Yes. Recycled paper, old maps, sheet music, or repurposed packaging materials work beautifully. These add unique texture and reduce waste, making your craft both artistic and sustainable.
Conclusion
Crafting large paper snowflakes is an invitation to blend science, art, and tradition into something uniquely expressive. Whether you’re designing a single centerpiece or orchestrating a room-sized installation, the techniques outlined here empower you to push beyond convention. From precise folding to imaginative detailing, every step contributes to a final piece that captures light, movement, and the quiet magic of winter.
💬 Share your snowflake story! Have you created a massive paper masterpiece? Post your tips, photos, or challenges in the comments—let’s inspire a blizzard of creativity together.