Types of Cement Lamp DIY
A cement lamp is a popular DIY project that combines industrial aesthetics with functional lighting. Known for its durability, minimalist appeal, and customizable design, cement offers a unique medium for creating stylish lighting fixtures. Whether you're crafting a table lamp, pendant, or wall light, cement provides a modern, earthy texture that enhances any interior space. Below are the most popular types of cement lamps you can create at home.
Cement and Wood Lamp
A striking fusion of natural warmth and industrial strength, this lamp blends wood and cement for a balanced, organic look.
Advantages
- Unique contrast between warm wood and cool cement
- Versatile design (table, floor, or hanging)
- Can include engraved patterns for ambient lighting effects
- Highly customizable for personal style
Considerations
- Requires sealing wood to prevent moisture damage
- Heavier than traditional lamps
- Precise alignment needed during assembly
Best for: Industrial, rustic, or modern farmhouse interiors; ideal as a statement piece on desks or shelves.
Cement Planter Lamp
A creative dual-purpose design that merges greenery with illumination, perfect for compact or nature-inspired spaces.
Advantages
- Saves space by combining lighting and plant display
- Adds life and freshness to indoor environments
- Great for small apartments or offices
- Eco-friendly and biophilic design element
Considerations
- Must ensure waterproofing between planter and electrical components
- Requires drainage planning to avoid root rot
- Limited bulb types due to moisture sensitivity
Best for: Urban homes, indoor gardens, wellness spaces, or minimalist offices.
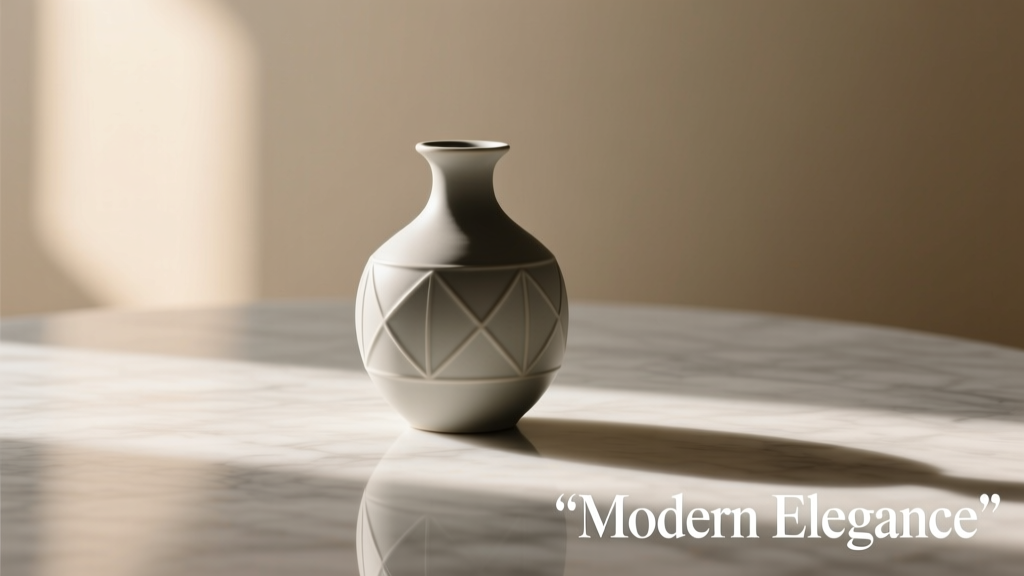
Geometric Cement Lamp
Defined by sharp angles and symmetrical forms, this lamp brings a modern, architectural flair to any room.
Advantages
- Eye-catching, sculptural appearance
- Available in various shapes (cubes, pyramids, hexagons)
- Perfect for contemporary or minimalist décor
- Can be used as pendant, table, or wall-mounted fixtures
Considerations
- Complex molds required for intricate shapes
- Longer curing and drying times
- Edges may chip if not properly sealed
Best for: Modern living rooms, art studios, or design-forward commercial spaces.
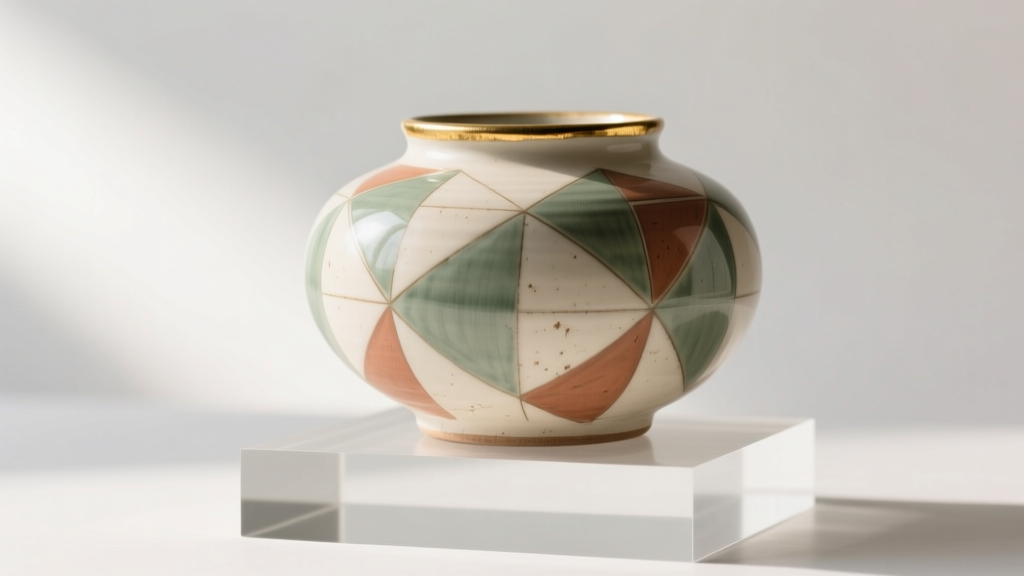
Cement Lamp with Soothing Colors
Softens the industrial look of concrete with earthy pigments for a warm, inviting glow.
Advantages
- Reduces the coldness of raw concrete
- Available in calming hues like beige, sage green, or blush
- Durable and long-lasting with pigmented finish
- Blends well with cozy, Scandinavian, or boho interiors
Considerations
- Pigments must be mixed thoroughly to avoid blotchiness
- Color may fade slightly over time with UV exposure
- Fewer color options in natural cement dyes
Best for: Bedrooms, reading nooks, nurseries, or relaxation areas.
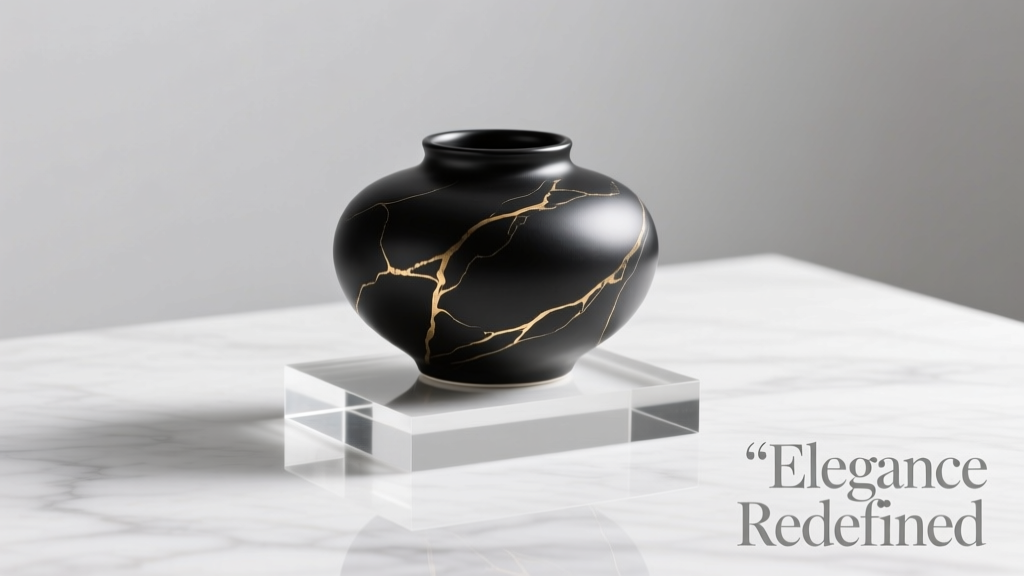
Cement Lamp with Gold Accents
Elevates the rugged texture of cement with luxurious metallic finishes for a bold, glamorous statement.
Advantages
- Combines industrial and elegant design elements
- Gold streaks, trims, or bases add sophistication
- Excellent focal point in modern or glam interiors
- High visual impact with warm lighting reflection
Considerations
- Gold leaf or paint may require reapplication over time
- More expensive due to premium materials
- May clash with overly rustic or minimalist themes
Best for: Luxury living rooms, boutique hotels, or accent lighting in entryways.
| Lamp Type | Style | Durability | DIY Difficulty | Ideal Use Case |
|---|---|---|---|---|
| Cement & Wood | Industrial, Rustic | High | Medium | Living rooms, desks, shelves |
| Cement Planter Lamp | Biophilic, Functional | Medium-High | Medium | Small spaces, offices, indoor gardens |
| Geometric Cement | Modern, Minimalist | High | High | Artistic spaces, accent lighting |
| Colored Cement | Warm, Cozy | Medium | Medium | Bedrooms, relaxation areas |
| Gold Accent Cement | Glam, Luxe | Medium | Medium-High | Statement pieces, luxury interiors |
Expert Tip: When working with cement for DIY lamps, always use a mold release agent (like cooking spray or silicone) to ensure easy removal. Allow 24–48 hours for curing, and seal the finished piece with a concrete sealer to protect against dust and moisture—especially important if incorporating wood or electrical components.
Why Cement Lamp DIY Projects Are Exceptionally Durable
DIY cement lamps have surged in popularity due to their modern aesthetic, customizability, and remarkable durability. Unlike traditional lighting fixtures made from plastic, wood, or thin metals, cement lamps are engineered to withstand the test of time—both indoors and outdoors. Their resilience stems from a combination of material properties and advanced finishing techniques that protect against environmental stressors. Below is a detailed breakdown of the key factors that make cement lamps a long-lasting and practical choice for home and garden lighting.
Water Resistance
One of the most critical aspects of durability in lighting fixtures is water resistance—especially for outdoor or bathroom installations. While raw concrete is naturally porous and susceptible to moisture damage over time, modern DIY cement lamps use specially formulated concrete mixes enhanced with performance additives.
Ingredients such as silica fume, polymer modifiers, and waterproofing agents significantly reduce porosity by filling microscopic gaps in the cement matrix. This creates a denser, less absorbent surface that resists water penetration, minimizing the risk of freeze-thaw cracking in colder climates.
Additionally, this improved water resistance helps prevent the growth of mold, mildew, and algae—common issues in humid environments. As a result, cement lamps maintain both structural integrity and visual appeal, even in damp or exposed locations.
UV Resistance
For outdoor lighting, prolonged exposure to sunlight can cause fading, discoloration, and material degradation. Cement lamps, however, are uniquely suited to handle UV exposure thanks to their inherent composition and the use of UV-stable pigments.
The concrete itself does not degrade under ultraviolet radiation, unlike plastics or painted surfaces that may become brittle or chalky over time. Moreover, high-quality cement lamps incorporate UV-resistant mineral pigments during the mixing process, ensuring that color remains vibrant and consistent for years—even in direct sunlight.
This makes cement lampshades an excellent choice for patios, gardens, and coastal areas where both aesthetic longevity and functional performance are essential.
Corrosion Resistance
Corrosion is a common issue for outdoor lighting fixtures, particularly in environments with high humidity, salt spray (e.g., near oceans), or industrial pollution. Traditional metal components like screws, wiring housings, or mounting brackets can rust, compromising both safety and appearance.
DIY cement lamps address this by integrating corrosion-resistant hardware such as stainless steel, galvanized metal, or high-grade plastic fixtures. These materials resist oxidation and chemical breakdown, ensuring that internal components remain protected even when embedded in or exposed through the cement structure.
The cement itself acts as a protective barrier, shielding metal elements from direct contact with moisture and air. This synergy between durable concrete and non-corrosive fittings enhances the lamp’s lifespan, making it ideal for coastal homes, poolside areas, or urban settings with high pollution levels.
Dust and Stain Resistance
Maintenance is a key concern for any decorative lighting fixture. While untreated concrete can be prone to staining and dust accumulation, modern cement lamps are typically finished with protective sealants that dramatically improve cleanability and surface resilience.
High-performance penetrating sealers or topical coatings create a smooth, semi-gloss surface that repels water, oil, and dirt. These finishes prevent common household spills, dust, and grime from being absorbed into the pores of the cement.
Cleaning becomes effortless—usually requiring only a damp cloth or mild soap solution. This not only preserves the lamp’s appearance but also reduces long-term wear caused by abrasive cleaning methods. Whether placed in a living room, kitchen, or outdoor lounge, a sealed cement lamp remains visually striking with minimal upkeep.
| Durability Factor | Benefit | Best For |
|---|---|---|
| Water Resistance | Prevents cracking, mold, and structural weakening | Bathrooms, gardens, rainy climates |
| UV Resistance | Retains color and prevents surface degradation | Patios, sunrooms, coastal areas |
| Corrosion Resistance | Protects internal components from rust and decay | Outdoor use, humid zones, near pools or oceans |
| Stain & Dust Resistance | Easy cleaning and long-term aesthetic retention | High-traffic areas, kitchens, living spaces |
Tips for Maximizing Longevity of Your Cement Lamp
Important: Always ensure that electrical components in DIY cement lamps are properly insulated and rated for their environment (indoor vs. outdoor). Improper installation can pose safety hazards. When in doubt, consult an electrician or use pre-assembled lighting kits designed for concrete integration.
How to Choose a Cement Lamp DIY Kit
Creating your own cement lamp through a DIY project is a rewarding way to blend functionality with artistic expression. Cement lamps offer a modern, industrial aesthetic that complements a variety of interior styles—from minimalist lofts to rustic homes. However, selecting the right DIY cement lamp kit requires careful consideration of several key factors to ensure both structural integrity and visual appeal.
Whether you're a beginner or an experienced crafter, understanding what makes a quality cement lamp kit will help you achieve professional-looking results. Below are the most important aspects to evaluate before starting your project.
Material Quality
The foundation of any durable cement lamp lies in the quality of materials used. Low-grade cement can result in a fragile structure prone to cracking, chipping, or uneven curing, which compromises both safety and appearance.
- High-density, fiber-reinforced concrete provides superior strength and longevity
- Premium kits often include additives that reduce shrinkage and prevent micro-cracks during drying
- Complementary materials like stainless steel rods, hardwood bases, or natural stone accents enhance both durability and design
- Look for kits that specify non-toxic, eco-friendly cement blends suitable for indoor use
Pro tip: Avoid generic concrete mixtures; opt for formulations designed specifically for decorative casting.
Crafting Skill Level
DIY cement lamp kits vary widely in complexity, making it essential to choose one that matches your experience and available tools.
- Beginners should look for kits with pre-measured ingredients, easy-release molds, and step-by-step video tutorials
- Intermediate crafters can explore modular designs with customizable shapes and embedded lighting elements
- Advanced users may prefer raw material kits allowing full creative control over mold design and finish techniques
- Some projects require tools like trowels, vibrators, or sealant sprayers—ensure you have access before starting
Key insight: Choose a kit with clear instructions and customer support options for troubleshooting.
Design and Aesthetic
Your cement lamp should not only illuminate a space but also serve as a statement piece that enhances your interior decor.
- Modern minimalist designs feature clean lines and neutral tones ideal for Scandinavian or contemporary spaces
- Industrial-style lamps with exposed metal fixtures suit urban lofts and warehouse conversions
- Geometric or sculptural forms add artistic flair to living rooms or entryways
- Many kits offer coloring options—mineral dyes, stains, or paint finishes—allowing personalization
Design tip: Consider how the lamp’s texture and color interact with surrounding materials like wood, glass, or fabric.
Size and Proportion
Getting the scale right ensures your cement lamp enhances rather than overwhelms its environment.
- Table lamps should be proportional to the surface they sit on—typically no taller than 1.5x the table height
- Floor lamps should extend above eye level when seated (around 60–72 inches) for optimal lighting
- Small accent lamps work well on nightstands or shelves, while larger statement pieces suit open areas
- Consider ceiling height and room size—oversized lamps in compact rooms can feel oppressive
Visual balance: Maintain harmony between the lamp, furniture, and architectural elements.
Additional Features
Modern DIY cement lamp kits go beyond basic lighting, integrating smart features and enhanced functionality.
- Dimmable LED bulbs allow adjustable brightness for mood lighting or task illumination
- Built-in USB charging ports add convenience for bedside or office use
- Energy-efficient LED strips reduce power consumption and heat output
- Smart-enabled models connect via Bluetooth or Wi-Fi for app or voice control (e.g., Alexa, Google Assistant)
- Touch-sensitive bases or remote controls improve usability
Tech upgrade: Look for E26/E27 sockets compatible with smart bulbs for future flexibility.
Finishing and Maintenance
A well-finished cement lamp resists stains, dust, and moisture while maintaining its aesthetic over time.
- High-quality kits include or recommend food-safe sealants or penetrating concrete sealers
- Polished or honed finishes offer a sleek look and easier cleaning
- Unsealed cement is porous and may absorb oils or liquids—always apply a protective coating
- Maintenance involves occasional dusting and resealing every 1–2 years depending on use
Longevity tip: Use a water-based polyurethane sealer for indoor lamps to preserve color and texture.
Expert Recommendation: For first-time builders, choose a mid-tier DIY cement lamp kit that includes all necessary components—pre-mixed cement, mold, wick or core tube, light socket, cord, and finishing guide. This reduces guesswork and increases the likelihood of a successful, crack-free result. Always allow at least 7 days for full curing before handling or wiring the lamp.
| Project Type | Skill Level | Key Features | Estimated Build Time |
|---|---|---|---|
| Simple Table Lamp | Beginner | Premade mold, basic wiring, single bulb | 3–5 days (including curing) |
| Geometric Pendant Light | Intermediate | Custom mold assembly, multi-faceted design, dimmable LED | 5–7 days |
| Floor Lamp with Smart Controls | Advanced | Reinforced base, smart socket, app integration | 7–10 days |
| Wall-Mounted Sconce Set | Intermediate | Multiple units, color-matched finish, hardwired option | 6–8 days |
Additional Considerations
- Safety Standards: Ensure electrical components are UL-listed or CE-certified for safe indoor use
- Mold Quality: Silicone molds with high tear resistance allow for smooth demolding and reuse
- Eco-Friendliness: Some kits use recycled aggregates or low-carbon cement alternatives
- Weight Management: Large cement lamps can be heavy—verify furniture weight limits and consider wall mounting
- Customization Options: Kits that allow embedding objects (glass, metal inlays, etc.) offer greater creative freedom
Customization Options for Cement Lamp DIY Projects
Creating a cement lamp through a DIY approach offers endless opportunities for personalization and creative expression. Cement is a versatile and durable material that responds beautifully to various artistic techniques, making it ideal for crafting unique lighting fixtures. Whether you're aiming for a minimalist modern look or a bold industrial statement, this guide explores the key customization options to help you design a one-of-a-kind cement lamp that complements your space and style.
1. Color Customization: Bring Your Vision to Life
One of the most impactful ways to personalize your cement lamp is through color. By incorporating pigments or specialized cement dyes during the mixing process, you can achieve a wide spectrum of hues—from soft pastels and elegant grays to vibrant reds and deep blues.
- Subtle Elegance: Lighter tones like white, beige, or soft gray create a calm, contemporary aesthetic that blends seamlessly with neutral interiors.
- Bold Statements: Rich colors such as cobalt blue, terracotta red, or forest green add visual interest and serve as focal points in a room.
- Custom Blending: Experiment with mixing pigments to create custom shades that match your home’s color palette perfectly.
- Application Tip: Add liquid or powder pigments gradually to the cement mix to ensure even color distribution and avoid streaks.
Pro Tip: Test your color mix on a small sample batch before casting the final lamp to ensure the dried shade meets your expectations—cement often appears darker when dry.
2. Texture and Finish: Define the Lamp’s Character
The surface texture and finish significantly influence the lamp’s overall feel and visual appeal. Depending on the technique used, you can achieve anything from a sleek, polished surface to a rugged, organic look.
- Polished Finish: Sand the cured cement with progressively finer grits (up to 800–1500) and apply a concrete sealer for a smooth, glossy surface—ideal for modern or Scandinavian designs.
- Natural/Rough Texture: Leave the mold marks or use textured molds to preserve a raw, industrial aesthetic that highlights the material’s natural strength.
- Sandblasting or Acid Etching: For advanced users, these methods can create unique matte or pitted finishes that diffuse light beautifully.
- Sealing: Always apply a clear sealant to protect the surface, enhance color depth, and prevent dust accumulation.
3. Shape and Design: Unleash Your Creativity
The mold is your canvas. With cement’s adaptability, you can experiment with a wide range of shapes and structural designs.
- Flexible Silicone Molds: Easily release intricate shapes and allow for complex geometries like hexagons, waves, or asymmetrical forms.
- DIY Mold Making: Create custom molds using cardboard, foam, or 3D-printed forms for truly unique designs.
- Modular Designs: Combine multiple cement pieces—such as stacked cylinders or interlocking cubes—for sculptural, artistic lamps.
- Functional Aesthetics: Consider how the shape affects light diffusion; rounded edges soften light, while angular shapes create dramatic shadows.
4. Additional Elements: Elevate Your Design
Enhance both the functionality and visual appeal of your cement lamp with thoughtful additions.
- Lamp Base & Holder Materials: Pair your cement base with complementary materials like reclaimed wood, brushed metal, or transparent acrylic for contrast and warmth.
- Lighting Choices:
- LED Bulbs: Energy-efficient and cool to the touch—perfect for enclosed or small fixtures.
- Edison Bulbs: Exposed filament bulbs add vintage charm and enhance the industrial vibe of cement.
- Decorative Embellishments:
- Embed glass beads, stones, or mosaic tiles for inlays.
- Use stencils or carving tools to etch patterns or quotes into the surface.
- Incorporate live edge wood caps or hanging greenery (e.g., air plants) for a biophilic touch.
- Electrical Components: Use pre-wired lamp kits with switches and cords for easy assembly and safe operation.
| Customization Feature | Ideal For | Recommended Tools/Materials | Tips for Best Results |
|---|---|---|---|
| Color Dyes | Matching room decor, creating mood lighting | Cement pigments, mixing buckets, gloves | Mix thoroughly; test on a sample first |
| Polished Finish | Modern, minimalist interiors | Sanding discs, polishing compound, sealer | Sand gradually; seal to protect shine |
| Geometric Shapes | Contemporary or artistic spaces | Silicone molds, release agent | Ensure mold stability during curing |
| Wood/Metal Accents | Warm contrast, hybrid designs | Drill, adhesive, finishing supplies | Pre-treat wood to prevent moisture damage |
| Edison Bulbs | Vintage, industrial, or cozy atmospheres | Exposed bulb fixture, dimmer switch | Pair with open-top designs for full visibility |
Design Insight: Consider the lamp’s placement when customizing—desk lamps benefit from softer edges and warm lighting, while floor lamps can make bolder design statements with height and texture.
Final Thoughts on Cement Lamp DIY
A cement lamp is more than just a light source—it's a piece of functional art. By thoughtfully combining color, texture, shape, and accessories, you can create a personalized lighting solution that reflects your creativity and enhances your living space. Remember to prioritize safety when working with electrical components and allow ample curing time (at least 48–72 hours) for the cement to fully set. With patience and imagination, your DIY cement lamp can become a cherished centerpiece in your home.
Frequently Asked Questions About Cement Lamps
Q1: Are cement lamps suitable for outdoor use?A1: Yes, most cement lamps are specifically designed for both indoor and outdoor environments. They are typically made with high-quality, weather-resistant concrete that includes additives to resist UV degradation, moisture absorption, and freeze-thaw cycles. This makes them durable and ideal for patios, gardens, walkways, and other exterior spaces. However, for prolonged outdoor exposure, it’s recommended to apply a sealant every 1–2 years to enhance protection against staining and water damage.
Q2: Can cement lamps be moved easily?A2: Cement lamps are known for their sturdiness and stability, but this comes with added weight compared to alternatives like plastic or aluminum. While they are not as lightweight as other materials, many designs incorporate practical features such as handles or compact bases to improve portability. For frequent relocation, consider smaller models or those mounted on wheels. Always use proper lifting techniques or assistance when moving heavier units to prevent strain or damage.
Q3: How should cement lamps be cleaned?A3: Cleaning cement lamps is simple and requires minimal effort. For routine maintenance:
- Use a soft, damp cloth to wipe away dust and light dirt.
- For tougher stains, use a mild soap or pH-neutral cleaner—avoid harsh chemicals or abrasive scrubbers that could damage the finish.
- For textured surfaces, a soft-bristle brush can help reach crevices without scratching.
- Always dry the lamp after cleaning to prevent water spots or moisture buildup.
If your lamp has a colored or sealed finish, follow the manufacturer’s care instructions to preserve its appearance and longevity.
Q4: Are cement lamps energy-efficient?A4: While the material of the lamp itself doesn’t impact energy consumption, cement lamps are fully compatible with energy-efficient lighting solutions. When paired with LED bulbs, solar-powered inserts, or smart lighting systems, they contribute to a low-energy lighting setup. Additionally, the dense nature of cement provides natural heat insulation, helping to dissipate heat from the bulb and increasing the lifespan of the lighting components—further enhancing efficiency and safety.
Q5: What is the curing time for cement lamps?A5: Cement lamps undergo a curing process that ensures strength, durability, and longevity. The full curing cycle typically takes about 28 days, during which the cement continues to hydrate and harden. However, initial demolding can usually occur within 24 to 48 hours after casting, depending on ambient temperature, humidity, and the specific cement mix used. Proper curing is essential—it prevents cracking, improves resistance to weather, and enhances the structural integrity of the lamp. Manufacturers often allow lamps to cure fully before shipping to ensure quality and safety.