If your clothes are coming out damp after a full drying cycle, the issue may not be a complex mechanical failure—often, it's something as straightforward as a blown thermal fuse. The thermal fuse is a critical safety component in dryers designed to prevent overheating. When it fails, your dryer may still run but won’t generate heat. Understanding how this small part works and how to check it can save you time, money, and an unnecessary service call.
Unlike other heating system issues that involve wiring, thermostats, or heating elements, a faulty thermal fuse is one of the most common and easily diagnosable causes of a no-heat problem. This guide walks through what a thermal fuse does, how to test it, and what to do next—all using basic tools and minimal technical knowledge.
Understanding the Thermal Fuse: A Safety Mechanism
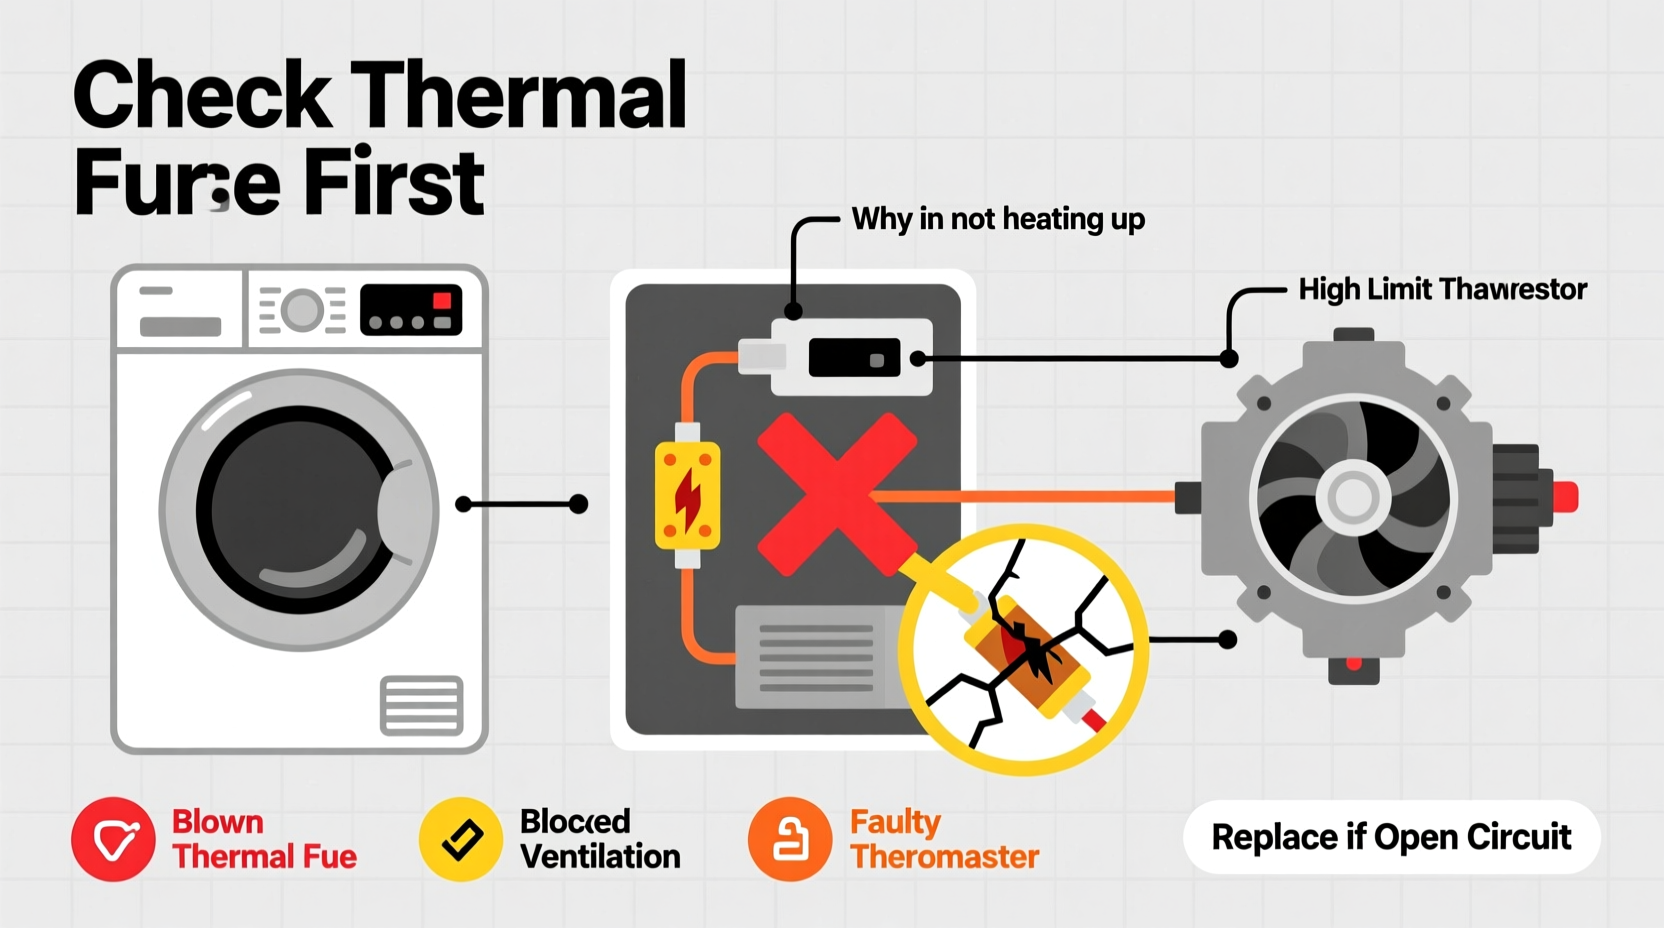
The thermal fuse is a one-time-use safety device located on the dryer’s exhaust duct or blower housing. Its sole purpose is to cut power to the heating circuit if the dryer exceeds a safe temperature—typically between 250°F and 300°F (121°C to 149°C). Once tripped, the fuse cannot be reset; it must be replaced.
This design prevents fire hazards caused by blocked vents, failing thermostats, or motor malfunctions. However, because it’s a fail-safe mechanism, it doesn’t distinguish between actual overheating and poor airflow. That means a clogged lint trap or kinked vent hose can indirectly cause the fuse to blow—even if the dryer never felt hot.
“More than half of the dryer no-heat cases we see in home repair clinics trace back to either a blown thermal fuse or restricted airflow.” — James Holloway, Appliance Repair Technician with 18 years of field experience
Because the thermal fuse is inexpensive and often accessible, checking it first makes sense before diving into more complex diagnostics like testing the heating element or control board.
Step-by-Step Guide to Check the Thermal Fuse
Before you begin, ensure the dryer is unplugged. Working on an electric appliance while it’s connected to power poses serious shock risks. For gas dryers, also shut off the gas supply line.
- Locate the Thermal Fuse
Refer to your dryer’s manual for exact placement, but in most models, the thermal fuse is mounted on the outside of the heater box or along the blower compartment. It’s usually a small white or black plastic component with two wires attached. - Access the Fuse
You’ll likely need to remove the back panel of the dryer. Use a screwdriver to take out the screws securing the panel. Set them aside safely. Some models require removing the top or front panel instead—consult your model’s service manual if unsure. - Disconnect the Wires
Carefully unplug the two wire leads from the fuse terminals. Don’t pull on the wires themselves—use needle-nose pliers if needed to grip the connectors. - Remove the Fuse
The fuse is typically secured with one or two screws. Remove them and gently pull the fuse free from its mounting. - Test for Continuity
Set a multimeter to the continuity setting (symbolized by a sound wave) or resistance (ohms, Ω). Touch one probe to each terminal on the fuse. If the meter beeps or shows a reading close to zero ohms, the fuse has continuity and is functional. If there’s no beep or the display reads “OL” (open loop), the fuse is blown. - Reassemble or Replace
If the fuse is blown, purchase an exact replacement (match part number and temperature rating). Install the new fuse, reconnect the wires, and reattach the panel.
Common Mistakes That Lead to Blown Fuses
A blown thermal fuse isn’t always a random failure—it’s often a symptom of deeper issues. Replacing the fuse without addressing the root cause will likely lead to another failure soon.
- Blocked Ventilation: Lint buildup in the exhaust duct restricts airflow, causing heat to accumulate inside the dryer cabinet.
- Kinked or Crushed Vent Hose: Flexible vinyl or foil hoses behind the dryer can get pinched, especially when pushed too close to the wall.
- Overloading the Dryer: Too much laundry reduces air circulation, increasing drying time and internal temperature.
- Using Incorrect Settings: High-heat cycles for delicate fabrics can contribute to excess heat over time.
- Running the Dryer with a Full Lint Trap: Even partial blockages reduce efficiency and increase strain on components.
| Issue | Effect on Thermal Fuse | Prevention |
|---|---|---|
| Clogged dryer vent | Causes repeated overheating | Clean vent every 6 months |
| Foil or plastic vent hose | Limits airflow, traps lint | Replace with rigid metal duct |
| Dirty blower wheel | Reduces air movement | Vacuum annually |
| Old or frayed wiring | Can short-circuit and overheat | Inspect wiring during maintenance |
Real Example: Sarah’s Dryer Dilemma
Sarah noticed her dryer was taking nearly two hours to dry a regular load. At first, she assumed the machine was aging. After calling a technician, she was quoted $280 for a “heating element replacement.” Before agreeing, she decided to research the issue herself.
She found online forums discussing thermal fuses and realized she’d never cleaned her dryer vent. Using a vacuum and a long brush, she cleared out a dense clump of lint from the exhaust duct. Then, following a YouTube tutorial, she tested the thermal fuse with a multimeter borrowed from a neighbor. The meter showed no continuity—confirming the fuse was blown.
She ordered a $12 replacement part online and installed it in under 30 minutes. After cleaning the vent thoroughly and replacing the fuse, her dryer returned to normal operation. The total cost? $12 and one afternoon of work. The root cause wasn’t age or a failing element—it was poor maintenance.
Checklist: What to Do When Your Dryer Isn’t Heating
Follow this checklist systematically to identify and resolve the issue efficiently:
- ✅ Unplug the dryer before inspection
- ✅ Check if the dryer is receiving adequate power (test outlet or reset breaker)
- ✅ Clean the lint filter and inspect for hidden clogs
- ✅ Inspect the exhaust vent for blockages or bends
- ✅ Remove the back panel to access internal components
- ✅ Locate and disconnect the thermal fuse
- ✅ Test the fuse for continuity using a multimeter
- ✅ Replace the fuse if defective (ensure correct part number)
- ✅ Reassemble the dryer and test on a heated cycle
- ✅ Monitor performance and airflow over the next few loads
When the Thermal Fuse Isn’t the Problem
If the thermal fuse tests good but the dryer still doesn’t heat, the issue may lie elsewhere. Other common culprits include:
- Defective Heating Element: In electric dryers, the heating coil can break or short out. Visually inspect for gaps or burns.
- Failed Thermostats: Cycling and high-limit thermostats regulate temperature. One or more may be stuck open.
- Bad Igniter (Gas Dryers):strong> If the igniter glows but doesn’t ignite the gas, it may be worn out.
- Malfunctioning Timer or Control Board: These manage the heating cycle and can fail electronically.
- Broken Motor Centrifugal Switch: Prevents the heating circuit from engaging even if the drum spins.
While these issues require more advanced diagnostics, ruling out the thermal fuse first streamlines troubleshooting. It’s rare—but possible—for multiple components to fail simultaneously, especially in older units.
FAQ
Can I bypass the thermal fuse to test if it’s the problem?
No. Bypassing the fuse disables a critical safety feature and creates a fire hazard. Always test with a multimeter instead of jumpering the circuit.
How much does a thermal fuse cost?
Most thermal fuses range from $8 to $20, depending on the brand and model. Universal replacements are available but should match the original’s amperage and temperature rating.
Is it worth repairing an older dryer?
If your dryer is over 10–12 years old, consider the cost-benefit. A $15 fuse fix is worthwhile. But if multiple parts are failing, replacement may offer better energy efficiency and reliability.
Final Thoughts and Action Steps
A dryer that runs but doesn’t heat is a frustrating household problem, but it’s often rooted in simple, solvable causes. The thermal fuse is a prime suspect—and thankfully, one of the easiest to verify. With a multimeter, a screwdriver, and about 20 minutes, you can determine whether this small component is the reason your clothes aren’t drying.
However, remember that a blown fuse is rarely the starting point of the problem—it’s usually the end result of restricted airflow or poor maintenance. Fixing the fuse without cleaning the vent or replacing a damaged duct sets you up for repeat failures.
By combining component checks with preventive care, you extend not only the life of your dryer but also the safety of your home. Regular lint removal, annual vent inspections, and prompt attention to warning signs like longer drying times can prevent most heating issues before they start.
🚀 Don’t let a cold dryer slow you down. Grab a multimeter, locate that thermal fuse, and restore your drying power today. Share your repair story or ask questions in the comments—helping others troubleshoot keeps our homes running smoothly.