A vacuum cleaner that once effortlessly lifted dust and debris now struggles to pick up even light crumbs. If this sounds familiar, you're not alone. Suction loss is one of the most common complaints among vacuum owners—yet it’s often fixable without professional help. The key lies in understanding what causes the drop in performance and taking swift, targeted action. Whether your vacuum is bagged or bagless, upright or canister, the principles behind maintaining strong suction are consistent. This guide breaks down the root causes, walks you through a step-by-step restoration process, and shares preventative strategies so your vacuum stays powerful for years.
Understanding Vacuum Suction: How It Works
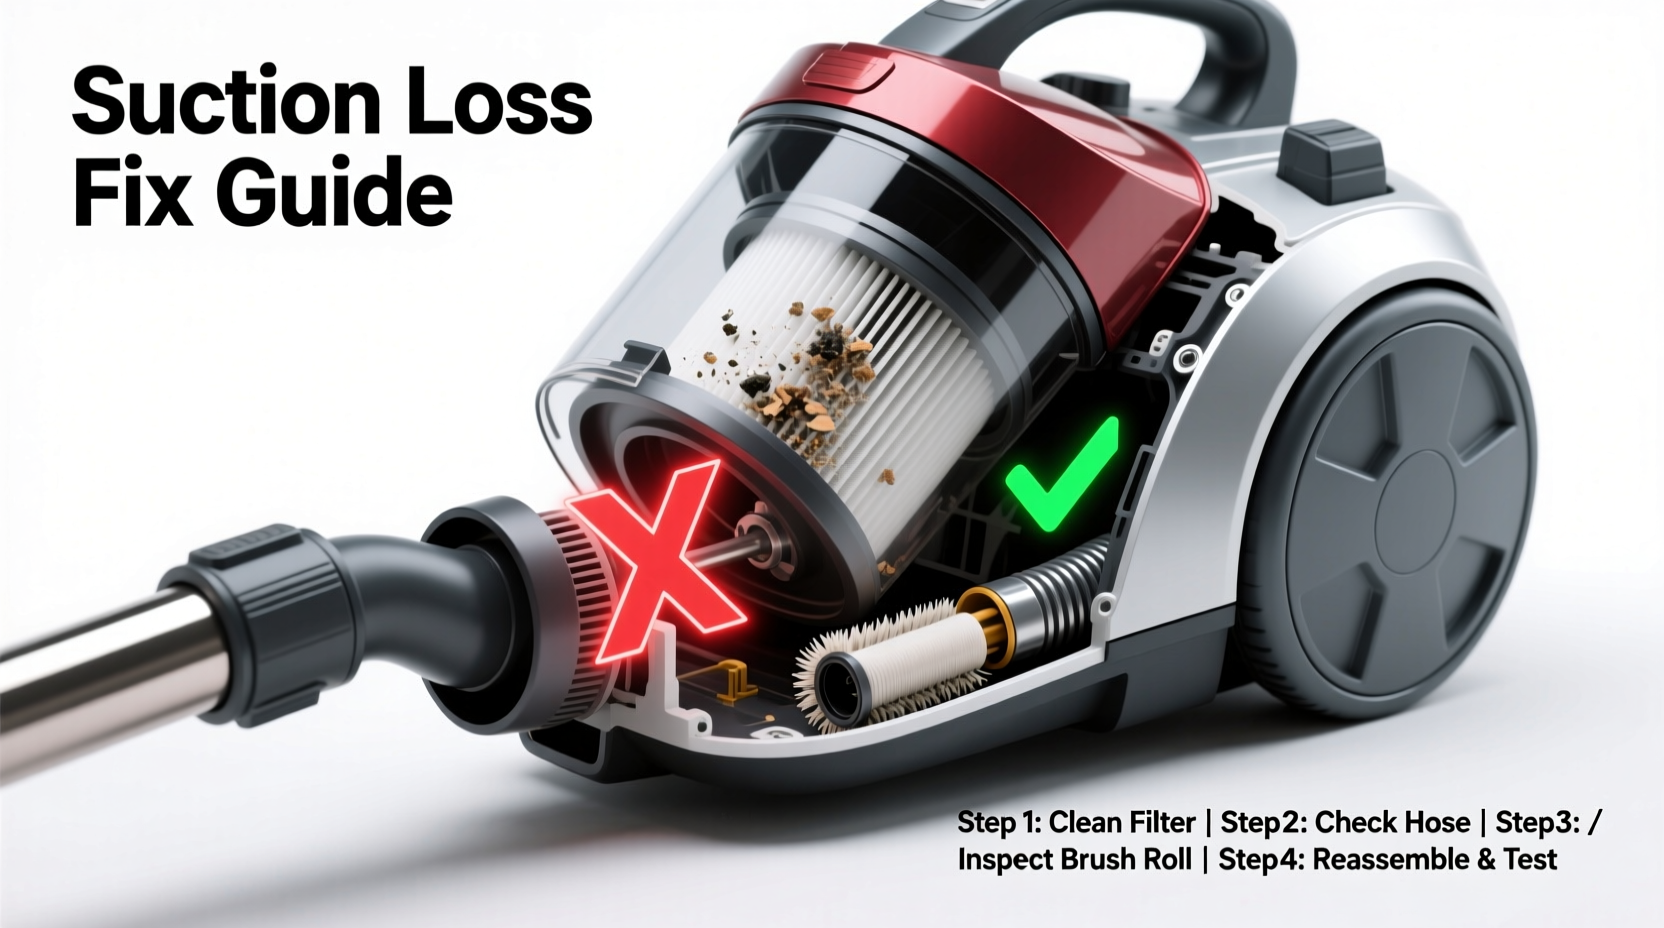
Vacuum suction relies on a pressure differential created by a motor-driven fan. As the fan spins rapidly, it pulls air (along with dirt) into the machine from the floor surface. For this system to work efficiently, airflow must remain unobstructed from the nozzle all the way to the exhaust. Any blockage, leak, or mechanical wear disrupts this airflow, reducing suction power. Even minor issues like a full dustbin or clogged filter can significantly impair performance. Understanding the anatomy of your vacuum—especially the airflow path—is essential to diagnosing problems quickly.
Most modern vacuums follow a similar airflow sequence:
- Air enters through the floor nozzle or handheld hose.
- Dirt is separated in the dustbin or bag.
- Air passes through one or more filters (pre-motor and post-motor).
- Cleaned air exits through the exhaust.
If any part of this chain is compromised, suction drops. The good news? Most issues are user-serviceable and don’t require replacement parts—at least initially.
Common Causes of Suction Loss and How to Diagnose Them
Suction problems rarely stem from a single cause. Instead, they’re usually the result of accumulated neglect or overlooked maintenance. Here are the most frequent culprits:
- Clogged filters: Over time, filters trap fine dust and pet hair, restricting airflow. Washable filters may appear clean but still harbor compacted debris deep within their fibers.
- Full dustbin or bag: A packed container reduces internal space for air movement. Bagged models lose suction when the bag is 70% full, even if it doesn’t look overflowing.
- Hose or wand blockages: Hair, string, or small objects can lodge inside the hose, especially near bends or connectors.
- Dirty or damaged brush roll: Tangled hair and fibers prevent the brush from spinning freely, reducing agitation and pickup efficiency.
- Cracked housing or air leaks: Cracks in the canister, loose hose connections, or worn gaskets allow air to escape before reaching the motor, breaking the vacuum seal.
- Misaligned components: After cleaning, reassembling parts incorrectly—such as placing the filter backward—can block airflow.
Step-by-Step Guide to Restore Vacuum Suction Fast
Follow this systematic approach to identify and resolve suction issues in under 30 minutes. No tools required for most models.
- Unplug the vacuum and empty the bin or replace the bag. Even if it looks half-full, do this first. A nearly full container is the simplest—and most overlooked—cause of poor performance.
- Inspect and clean all filters. Locate both pre-motor (intake side) and post-motor (exhaust side) filters. Rinse washable filters under lukewarm water until runoff is clear. Allow them to air-dry completely for at least 24 hours before reinstalling. Never operate the vacuum with wet filters—this risks motor damage.
- Check the hose for clogs. Detach the hose from both ends. Use a long, flexible object like a coat hanger (covered with cloth to avoid scratching) to dislodge debris. Alternatively, turn on a leaf blower and hold one end of the hose to the nozzle to force out obstructions.
- Examine the brush roll. Flip the vacuum over and remove the bottom plate. Cut away any hair or thread wrapped around the roller using scissors or a seam ripper. Spin the brush manually—it should rotate smoothly. If it’s stiff or wobbly, the bearings may be worn and need replacement.
- Inspect internal pathways. Some models have accessible channels between the brush head and dustbin. Shine a flashlight into these areas and remove visible debris with tweezers or a vacuum-safe tool.
- Verify all seals and connections. Ensure the dustbin clicks securely into place, the hose is fully seated, and rubber gaskets aren’t cracked or misaligned. A hissing sound during operation often indicates an air leak.
- Test suction after each step. Reassemble the vacuum and run it briefly after each fix. This helps pinpoint which action resolved the issue.
Do’s and Don’ts When Maintaining Vacuum Suction
| Action | Do | Don't |
|---|---|---|
| Cleaning Filters | Rinse monthly; dry 24+ hours | Use soap or install while damp |
| Emptying Dustbin | Empty when �� full | Wait until completely full |
| Unclogging Hose | Use a soft rod or compressed air | Use sharp metal tools that scratch |
| Storing Vacuum | Upright position, cool/dry area | Leave in damp basements or garages |
| Brush Roll Maintenance | Cut tangled hair weekly | Pull hard and damage bristles |
Real Example: How Sarah Fixed Her Dyson in 20 Minutes
Sarah, a pet owner with two shedding dogs, noticed her Dyson V8 wasn’t picking up fur from her hardwood floors. She tried changing the battery and shaking the bin, but nothing worked. Frustrated, she was about to order a new model—until she remembered reading about hidden hose clogs. She detached the wand and shone a flashlight inside. Near the elbow joint, she spotted a thick knot of dog hair blocking the passage. Using a bent wire clothes hanger, she carefully extracted the mass. After rinsing the filter (which looked clean but felt gritty), she reassembled the unit. On her next pass, the vacuum roared back to life, lifting embedded fur with ease. The entire fix took less than 20 minutes and cost nothing.
“Over 60% of suction issues we see in service centers are due to neglected filters and blocked hoses—problems users can fix themselves.” — Mark Reynolds, Senior Technician at Apex Appliance Repair
Preventative Maintenance Checklist
To avoid recurring suction loss, integrate these habits into your routine:
- ✅ Empty the dustbin or replace the bag every 1–2 uses (more often with pets)
- ✅ Clean washable filters monthly; replace non-washable ones every 6–12 months
- ✅ Inspect the brush roll weekly for tangles
- ✅ Check hose and wand for obstructions quarterly
- ✅ Wipe down exterior surfaces and crevices to prevent dust buildup
- ✅ Store the vacuum upright in a dry location, away from moisture and extreme temperatures
Frequently Asked Questions
Why does my vacuum lose suction after only a few months?
New vacuums often come with pristine airflow, but performance declines quickly without maintenance. Most users don’t realize that even high-end models require regular filter cleaning and debris removal. Additionally, manufacturers design some units with smaller dustbins to reduce size and weight, meaning they fill faster and require more frequent emptying.
Can a dirty filter permanently damage my vacuum?
Yes. A clogged filter forces the motor to work harder, increasing heat and strain. Over time, this can lead to premature motor burnout—a costly repair. In bagged models, a saturated filter can also allow fine dust to reach the motor, causing internal abrasion. Regular filter care extends both suction performance and machine lifespan.
Is it worth repairing an older vacuum with suction issues?
Often, yes. If the motor runs and the body is intact, replacing a filter ($15–$30), brush roll ($20–$40), or hose ($25) is far cheaper than buying a new unit. However, if multiple components are failing or the model is discontinued (making parts unavailable), upgrading may be more practical.
Conclusion: Take Control of Your Vacuum’s Performance
Losing suction doesn’t mean your vacuum is dying—it’s usually just asking for attention. By understanding the airflow system and committing to simple, regular maintenance, you can restore peak performance in minutes. Most fixes don’t require tools, technical skills, or money. The real investment is consistency: checking filters, clearing clogs, and treating your vacuum like the precision appliance it is. A well-maintained vacuum lasts years longer, cleans more effectively, and saves you time and money in the long run. Don’t wait for another frustrating cleaning session. Grab your manual, inspect your machine today, and breathe new life into its suction.
💬 Have a suction success story or a stubborn vacuum problem? Share your experience in the comments—your insight could help someone else get their machine back in top shape!