A foul, acrid odor wafting from your blender after just a few uses is not only alarming—it’s a warning sign. Even if your blender still functions, a burnt smell indicates something is wrong beneath the surface. This issue affects users across brands and models, from budget-friendly countertop blenders to high-end professional units. While some assume it's normal during initial use, persistent or recurring burning odors point to underlying mechanical, electrical, or maintenance problems that demand attention. Ignoring the scent can lead to motor failure, safety hazards, or even fire risk in extreme cases.
This article explores the science behind the burnt smell, identifies root causes with real-world examples, and provides actionable steps to diagnose, resolve, and prevent recurrence. Whether you're using your blender daily for smoothies or occasionally for sauces, understanding this problem ensures both longevity of your appliance and safety in your kitchen.
Common Causes of a Burnt Smell in Blenders
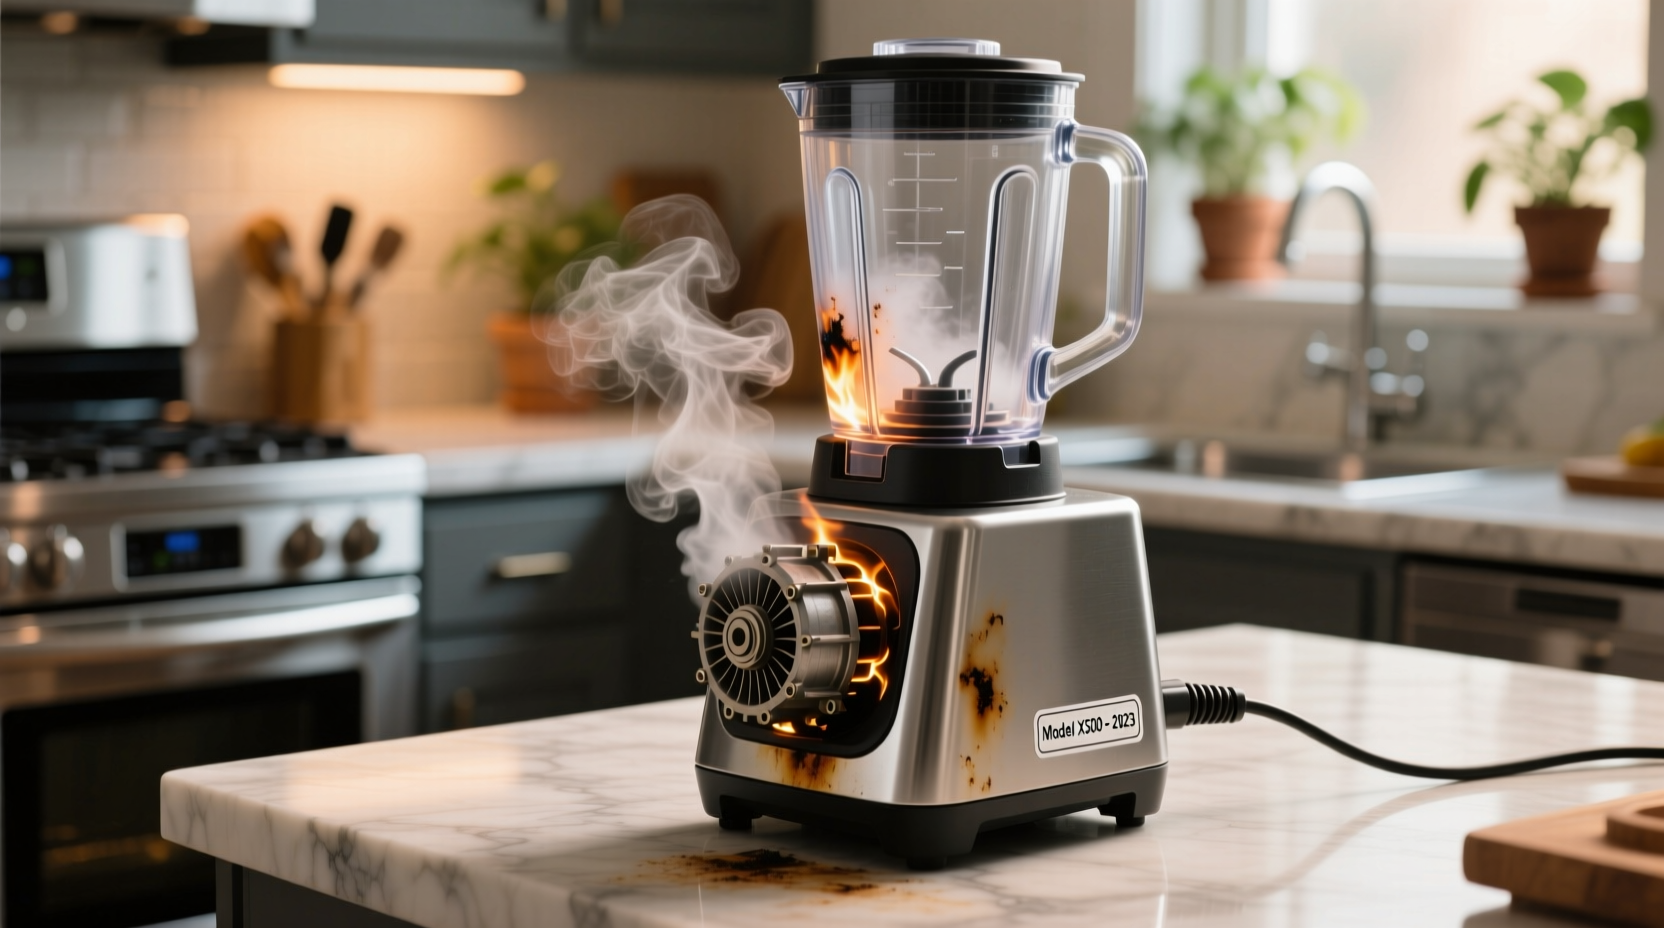
The most frequent reason people notice a burnt odor is overheating. However, the source of that heat varies—and misdiagnosis is common. Below are the primary culprits:
- Motor Overload: Running the blender too long without breaks, especially with thick mixtures like frozen fruit or nut butters, forces the motor to work harder than designed. This generates excess heat, potentially burning internal insulation or wiring.
- Dry Running or Low Liquid Content: Blending dry ingredients without sufficient liquid prevents proper cooling. Unlike food processors, blenders rely on liquid to dissipate heat. Dry blending—even briefly—can overheat the blades and motor coupling.
- Faulty Seals or Gaskets: A worn or improperly seated rubber gasket under the blade assembly may allow liquid to seep into the base where the motor shaft connects. Moisture intrusion leads to corrosion and short circuits, which produce a distinct electrical burning smell.
- Manufacturing Defects: In rare cases, especially with newer models, faulty wiring, substandard insulation, or misaligned components cause immediate overheating upon first use.
- Dust or Debris Buildup: Accumulated dust around vents or within the base can ignite when heated, producing a smoky, burnt-dust odor that mimics electrical failure.
How Motor Design Impacts Heat Generation
Blender motors convert electrical energy into mechanical rotation. During this process, inefficiencies generate heat. High-performance blenders (e.g., Vitamix, Blendtec) use powerful motors (up to 1500 watts) capable of sustained torque, but they also produce more heat. Lower-wattage models may lack thermal protection systems, making them more prone to damage under stress.
Most modern blenders include a thermal cut-off switch—a safety feature that automatically shuts off the motor when temperatures exceed safe limits. Once cooled, the blender may resume operation. However, repeated triggering of this switch degrades internal components over time and often leaves behind a lingering burnt plastic or metallic odor.
“Repeated overheating, even for short durations, accelerates wear on motor windings and insulation. Once degradation begins, the smell becomes chronic.” — Dr. Alan Zhou, Appliance Engineer at Midwest Home Tech Lab
Lower-cost blenders sometimes use thinner copper windings or lower-grade insulation materials to cut production costs. These materials break down faster under heat, increasing the likelihood of early failure and unpleasant odors.
Step-by-Step Guide: Diagnosing the Burnt Smell
If your blender emits a burning odor, follow this systematic approach to identify and address the issue before further damage occurs.
- Unplug Immediately: At the first sign of smoke or strong burning smell, disconnect the unit from power. Do not attempt to open the base while plugged in.
- Inspect the Blade Assembly: Remove the jar and examine the blade unit. Look for signs of leakage, rust, or warped seals. If the gasket is cracked or loose, moisture may have entered the motor housing.
- Check for Vent Blockages: Examine air vents at the bottom or sides of the base. Use compressed air or a soft brush to clear any lint, flour, or debris buildup.
- Test With Water Only: After cleaning and reassembling, fill the jar halfway with water and blend on low for 30 seconds. Monitor for unusual noises or smells. Repeat on high speed for another 30 seconds.
- Listen for Grinding or Clicking: Abnormal sounds suggest bearing wear or gear misalignment, which increases friction and heat.
- Evaluate Performance: If the motor struggles or stalls easily now compared to when new, internal damage is likely present.
If the smell returns during testing, discontinue use permanently. Internal electrical damage cannot be safely repaired at home.
Do’s and Don’ts: Preventing Future Issues
| Do | Don't |
|---|---|
| Add enough liquid (at least 1–2 cups) when blending dense ingredients | Run the blender dry or with only powders or grains |
| Use pulse function to manage load and reduce strain | Blend continuously for more than 60 seconds without pause |
| Clean the gasket and blade assembly weekly to prevent mold and corrosion | Submerge the motor base in water or run it under the tap |
| Place the blender on a flat, ventilated surface away from walls | Store near stoves, ovens, or in humid cabinets |
| Replace worn gaskets every 6–12 months with manufacturer-approved parts | Use generic or third-party seals that may not fit properly |
Real Example: When a New Blender Went Wrong
Sarah M., a home cook in Portland, noticed a sharp, chemical-like smell during her second use of a newly purchased mid-range blender. She had blended a frozen berry smoothie for 90 seconds straight. The smell disappeared after unplugging, but returned the next day during a shorter blend.
After contacting customer support, she was advised to check the seal. Upon removing the blade assembly, she found moisture pooled beneath the gasket—despite never washing the base. Further inspection revealed a tiny crack in the rubber seal that allowed liquid to drip down the shaft during operation. Replacing the gasket resolved the issue, but not before minor corrosion formed on the drive stud.
This case highlights how quickly small defects can escalate. What began as improper sealing led to electrical arcing and insulation burn-off—detectable by smell before total failure occurred.
When to Repair vs. Replace Your Blender
While some issues are fixable, others signal the end of life for your appliance. Here’s a checklist to help decide your next move:
✅ Consider Repair If:
- The smell occurred once and hasn’t returned after cleaning and replacing the gasket.
- You own a high-end model with replaceable parts and active warranty coverage.
- The issue stems from external factors like clogged vents or dry running.
❌ Replace Immediately If:
- You see visible smoke, charring, or melted plastic inside the base.
- The motor makes grinding noises or fails to start consistently.
- The unit trips circuit breakers or causes sparks when plugged in.
- It’s more than 3–5 years old and lacks thermal protection features.
Attempting DIY repairs on sealed motor housings voids warranties and poses electrocution risks. Always consult authorized service centers for branded units.
Preventive Maintenance Checklist
To avoid future burning smells and extend your blender’s lifespan, follow this routine:
- ✔️ Wipe down the motor base after each use to remove spills and splatter.
- ✔️ Disassemble and clean the blade unit weekly to inspect for leaks or wear.
- ✔️ Replace the rubber gasket annually or sooner if cracked, stiff, or leaking.
- ✔️ Avoid blending extremely hard items like ice cubes or coffee beans unless your model is rated for it.
- ✔️ Allow 1–2 minutes of rest between long blending cycles to let the motor cool.
- ✔️ Store with the jar inverted on the base to prevent moisture trapping.
“The single biggest mistake users make is treating all blenders the same. High-torque tasks require machines built for durability—and proper usage habits.” — Lena Patel, Consumer Kitchen Appliance Analyst
FAQ: Common Questions About Burnt Blender Smells
Is it safe to keep using my blender if it smells burnt but still works?
No. A working blender with a burning odor is operating in a compromised state. Continued use increases the risk of electrical shorts, permanent damage, or fire. Stop using it immediately and investigate the cause.
Can I wash the blender base if liquid leaked inside?
No. The motor base contains electrical components and must never be submerged or cleaned with liquids. If liquid has entered, unplug the unit and let it dry completely in a warm, ventilated area for at least 48 hours. Even then, internal corrosion may persist. Professional evaluation is recommended.
Why does my new blender smell burnt the first time I use it?
Some manufacturers note a slight “new machine” odor during initial operation due to lubricants or protective coatings burning off. This should dissipate within 30 seconds and occur only once. If the smell persists, intensifies, or returns on subsequent uses, it indicates a defect or misuse.
Conclusion: Protect Your Kitchen Investment
A burnt smell from your blender isn’t just unpleasant—it’s a red flag. Whether caused by user error, design flaws, or component failure, the odor signals that your appliance is under stress. Addressing the issue promptly can prevent costly replacements and safeguard your kitchen environment.
By understanding the mechanics behind overheating, practicing proper blending techniques, and maintaining your device regularly, you can eliminate the risk of recurring odors and ensure reliable performance. Don’t ignore the warning signs. Take action today: inspect your blender, replace worn parts, and adopt safer usage habits.
💬 Have you experienced a burnt smell from your blender? Share your story or solution in the comments below—your insight could help others avoid the same issue!