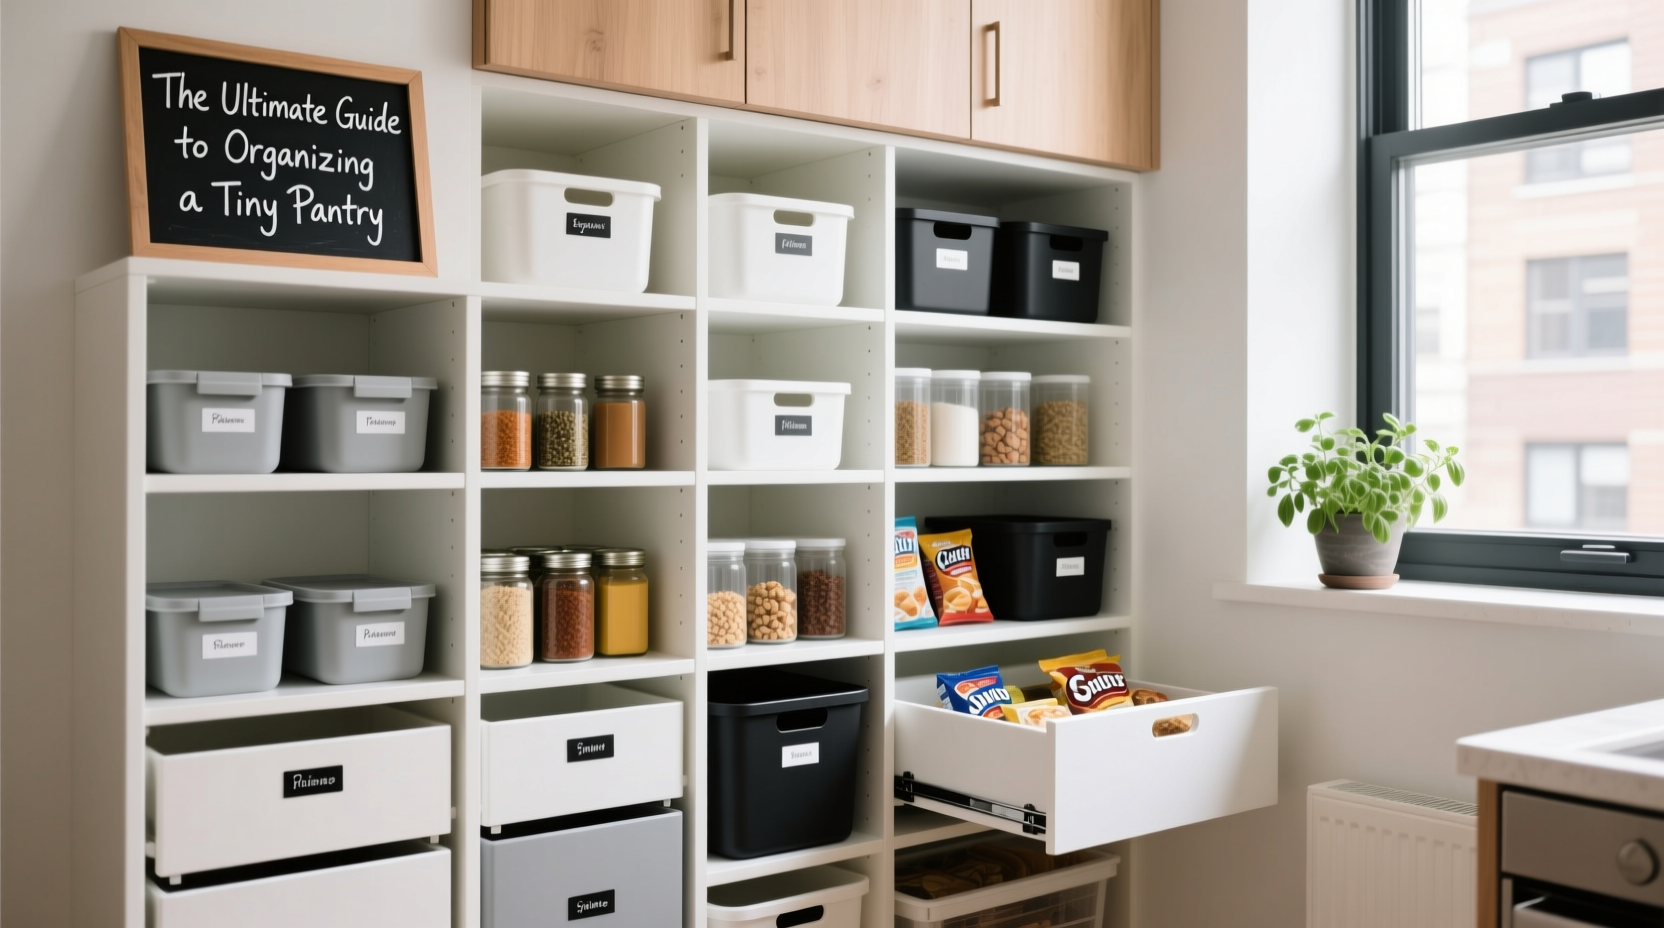
In compact kitchens, the pantry often becomes a black hole where cans vanish, snacks multiply invisibly, and expired goods linger for years. But a small footprint doesn’t mean limited function. With strategic planning and smart organization, even the tiniest pantry can deliver big efficiency. This guide walks through proven methods to transform an overstuffed cupboard into a streamlined, accessible storage hub—no square footage required.
Assess and Declutter: Start with a Clean Foundation
The first step in maximizing a small pantry isn’t adding shelves or bins—it’s removing everything. Empty the entire space onto a countertop or table. This allows you to see exactly what you own, identify duplicates, and spot expired or rarely used items.
Sort your inventory into four categories: keep, donate, discard, and relocate. Discard anything past its prime. Donate unopened non-perishables you know you won’t use. Relocate items that don’t belong—like cleaning supplies or kitchen gadgets better stored elsewhere. Be ruthless: if you haven’t used it in six months and it doesn’t serve a seasonal purpose (e.g., holiday baking supplies), let it go.
Tip: Use the “one in, one out” rule going forward—whenever you add a new item, remove an old one to prevent accumulation.After decluttering, clean the empty shelves thoroughly. Wipe down walls, baseboards, and corners. This not only removes dust and spills but also gives you a fresh start—one that reinforces the effort you’re making to maintain order.
Design Zones Based on Usage and Accessibility
Efficient pantries aren’t organized by food type alone—they’re structured around how you cook and eat. Divide your pantry into functional zones based on frequency of use, weight, and category.
Place everyday essentials at eye level: breakfast cereals, cooking oils, spices, and frequently used grains. Reserve lower shelves for heavier items like canned goods, beverages, and bulk containers—this keeps the center of gravity low and reduces strain when lifting. Use higher shelves for lightweight, infrequently used items such as party supplies or specialty ingredients.
Create dedicated zones:
- Dry Goods Zone: Pasta, rice, flour, sugar, beans.
- Snack Zone: Individual packs, nuts, granola bars—ideal for kids’ reach.
- Beverage Zone: Coffee, tea, drink mixes, bottled water.
- Baking Zone: Baking powder, chocolate chips, extracts, sprinkles.
- Emergency Zone: Long-life staples like canned soups, tuna, or freeze-dried meals.
“Zoning turns chaos into logic. When every item has a predictable home, you stop searching and start saving time.” — Maria Tran, Home Organization Consultant
Maximize Vertical and Hidden Space
In a tiny pantry, every inch counts—including the back of the door, the ceiling, and awkward gaps between shelves. These are not dead spaces—they’re untapped storage opportunities.
Install over-the-door racks or tension rods to hold spice jars, cleaning cloths, or small baskets. Use wall-mounted magnetic strips for metal spice tins or knife strips repurposed for foil and plastic wrap rolls. Consider stacking shelf risers to double surface area on deep shelves, allowing you to place smaller items in front and taller ones behind.
Don’t overlook depth. Shallow bins or pull-out trays make deep cabinets usable. Instead of stacking items where the back gets forgotten, use tiered organizers so everything remains visible and reachable.
Tip: Label the front edge of shelves to mark zones—this helps everyone in the household return items correctly.Step-by-Step: Install Shelf Risers for Double-Level Storage
- Measure the depth and width of your existing shelf.
- Select clear acrylic or wire shelf risers that fit snugly without overhang.
- Place the riser toward the front third of the shelf, creating a lower front tier and upper back tier.
- Store frequently used small items (spice jars, tea bags) on the lower front level.
- Place taller containers (canned goods, oil bottles) behind on the upper level.
- Label both tiers clearly to avoid confusion.
Use Containers Strategically—Not Excessively
Transferring food into matching containers looks Instagram-worthy, but it’s not always practical. In a tiny pantry, prioritize utility over aesthetics. Use containers only when they solve a real problem: resealing open packages, preventing pests, improving visibility, or saving space.
Opt for uniform, stackable, and modular bins made from clear materials. Square or rectangular containers maximize shelf space better than round ones. Choose sizes that align with your most common purchases—don’t force a quart-sized container for a half-pound of lentils.
For dry goods like flour, sugar, or pasta, airtight containers with locking lids preserve freshness and deter ants. For snacks, consider portion-controlled containers to manage consumption and simplify grab-and-go access.
| Item Type | Best Container | Avoid |
|---|---|---|
| Flour, Sugar, Grains | Airtight plastic or glass with clip lid | Original paper bags |
| Spices | Magnetic tins or stackable square jars | Deep drawers or cluttered racks |
| Snacks (chips, crackers) | Clip-top resealable bins | Open original packaging |
| Canned Goods | Stackable metal or fabric bins | Loose piles or mixed orientations |
| Oils & Vinegars | Turntable (lazy Susan) | Back-corner placement |
Label everything—use a label maker, chalkboard tags, or masking tape with a pen. Include contents and expiration date. Rotate stock using the FIFO method: First In, First Out. Place newer items behind older ones to ensure nothing expires unnoticed.
Real Example: Transforming a 2-Shelf Pantry in a Studio Apartment
Lena, a graphic designer living in a 450-square-foot studio in Seattle, struggled with a narrow pantry just 18 inches wide and two shelves deep. It housed 47 separate items, many buried under others. After following this system, she reduced her count to 32 high-priority items and improved accessibility dramatically.
She installed a slim over-the-door organizer for spices and tea bags, freeing up 4 inches of shelf space. She added a turntable for oils and sauces, eliminating the need to move three bottles just to reach the soy sauce. Using two stackable bins—one for snacks, one for canned tomatoes and beans—she created vertical separation without sacrificing access.
Within a week, Lena reported spending 70% less time searching for ingredients. She also discovered three expired items she hadn’t seen in months. “It feels like I gained a whole extra shelf,” she said. “And I actually enjoy opening the door now.”
Essential Tools and Products Checklist
Equipping your tiny pantry doesn’t require expensive gear. Focus on versatile, space-saving tools that deliver lasting value.
- Clear, stackable, airtight containers in multiple sizes
- Over-the-door organizer with pockets or racks
- Lazy Susan (turntable) for condiments and jars
- Shelf risers or tiered organizers
- Label maker or waterproof labels
- Small baskets or fabric bins for grouping like items
- Under-shelf hooks for hanging measuring cups or bags
- Magnetic strips for metal spice tins or foil wraps
- Pull-out drawer or sliding bin for deep shelves
- LED motion-sensor light strip (if lighting is poor)
Frequently Asked Questions
How do I organize a pantry with no shelves?
If your pantry is just an empty closet or cabinet, install adjustable shelving to customize height based on your items. Use stackable bins and freestanding racks to create structure. Anchor heavy bins to prevent tipping. A single-tier wire rack on the floor can hold bottles and larger containers, while wall-mounted shelves above can store lighter goods.
What’s the best way to store snacks for kids?
Designate a low, easily accessible zone—ideally between 18 and 36 inches high. Use clear bins labeled with pictures or words so children can identify contents. Opt for portion-controlled containers to prevent overeating. Keep healthier options at eye level and limit junk food visibility. Teach kids to return items to their labeled spots to maintain order.
Can I use a tiny pantry for non-food storage?
Only if space allows and it makes sense for your workflow. Some people store coffee mugs, reusable bags, or kitchen tools in upper pantry shelves. However, avoid overcrowding with non-essentials. If adding non-food items compromises food access or hygiene, find another location. The pantry’s primary role is food storage—keep that priority clear.
Final Thoughts: Small Space, Big Impact
A tiny pantry doesn’t have to be a source of frustration. With deliberate design, consistent habits, and the right tools, it can become one of the most efficient parts of your kitchen. The goal isn’t perfection—it’s functionality. Every decision, from container choice to labeling style, should serve the purpose of making meal prep faster, shopping easier, and daily life smoother.
Start small: spend one hour emptying, sorting, and wiping down your current space. Then implement one change—add a turntable, install a door rack, or label five key items. Build momentum gradually. Once you experience the ease of finding what you need in seconds, you’ll wonder why you waited so long.
💬 Ready to reclaim your pantry? Pick one strategy from this guide and apply it today. Share your transformation story in the comments—your journey might inspire someone else to begin theirs.