In an era where digital files grow larger by the day—high-resolution photos, 4K videos, complex documents—managing storage efficiently is no longer optional. Whether you're sending a project via email, backing up old work, or freeing up space on your laptop, file compression is one of the most practical tools at your disposal. Windows 10 includes powerful built-in features that allow you to compress files without installing third-party software. Understanding how to use these tools effectively can save time, reduce clutter, and make sharing seamless.
Why Compress Files in Windows 10?
File compression reduces the size of one or more files by encoding data more efficiently. This process doesn’t alter the content—just how it’s stored. When done correctly, compressed files retain full quality but take up significantly less space. The benefits are immediate:
- Save disk space: Free up gigabytes on your hard drive by compressing large folders.
- Faster transfers: Smaller files upload and download quicker, especially over slow connections.
- Easier sharing: Email providers often limit attachment sizes. Compression helps you stay under those limits.
- Organized bundling: Combine multiple files into a single archive for cleaner distribution.
Windows 10 supports ZIP compression natively, meaning you can create and extract ZIP folders using only the operating system—no additional downloads required.
Tip: Always keep a backup of important files before compressing, especially when dealing with critical data.How to Compress Files Using Built-In Tools
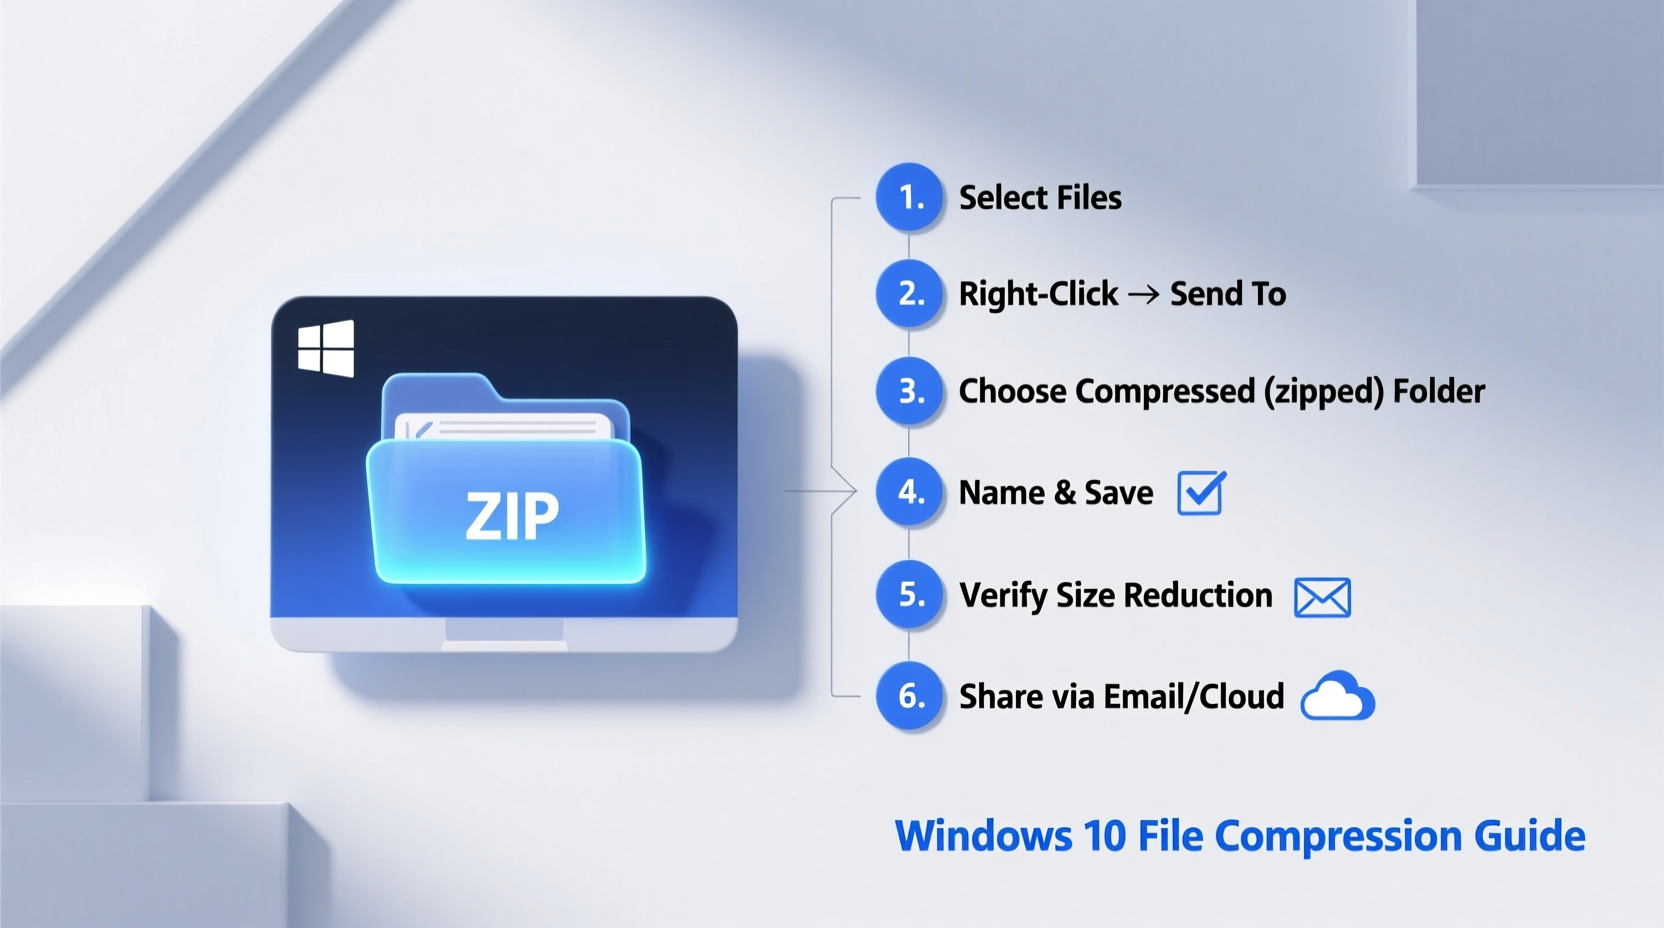
Windows 10 makes compression straightforward through its File Explorer interface. Follow this step-by-step guide to compress files quickly:
- Open File Explorer and navigate to the folder or files you want to compress.
- Select the files by clicking them while holding Ctrl, or drag to highlight multiple items.
- Right-click on any selected file and choose Send to → Compressed (zipped) folder.
- A new ZIP folder will appear, named after the first selected file. Rename it as needed.
- Double-click the ZIP folder to view its contents or extract files by dragging them out.
This method uses lossless compression, so all original data remains intact upon extraction. It's ideal for documents, spreadsheets, presentations, and collections of images.
Advanced Compression: NTFS Folder Compression
Beyond ZIP archives, Windows 10 offers another layer of compression at the file system level—NTFS compression. Unlike ZIP, this keeps files accessible in their original format while reducing their footprint on your drive.
To enable NTFS compression:
- Right-click a file or folder and select Properties.
- Click Advanced near the bottom of the General tab.
- Check the box labeled Compress contents to save disk space.
- Click OK, then Apply. Choose whether to apply it to the folder only or include subfolders and files.
Note: NTFS compression works only on drives formatted with the NTFS file system and may slightly impact performance on older hardware due to real-time decompression.
When to Use ZIP vs. NTFS Compression
Choosing the right method depends on your goal. Here's a comparison to help decide:
| Feature | ZIP Compression | NTFS Compression |
|---|---|---|
| Portability | High – works across platforms and devices | Low – only effective on NTFS-formatted drives |
| Sharing | Ideal – easy to attach or upload | Poor – not visible when copied to non-NTFS drives |
| Performance Impact | Minimal – decompression happens during extraction | Moderate – continuous compression/decompression |
| Use Case | Sending files, archiving projects | Freeing up space on local drives |
| Data Integrity | Preserved – lossless compression | Preserved – no quality loss |
“Compression isn’t just about saving space—it’s about optimizing workflow. A well-compressed file moves faster, stores smarter, and scales better.” — David Lin, Systems Optimization Specialist
Best Practices for Effective File Compression
Not all files compress equally. Some formats are already optimized, making further compression ineffective or even counterproductive. Follow these guidelines to maximize results:
- Avoid compressing already-compressed files: Formats like JPEG, MP4, PNG, and PDF are typically compressed during creation. Trying to zip them again yields minimal savings.
- Group similar files: Combining text documents or raw image files (like BMP or TIFF) into a single ZIP folder increases compression efficiency.
- Use descriptive names: Name your ZIP files clearly (e.g., “Q3_Financial_Reports.zip”) so recipients know what’s inside without opening them.
- Split large archives manually: If a file exceeds email attachment limits (usually 25MB), divide it into smaller ZIPs using third-party tools like 7-Zip.
- Test extraction: After creating a ZIP, open it and extract one file to confirm everything works correctly.
Real-World Example: Compressing a Work Presentation
Sarah, a marketing consultant, needed to send a client proposal containing 12 high-resolution mockups, a 50-slide PowerPoint deck, and supporting research documents. The total folder size was 850MB—far too large for email. Instead of using cloud links (which the client preferred to avoid), she used Windows 10’s ZIP function. She selected all files, right-clicked, and created a compressed folder. The final ZIP was 320MB—a 62% reduction. She split the archive into two parts using 7-Zip (each under 25MB), emailed them separately, and included simple instructions for reassembling. The client received everything within minutes and appreciated the streamlined delivery.
FAQ: Common Questions About File Compression in Windows 10
Can I compress a whole drive in Windows 10?
Yes, you can enable NTFS compression on entire drives via Properties > Advanced > Compress contents to save disk space. However, it's generally not recommended for SSDs or system drives, as it may affect performance and longevity.
Why didn’t my file get smaller after zipping?
This usually happens with media files (videos, music, photos) that are already compressed. Formats like MP3, AVI, and JPG have little redundancy for ZIP algorithms to exploit, so size reductions are negligible.
Is there a size limit for ZIP files in Windows 10?
The built-in ZIP tool follows the legacy ZIP format limit of 4GB per archive. For larger datasets, consider using 7-Zip with the ZIP64 extension or switching to RAR/7z formats.
Final Checklist: Mastering File Compression
Before you start compressing, ensure you’re doing it right. Use this checklist to stay efficient and error-free:
- ✅ Identify which files will benefit most from compression (documents, raw images, logs).
- ✅ Avoid compressing already-compressed formats like MP4 or JPEG.
- ✅ Use ZIP for sharing; use NTFS compression for local storage optimization.
- ✅ Test extracted files to verify integrity.
- ✅ Keep originals until you confirm the compressed version works perfectly.
- ✅ For large archives, consider third-party tools like 7-Zip for better control and features.
Conclusion
Compressing files in Windows 10 is a simple yet powerful way to manage digital clutter, speed up file transfers, and optimize storage. Whether you're a student sending assignments, a professional sharing reports, or someone cleaning up personal files, mastering compression gives you greater control over your data. With native support for ZIP folders and advanced options like NTFS compression, Windows 10 provides everything you need—right out of the box.
🚀 Start today: Pick a folder on your desktop, compress it, and see how much space you save. Share your results or ask questions in the comments below—let’s build smarter digital habits together.