
Propagating houseplants isn’t just a cost-effective way to expand your indoor jungle—it’s deeply satisfying. Watching a single leaf or stem develop roots and grow into a full plant feels like witnessing quiet magic. While many assume propagation is tricky or reserved for expert gardeners, the truth is that with the right knowledge and a bit of patience, anyone can do it successfully. This guide walks you through every essential stage, from selecting the right parent plant to nurturing your new growth, ensuring consistent results.
Why Propagation Matters for Indoor Gardeners
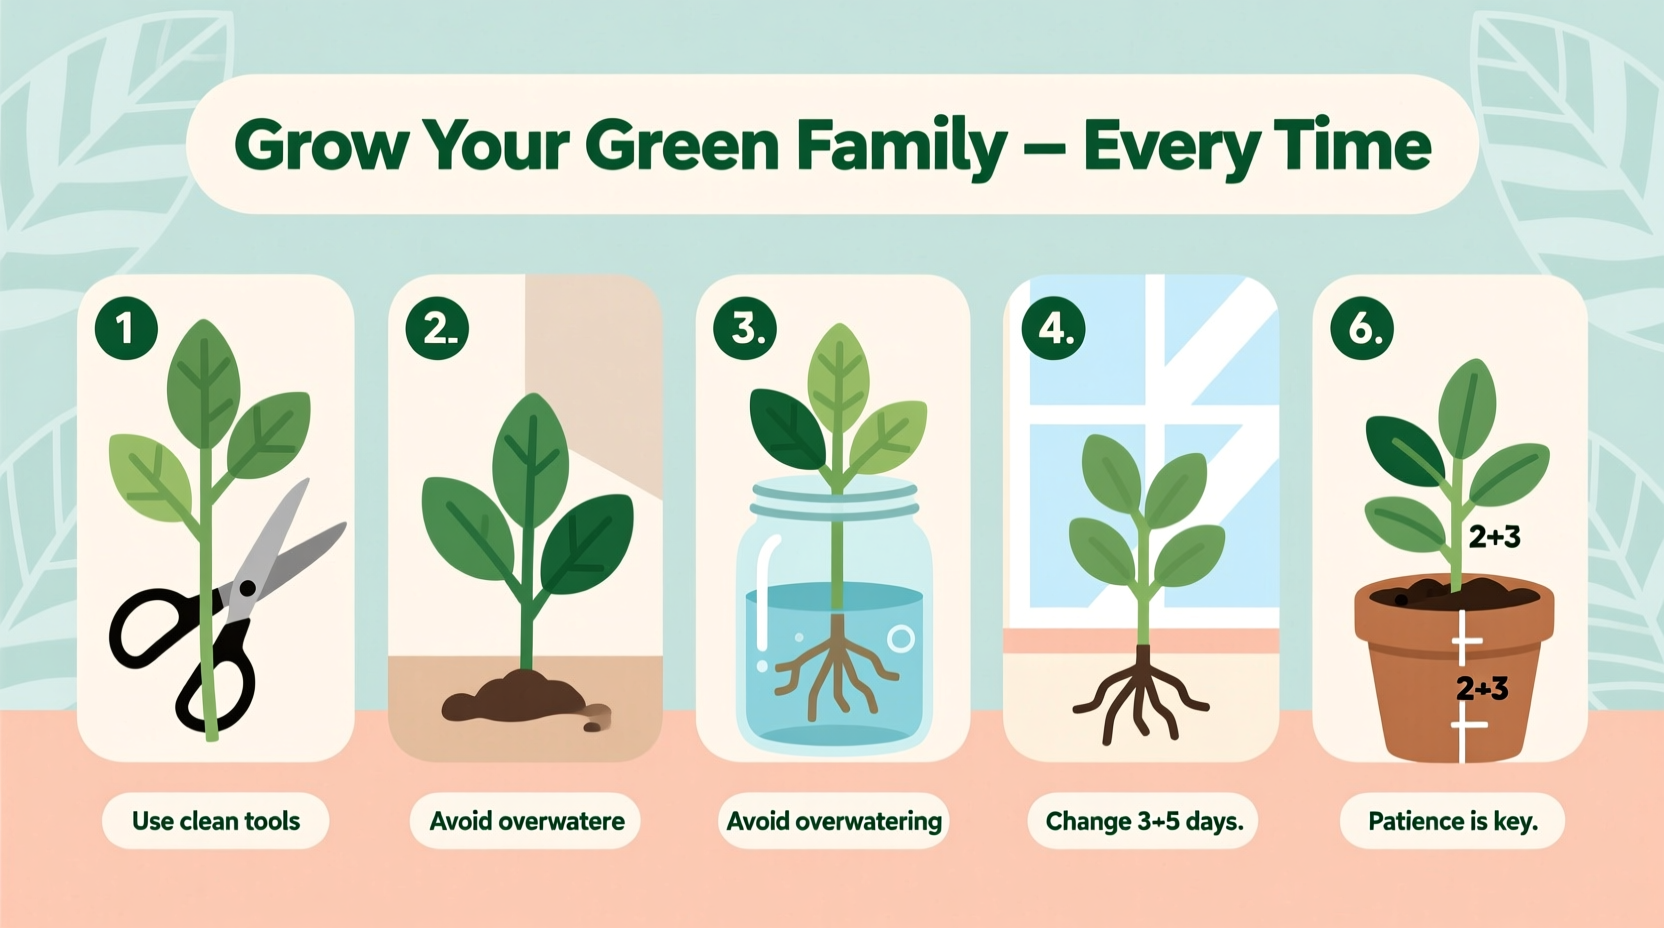
Propagation transforms one healthy plant into multiple thriving ones. It allows you to share greenery with friends, fill empty corners in your home, or simply experiment with growing rare varieties without spending money. Beyond practicality, propagation deepens your understanding of plant biology and care. You begin to notice subtle cues—how stems respond to light, how leaves store energy, and how roots form under different conditions.
Many common houseplants are naturally suited to propagation. Pothos, philodendrons, spider plants, and succulents root easily in water or soil, making them ideal candidates for beginners. Even more challenging species like African violets or prayer plants can be propagated with precision and proper technique.
Tip: Always propagate during the active growing season (spring to early summer) when plants have the most energy for recovery and root development.The Science Behind Successful Propagation
At its core, propagation is about encouraging a plant part to regenerate missing components—typically roots. When you take a cutting, you're removing a section that contains meristematic tissue, the plant’s equivalent of stem cells. These cells can differentiate into roots, shoots, or leaves depending on environmental signals.
The success of propagation hinges on three key factors: moisture balance, hormonal stimulation, and energy reserves. Too much water leads to rot; too little causes desiccation. Auxins, natural plant hormones concentrated in stem tips and nodes, promote root formation. Leaves act as solar panels, providing the energy needed for this process.
“Propagation works best when you mimic the plant’s natural survival instincts. A broken stem in the wild would try to re-root—your job is to create the optimal conditions for that instinct to succeed.” — Dr. Lena Reyes, Botanist and Urban Horticulture Researcher
Essential Tools and Materials
Before starting, gather the right supplies. Using clean, sharp tools prevents disease transmission and ensures clean cuts that heal faster. Here’s what you’ll need:
- Sharp pruning shears or scissors (sterilized with rubbing alcohol)
- Clear glass jars or small containers (for water propagation)
- Sterile potting mix (perlite, vermiculite, or peat-based mixes work well)
- Small pots or propagation trays with drainage
- Rooting hormone (optional but highly effective)
- Misting bottle
- Labels and a marker (to track progress and plant types)
| Tool | Purpose | Pro Tip |
|---|---|---|
| Pruning Shears | Clean cuts reduce stress and infection risk | Wipe blades between plants to avoid cross-contamination |
| Clear Jars | Allow visual monitoring of root development | Use narrow-necked bottles to support stems upright |
| Rooting Hormone | Boosts root initiation, especially in slow-to-root species | Liquid forms are more effective than powder for delicate cuttings |
| Sterile Mix | Prevents fungal growth in soil propagation | Avoid garden soil—it’s too dense and may carry pathogens |
Step-by-Step Guide to Propagating Houseplants
Follow this comprehensive sequence to maximize your chances of success, whether you’re working with water or soil propagation.
- Select a Healthy Parent Plant: Choose a vigorous, pest-free plant with no signs of stress. Avoid yellowing leaves or leggy growth.
- Identify the Node: The node is where new roots will emerge. It appears as a small bump or ring on the stem, often with a leaf or aerial root attached.
- Make the Cut: Use sterilized shears to cut just below a node. For leafy stems, include at least one or two leaves above the node.
- Remove Lower Leaves: Strip leaves from the lower third of the stem to prevent submersion in water or soil, which can cause rot.
- Apply Rooting Hormone (Optional): Dip the cut end into rooting hormone, tapping off excess. This step significantly improves success rates for woody or slow-rooting plants.
- Choose Your Medium: Decide between water or soil propagation based on plant type and preference (see next section).
- Place Cutting in Medium: Submerge the node in water or insert into moist propagation mix.
- Provide Ideal Conditions: Place in bright, indirect light. Avoid direct sun, which can overheat water or dry out soil too quickly.
- Maintain Consistent Care: Change water weekly if propagating in water. Keep soil lightly moist but not soggy.
- Wait Patiently: Root development takes 2–6 weeks depending on species and environment.
- Transplant When Ready: Once roots are 1–2 inches long, transfer to a small pot with regular potting soil.
Water vs. Soil Propagation: Which Is Better?
Both methods have advantages and suit different plant types and grower preferences.
| Factor | Water Propagation | Soil Propagation |
|---|---|---|
| Visibility | Roots visible—easy monitoring | Not visible until transplant |
| Risk of Rot | Higher if water isn’t changed regularly | Lower with proper drainage |
| Transplant Shock | More likely due to medium change | Minimal—no transition needed |
| Best For | Pothos, philodendron, tradescantia | Succulents, cacti, sansevieria |
| Speed | Faster initial root emergence | Slower but stronger root systems |
Common Propagation Methods by Plant Type
Not all houseplants propagate the same way. Matching the method to the species increases your odds of success.
Stem Cuttings (Most Common)
Ideal for vining plants like pothos, philodendron, and hoyas. Cut a 4–6 inch stem with 2–3 leaves and at least one node. Place in water or soil as described.
Leaf Cuttings
Used for succulents and snake plants. Remove a healthy leaf and let it callous for 1–2 days before placing on top of dry soil. Mist occasionally. Roots and new growth emerge slowly—sometimes taking months.
Division
Perfect for clumping plants like peace lilies, snake plants, and ZZ plants. Gently remove the plant from its pot and separate the rhizomes or offsets with clean hands or a knife. Each division should have roots and foliage.
Offsets or Pups
Spider plants and bromeliads produce baby plants on stolons or at the base. Wait until pups are 3–4 inches tall, then snip or gently pull them away. Pot individually in well-draining mix.
Layering (Advanced)
For thick-stemmed plants like rubber trees. Make a small upward cut on a low stem, apply rooting hormone, wrap with damp sphagnum moss, and cover with plastic. Once roots form (in 4–8 weeks), sever the stem and pot the new plant.
“With layering, you’re essentially letting the mother plant do the work of feeding the cutting while roots develop. It’s nature’s version of training wheels.” — Marcus Tran, Master Gardener and Propagation Educator
Troubleshooting Common Issues
Even with careful planning, problems arise. Recognizing early warning signs helps save your cuttings.
- Rotting Stem: Caused by overly wet conditions or dirty tools. Trim affected areas and restart with a fresh cutting.
- No Root Growth After 6 Weeks: May indicate poor light, old water, or lack of viable node. Ensure the node is submerged and conditions are warm (65–75°F).
- Yellowing Leaves: Often a sign of stress or nutrient deficiency in water propagation. Remove affected leaves and change water immediately.
- Mold on Soil Surface: Indicates overwatering. Scrape off mold, allow topsoil to dry, and improve airflow.
Mini Case Study: Reviving a Leggy Pothos Through Propagation
Sophie, an apartment dweller in Chicago, noticed her golden pothos had become sparse and stretched toward the window—classic signs of low light and neglect. Instead of discarding it, she decided to propagate.
She took six 5-inch stem cuttings just below nodes, removed lower leaves, and placed them in labeled jars of water on a bright shelf. Within ten days, tiny white roots appeared. She changed the water weekly and waited until roots reached 1.5 inches before potting them in small containers.
Eight weeks later, Sophie had six lush new pothos plants—one for each room in her apartment. The original plant, pruned back, responded by producing denser growth. What began as a rescue mission turned into a thriving indoor garden.
Propagation Success Checklist
Use this checklist before starting any propagation project:
- ☑ Parent plant is healthy and actively growing
- ☑ Tools are sterilized and sharp
- ☑ Node is present on each cutting
- ☑ Lower leaves removed from stem
- ☑ Rooting hormone applied (if desired)
- ☑ Container and medium prepared
- ☑ Location offers bright, indirect light
- ☑ Labels and dates are applied
- ☑ Water changed weekly or soil kept evenly moist
- ☑ Patience maintained—no premature digging or tugging!
Frequently Asked Questions
Can I propagate any houseplant?
Most common houseplants can be propagated, but methods vary. Vining plants and those with nodes root easily. Others, like orchids or certain ferns, require specialized techniques such as spore propagation or keiki separation.
How long does it take for roots to grow?
Typically 2–6 weeks, depending on plant type, temperature, and light. Succulents and cacti may take several months. Warmer temperatures (above 70°F) speed up the process.
Should I use tap water for water propagation?
Let tap water sit for 24 hours to allow chlorine to evaporate, or use filtered or rainwater. Chlorine can inhibit root development in sensitive species.
Final Thoughts: Start Small, Grow Confidently
Propagation is both a science and an art. It rewards observation, consistency, and a willingness to learn from setbacks. Every failed cutting teaches you something valuable—whether it’s about humidity, sanitation, or timing. The key is to start simple. Pick one easy plant, follow the steps carefully, and celebrate each new root as a victory.
As your confidence grows, so will your collection. Soon, you’ll find yourself sharing cuttings with neighbors, reviving old plants, and even experimenting with rare hybrids. The ability to create life from a single leaf or stem is one of the most empowering skills an indoor gardener can master.
💬 Ready to grow your green family? Take a cutting today, label it, and place it in water. In a few weeks, you’ll hold proof that patience and care truly grow something beautiful. Share your propagation journey in the comments—we’d love to see your progress!