Bathroom safety begins with the floor. Every year, thousands of people suffer slips and falls in the shower or tub—many of which could have been prevented with the right bath mat. But when it comes to choosing between a non-slip bath mat and a DIY alternative, homeowners face a dilemma: Will it stay in place? And more importantly, will it save money over time?
The answer isn’t as simple as picking the cheaper option. While DIY solutions like homemade rubber-backed mats or repurposed rugs may seem cost-effective at first, their performance under wet conditions often falls short. On the other hand, commercially produced non-slip bath mats are engineered for grip, but come with a higher upfront price. This article breaks down both options across key factors—safety, longevity, maintenance, and total cost—to help you make an informed decision.
How Non-Slip Bath Mats Work
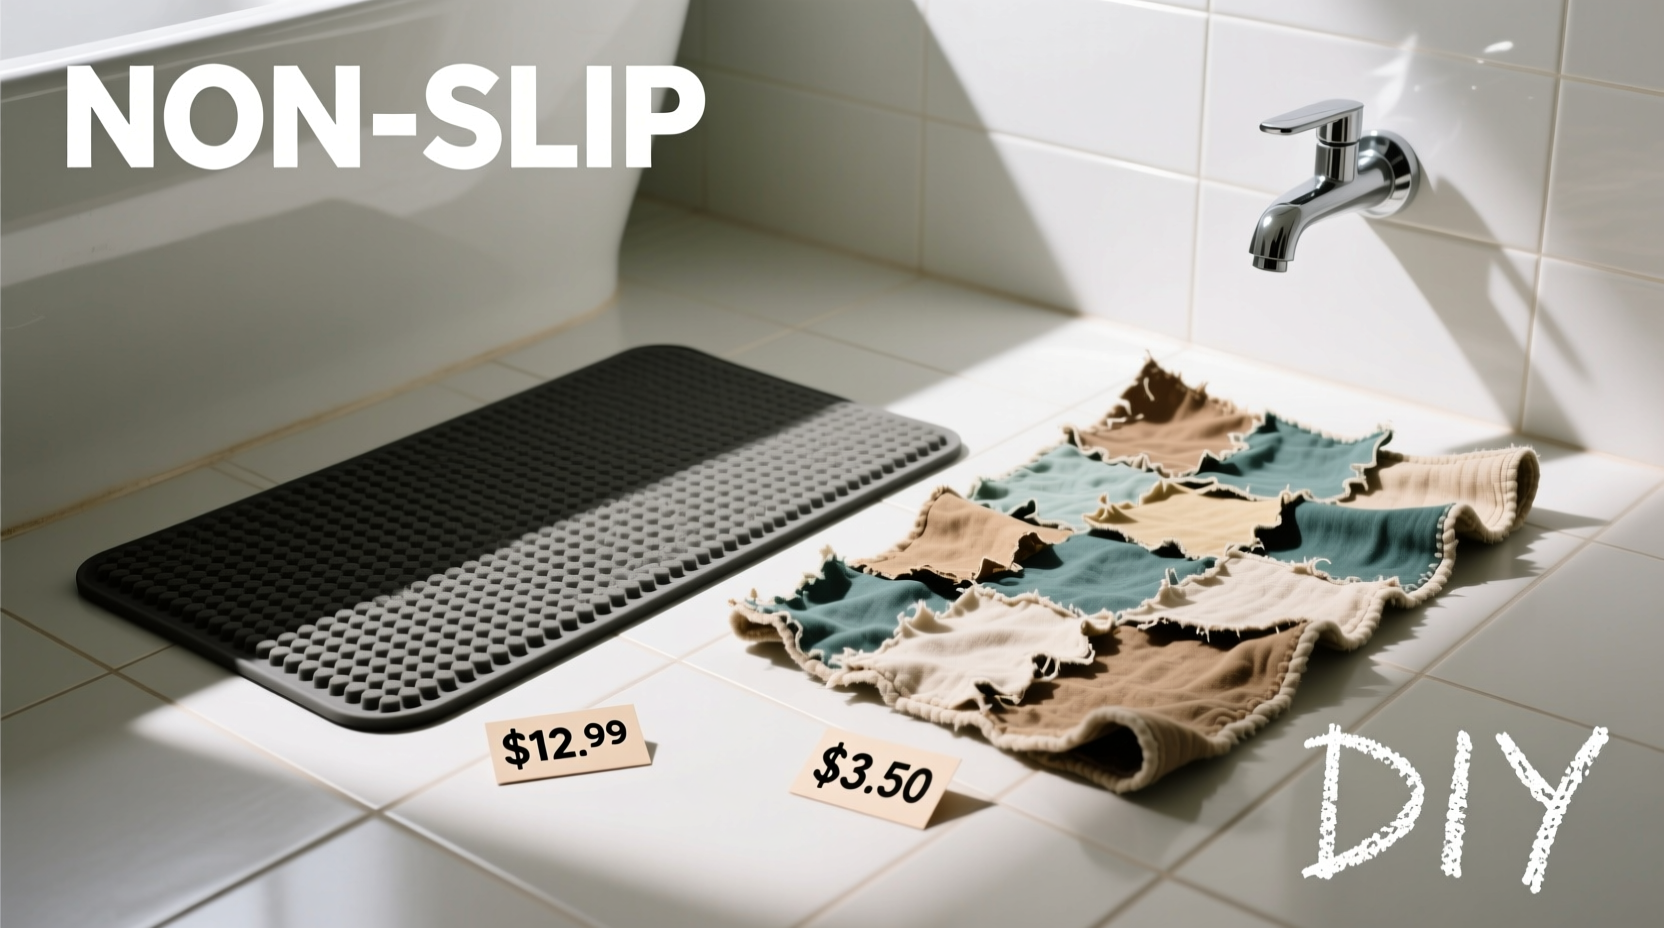
Modern non-slip bath mats are designed using advanced materials that maximize traction on wet surfaces. Most feature a top layer of absorbent fabric—often microfiber or cotton—with a bottom layer made from thermoplastic rubber (TPR), silicone, or latex. These materials create suction or high-friction contact with porcelain, acrylic, or tile flooring, preventing movement even when soapy water accumulates.
Key features include:
- Dense suction cups or textured undersides
- Quick-drying fabrics to resist mildew
- Mold-resistant backing treated with antimicrobial agents
- Machine-washable construction for easy cleaning
These design elements aren’t accidental—they’re the result of years of product testing aimed at reducing bathroom injuries. According to the CDC, over 235,000 people visit emergency rooms annually due to bathroom-related falls, many occurring near showers and tubs.
“Even a small shift in a bath mat can destabilize someone mid-step. True non-slip mats undergo rigorous testing to ensure consistent adhesion.” — Dr. Lena Torres, Occupational Therapist & Home Safety Consultant
The Appeal—and Risks—of DIY Bath Mats
DIY bath mats attract budget-conscious consumers and craft enthusiasts alike. Common approaches include sewing fabric over foam padding, gluing rubber shelf liner to towel scraps, or cutting yoga mats into custom shapes. The appeal is clear: materials are often already on hand, and customization allows for unique sizes and colors.
However, these homemade solutions rarely match commercial products in real-world performance. Rubber shelf liners, for instance, may provide initial grip but degrade quickly when exposed to constant moisture. Fabric tops absorb water but don’t dry fast, creating breeding grounds for mold. And without proper anchoring, even a slightly lifted edge can become a tripping hazard.
A 2022 consumer report by *Home Safety Review* tested five popular DIY bath mat designs under simulated shower conditions. All showed significant slippage within two weeks of daily use, with three developing visible mold growth by week four.
Tip: If you're set on a DIY solution, use food-grade silicone sealant around the edges to prevent fraying and improve water resistance.Cost Comparison Over Time
At first glance, DIY seems unbeatable on price. Materials might cost $5–$15 if purchased new, compared to $20–$50 for a quality non-slip mat. But long-term value depends on durability and replacement frequency.
| Factor | DIY Bath Mat | Commercial Non-Slip Mat |
|---|---|---|
| Initial Cost | $5–$15 | $20–$50 |
| Lifespan | 1–3 months | 12–36 months |
| Maintenance Effort | High (hand wash, air dry) | Low (machine washable) |
| Mold Resistance | Poor to moderate | High (treated backing) |
| Safety Rating | Low | High |
| Annualized Cost (3-year avg) | $60–$180* | $20–$50 |
*Assumes replacement every 2–3 months due to wear or hygiene issues.
When amortized over three years, a DIY mat can end up costing significantly more than a durable non-slip model—especially when factoring in labor, replacement materials, and potential medical costs from accidents.
Real-World Example: The Johnson Family Test
The Johnsons, a family of four in Portland, Oregon, decided to compare both options in their main bathroom. They used a DIY mat made from a cut-up yoga mat and a cotton towel glued with waterproof adhesive for one month. Then they switched to a $38 microfiber mat with silicone suction backing.
Results were telling: The DIY version began peeling at the corners after ten days. By day 18, the center lifted noticeably during showers, requiring repositioning daily. Their teenage daughter slipped slightly while stepping out but caught herself. After switching to the commercial mat, it stayed firmly in place through six weeks of heavy use, survived multiple machine washes, and showed no signs of wear.
“We thought we were saving money,” said Mark Johnson. “But replacing the DIY one twice a month would’ve cost us more than the good mat in half a year. Plus, I felt better knowing my kids weren’t at risk.”
Choosing the Right Option: A Step-by-Step Guide
Follow this process to determine which bath mat suits your needs and budget:
- Evaluate your bathroom usage: High-traffic households need durable, low-maintenance options.
- Check your flooring type: Smooth porcelain holds suction cups well; textured tile may require flat rubber backing.
- Set a realistic budget: Include expected replacements and cleaning supplies.
- Test grip manually: Press down on any mat candidate and try to slide it with wet fingers.
- Read return policies: Buy from retailers offering returns if the mat doesn’t perform.
Frequently Asked Questions
Can I make a DIY bath mat that’s truly non-slip?
Possibly, but it requires careful material selection. Use closed-cell foam or neoprene with a full silicone coating on the underside. Even then, expect shorter lifespan and less reliable grip than commercial models tested to safety standards.
Do non-slip mats work on textured floors?
Some do, but not all. Look for mats with continuous rubber backing rather than suction cups if your tub has a rough or grooved surface. Suction relies on smooth contact, which textured finishes disrupt.
How often should I replace a non-slip bath mat?
Every 1–3 years, depending on use and care. Replace sooner if you notice cracking in the backing, persistent odor, or reduced grip—even after cleaning.
Final Verdict: Safety and Savings Go Hand in Hand
The data is clear: while DIY bath mats offer short-term savings, they rarely deliver long-term value. Non-slip commercial mats outperform them in safety, durability, and overall cost efficiency. The slight premium pays for itself within months when you account for fewer replacements and lower risk of injury.
For households with children, elderly members, or anyone concerned about bathroom safety, investing in a certified non-slip mat isn't just practical—it's essential. And financially, it's smarter too. Over three years, a single high-quality mat can save you up to $130 compared to constantly rebuilding DIY versions.
“The safest choice is usually the most economical in the long run. One fall could cost thousands in medical bills—far more than any bath mat.” — National Institute of Home Safety Bulletin, 2023
Take Action Today
Your bathroom shouldn’t be a hazard zone. Whether you choose a non-slip mat or refine your DIY approach, prioritize secure footing and long-term hygiene. Check your current bath mat for wear, test its grip, and consider upgrading if it shows any sign of slipping. Small changes today can prevent serious accidents tomorrow.
💬 Have experience with DIY or non-slip mats? Share what worked (or didn’t) in the comments below—your insight could help others make safer, smarter choices.