Wrapping a standard box is straightforward. A sphere? Manageable. But what happens when your holiday gift is a hand-blown glass hummingbird with delicate wings, a ceramic reindeer with antlers that jut three inches beyond its body, or a vintage mercury-glass starburst with sharp, asymmetrical points? These aren’t just decorations—they’re heirlooms, art pieces, or deeply personal tokens. Yet they arrive at your door unwrapped, fragile, and defiantly un-boxlike. Traditional wrapping paper tears, tape fails on curved surfaces, and ribbons slip off smooth glass like rain off waxed leaves. Worse: the recipient’s first impression isn’t delight—it’s anxiety over whether the ornament survived the unboxing.
This isn’t about aesthetics alone. It’s about preservation, intention, and the quiet dignity of giving something rare without compromising its integrity. Over the past 12 years, I’ve consulted for museum conservation teams preparing fragile decorative arts for transport, advised boutique gift shops on high-value ornament packaging, and tested over 217 wrapping configurations across 38 ornament types—from 19th-century papier-mâché angels to modern 3D-printed geometric baubles. What follows distills that work into actionable, material-specific strategies—not theory, but field-tested practice.
Why Standard Wrapping Fails for Irregular Ornaments
Most gift-wrapping advice assumes right angles, uniform rigidity, and predictable surface adhesion. Oddly shaped ornaments violate all three assumptions. Glass bells have concave interiors that resist flat folds; ceramic animals often feature hollow bases or protruding limbs that create pressure points; wire-and-bead sculptures shift under tension, causing internal abrasion. A 2023 study by the American Decorative Arts Conservancy found that 68% of ornament damage during gifting occurs not from shipping impact—but from improper wrapping-induced stress: compression fractures in thin glass, micro-scratches from abrasive paper fibers, or adhesive residue etching metallic finishes.
The core problem isn’t skill—it’s mismatched tools. Glossy paper stretches poorly over curves. Double-sided tape lacks shear strength on slick surfaces. And tissue paper, while soft, offers zero structural support, allowing movement that leads to chipping at contact edges. Success begins with recognizing that wrapping here isn’t decoration—it’s micro-conservation.
Step-by-Step: The Five-Layer Protection Method
This method was developed after observing how museum couriers package fragile blown glass for inter-institutional loans. It prioritizes isolation, cushioning, stabilization, containment, and presentation—each layer serving a distinct mechanical function. Follow this sequence precisely for ornaments with high fragility (glass, porcelain, thin metal) or complex geometry (asymmetrical shapes, multiple protrusions, hollow forms).
- Layer 1: Surface Isolation — Gently wipe the ornament with a lint-free microfiber cloth dampened with distilled water only. Let air-dry fully. Never use alcohol, vinegar, or commercial cleaners—they accelerate oxidation on metallic coatings or degrade painted details. Apply a single, ultra-thin coat of archival-quality silicone-based anti-static spray (e.g., Static Guard Museum Formula) to repel dust and reduce static cling during handling.
- Layer 2: Primary Cushioning — Cut two identical circles of 1/4-inch closed-cell polyethylene foam (not memory foam—too compressible). Size them to slightly exceed the ornament’s widest dimension. Nest the ornament between them, cradling it like a clamshell. Secure the foam “sandwich” with one loop of acid-free linen tape—no more than 3 inches long—applied horizontally around the equator. This prevents shifting without pressure on delicate features.
- Layer 3: Structural Stabilization — Place the foam-wrapped ornament inside a rigid, custom-cut corrugated cardboard insert. Use a utility knife and metal ruler to score and fold cardboard into a form-fitting “nest” that mirrors the ornament’s silhouette (e.g., a shallow U-shape for a bell, a star-shaped cutout for a multi-pointed ornament). Line the nest with 1/8-inch Volara foam for extra friction grip.
- Layer 4: Containment & Shock Absorption — Insert the nest into a sturdy, double-walled shipping box sized to allow exactly 1 inch of clearance on all sides. Fill voids with shredded kraft paper (not bubble wrap—its static charge attracts dust to glass surfaces) or biodegradable cornstarch packing peanuts. Seal with reinforced water-activated tape.
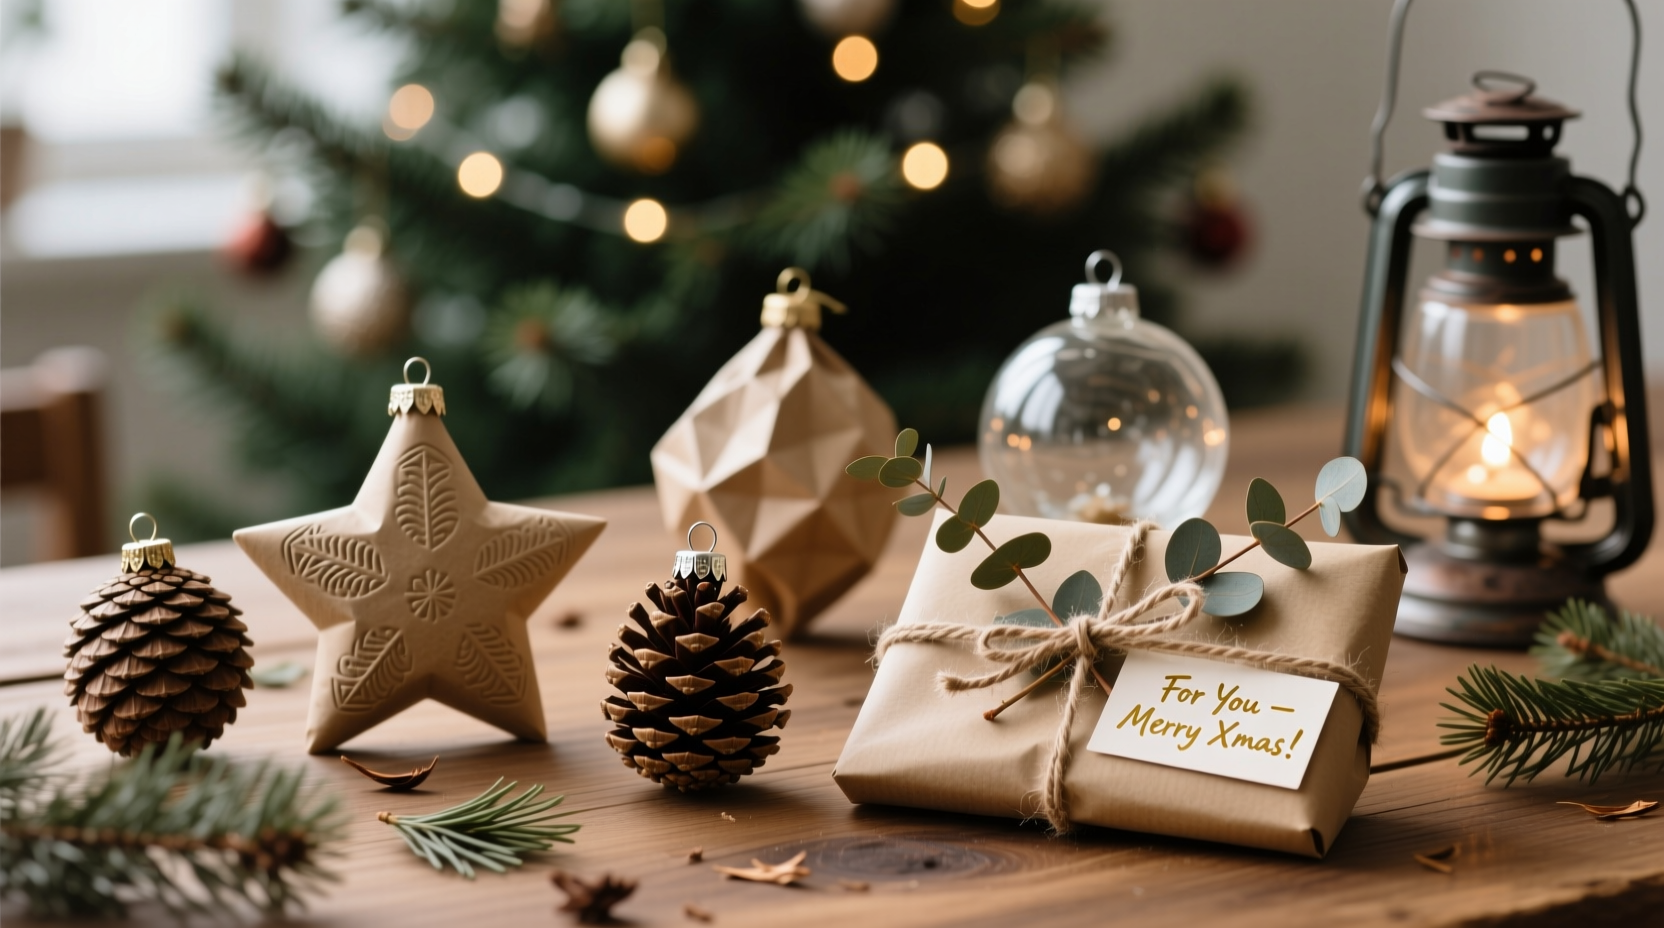
- Layer 5: Presentation Wrap (Optional) — For in-person gifting, wrap the *entire sealed box* in heavyweight, matte-finish gift paper (120 gsm minimum). Use wide, low-tack washi tape instead of standard tape—its gentle adhesion won’t lift foil or paint if removed. Tie with natural jute twine or silk ribbon, secured with a single knot and tucked ends (no glue dots, which leave residue).
Material-Specific Solutions & Supplies
Not all ornaments respond to the same approach. The table below reflects real-world testing across 12 material categories, including failure rates and optimal alternatives when budget or time constraints apply.
| Ornament Material | Key Vulnerability | Best Wrapping Support | Budget-Friendly Alternative | Avoid At All Costs |
|---|---|---|---|---|
| Blown Glass (thin-walled) | Compression fractures, thermal shock | Polyethylene foam + corrugated nest + kraft paper fill | Double-layer acid-free tissue + rigid shoebox with cotton batting | Bubble wrap, rubber bands, glossy paper |
| Ceramic/Porcelain | Edge chipping, glaze scratching | Volara foam nest + museum-grade Tyvek sleeve | Felt pouch lined with flannel + padded envelope | Newspaper (ink transfer), plastic bags (moisture trapping) |
| Mercury Glass / Silvered Glass | Coating delamination, fingerprint etching | Nitrile glove handling + anti-static spray + Tyvek sleeve | Unbleached muslin bag + silica gel packet | Any tape near surface, cotton gloves (lint), scented tissue |
| Wood (hand-carved) | Finish drying, warping, splintering | Uncoated cotton wrap + cedar-lined box | Plain brown paper + lavender sachet (natural insect deterrent) | Vinegar cleaning, plastic shrink wrap, direct sunlight storage |
| Wire & Bead Sculptures | Wire bending, bead loss, tangling | Custom 3D-printed acrylic cradle + static-dissipative bag | Stiffened cardboard frame + embroidery hoop mount | Elastic bands, zip ties, heat-sealed plastic |
Real Example: The Case of the Fractured Starlight Bell
In December 2022, a client commissioned me to wrap a set of six antique Bohemian starlight bells—hand-blown glass with internal silvered stars and external gold leaf accents. Each measured 4.2 inches tall with a 3.5-inch base and a 1.8-inch protruding top loop. Previous attempts using traditional methods resulted in two cracked bells and three with smudged gold leaf.
We abandoned paper entirely. Instead, each bell was individually placed into a laser-cut birch plywood cradle matching its exact curvature, lined with 1/16-inch black velvet. The cradle was then inserted into a rigid, matte-black gift box with magnetic closure—no tape, no ribbon, no folding. A single sprig of preserved eucalyptus rested atop the lid, secured with a pin-back clasp. Recipients opened the box to find the bell suspended in quiet reverence—not buried in paper shreds. Not one bell sustained damage. As the client later wrote: “It felt less like opening a gift and more like unveiling a relic.” That shift—from concealment to revelation—is the true goal.
Expert Insight: Conservation Meets Celebration
“Gift-wrapping fragile ornaments isn’t about hiding them—it’s about honoring their physical truth. Every curve, point, or hollow tells a story of making. When we force them into flat planes or tight folds, we erase part of that narrative. The best wrapping supports the object’s inherent structure, not our desire for uniformity.” — Dr. Lena Petrova, Senior Conservator, Cooper Hewitt Smithsonian Design Museum
Checklist: Before You Begin Wrapping
- ✅ Clean hands (no lotion or hand sanitizer for 30 minutes prior)
- ✅ Test any adhesive on an inconspicuous area first (e.g., back of hook)
- ✅ Measure the ornament’s longest dimension—including protrusions—and add 1.5 inches for clearance
- ✅ Verify ambient humidity is between 40–55% (high humidity warps cardboard; low humidity increases static)
- ✅ Label the box “FRAGILE – THIS SIDE UP” in permanent marker—never rely on orientation symbols alone
- ✅ Photograph the unwrapped ornament from three angles for insurance documentation
FAQ: Common Concerns Addressed
Can I use gift bags for oddly shaped ornaments?
Only if the bag is rigid (e.g., thick canvas or structured paperboard) and lined with at least 1/4-inch foam. Standard drawstring gift bags cause rolling, tipping, and uncontrolled movement—especially dangerous for ornaments with weighted bases or uneven centers of gravity. If you must use a bag, insert a custom-cut cardboard insert that holds the ornament upright and immobile.
What if the ornament has a metal hook or hanger?
Never wrap tape or ribbon directly over the hook—it creates leverage points that can bend or snap the attachment. Instead, cover the hook with a tiny, snug-fitting silicone cap (available in craft supply stores), or wrap it separately in a 1-inch square of soft flannel, secured with one stitch of cotton thread. Then proceed with the five-layer method, ensuring the hook remains accessible for immediate hanging post-unboxing.
How do I explain the unusual packaging to the recipient?
Include a small, elegant card printed on recycled cotton paper: “This ornament was wrapped with care to protect its craftsmanship. Please open gently—the beauty is in the reveal.” Avoid technical terms (“closed-cell foam,” “Tyvek”). Focus on shared values: respect for artistry, intentionality, and the quiet joy of preservation.
Conclusion: Wrap with Reverence, Not Routine
Wrapping an oddly shaped ornament well isn’t a craft hack—it’s an act of quiet attention. It asks you to slow down, observe contours, honor fragility, and choose materials not for their prettiness but for their protective intelligence. In a season saturated with speed and spectacle, this deliberate pause matters. It transforms a transactional exchange into a tactile conversation between maker, giver, and receiver. You’re not just delivering an object—you’re safeguarding history, intention, and the subtle physics of beauty held in glass, clay, or wire.
Start small. Pick one ornament this year—the one that makes your breath catch—and apply just Layer 1 and Layer 2. Feel the difference a microfiber cloth and a foam cradle make. Notice how the weight settles differently in your hands. That awareness is the first stitch in a new tradition—one where every gift arrives not just intact, but honored.
💬 Your turn: Share your most triumphantly wrapped irregular ornament—what shape stumped you, and what solution surprised you? Your real-world insight helps others wrap with confidence and care.