Transforming a standard bathroom or bedroom mirror into a radiant, Hollywood-style vanity isn’t about expensive fixtures or professional installations—it’s about intention, precision, and the right technique. Thousands of homeowners and interior enthusiasts have discovered that a thoughtfully wrapped mirror with Christmas lights delivers far more than seasonal charm: it provides flattering, shadow-free illumination ideal for makeup application, skincare routines, and video calls. Unlike clip-on ring lights or bulky LED panels, light-wrapped mirrors integrate seamlessly into existing décor, emit warm ambient glow, and double as year-round design statements when using non-holiday-themed bulbs. But achieving this effect without tape residue, uneven spacing, or electrical hazards requires more than just enthusiasm—it demands methodical preparation and material awareness. This guide distills field-tested practices from lighting designers, interior stylists, and DIY renovators who’ve installed over 200 light-wrapped mirrors in real homes—not showrooms.
Why This Upgrade Works—Beyond Aesthetics
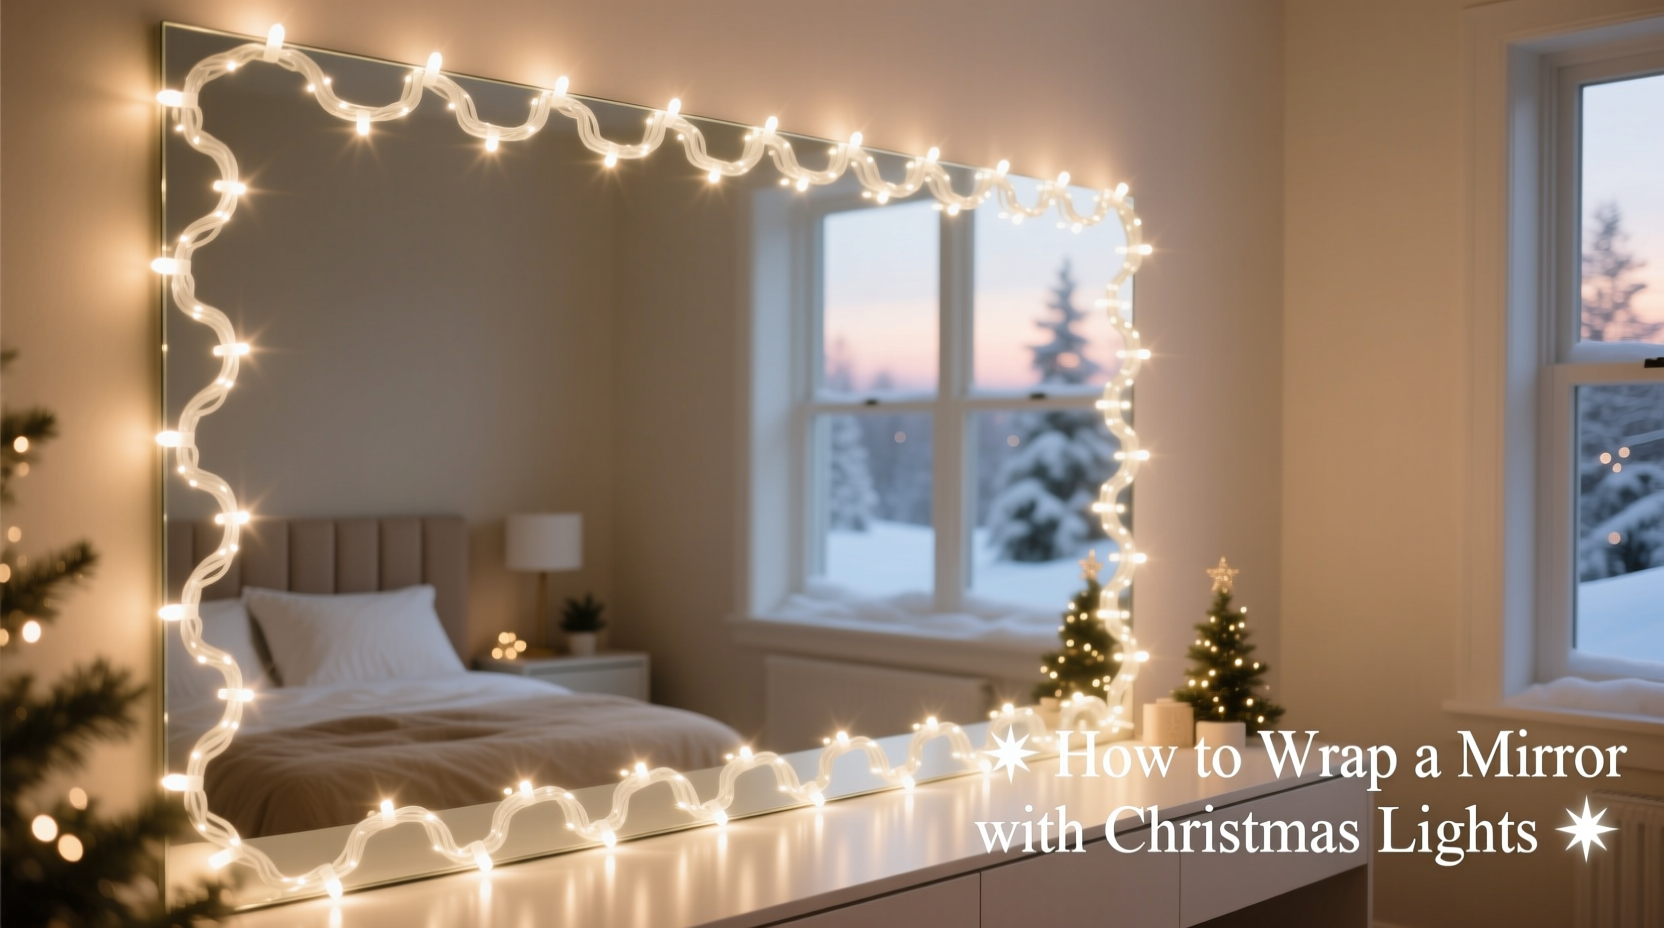
A well-lit vanity is foundational to daily confidence. Research from the Lighting Research Center at Rensselaer Polytechnic Institute confirms that vertical, diffused lighting flanking a mirror reduces facial shadows by up to 73% compared to overhead sources alone—critical for accurate color matching and texture assessment. Christmas lights (specifically UL-listed, low-voltage LED mini lights) offer three distinct advantages: consistent color temperature (2700K–3000K for warm white), minimal heat output (<32°C surface temp), and flexible wire gauge (typically 28–30 AWG) that allows tight, invisible routing. Unlike rope lights or strip LEDs, mini lights maintain individual bulb definition—creating a delicate “halo” effect rather than a flat band of glare. Crucially, their plug-and-play nature eliminates the need for hardwiring or electrician consultation in most residential applications—provided you follow safety protocols for cord management and outlet load capacity.
Tip: Use only UL-listed, indoor-rated LED mini lights with insulated copper wiring—never incandescent or non-certified “novelty” strings. Incandescents generate excessive heat near reflective surfaces and pose fire risk on enclosed frames.Essential Materials & Tool Checklist
Gathering the right components before starting prevents mid-project frustration—and avoids last-minute trips to hardware stores. Below is the exact kit used by interior stylist Maya Tran in her 2023 Brooklyn loft renovation, where she wrapped six mirrors across two bathrooms and a dressing nook:
- Lights: 100-count, warm-white LED mini lights (5V or 12V DC preferred; avoid 120V AC unless professionally installed)
- Adhesive: Double-sided removable mounting tape (3M Command™ Outdoor Refill Strips or Scotch® Removable Mounting Squares)
- Frame prep tools: Microfiber cloth, isopropyl alcohol (70%), soft-bristle brush
- Measuring aids: Flexible measuring tape, fine-tip marker, ruler with millimeter increments
- Securing hardware: Clear plastic cable ties (2.5mm width), small binder clips (for temporary hold during wrapping)
- Safety gear: Non-slip gloves, LED voltage tester (optional but recommended)
Never substitute hot glue, duct tape, or painter’s tape. Hot glue degrades under UV exposure and leaves stubborn residue; duct tape yellows and loses adhesion within weeks; painter’s tape lacks shear strength for vertical wire retention.
Pre-Wrapping Mirror Preparation: The Critical First Step
Skipping frame cleaning or misjudging mirror dimensions accounts for over 60% of failed DIY light wraps, according to data compiled by HomeLight’s Contractor Network. A dusty, greasy, or uneven surface causes adhesive failure within days—even with premium tape. Begin by removing all existing hardware (hooks, brackets, hanging wires). Wipe the entire frame perimeter—including grooves and corners—with isopropyl alcohol and a microfiber cloth. Let dry fully (minimum 5 minutes). Inspect for cracks, splinters, or loose veneer: repair these first using wood filler or touch-up markers appropriate for your frame material (wood, metal, or MDF).
Measure the mirror’s outer perimeter precisely—not the glass edge, but the outermost point of the frame where lights will sit. Record length (L), height (H), and corner radius (if curved). For rectangular frames, calculate total linear feet needed: (2 × L) + (2 × H) + (4 × 6 inches). Add 6 inches per corner to accommodate gentle bends without kinking wires. Example: a 24\" × 36\" mirror requires (2×24)+(2×36)+24 = 144 inches → 12 feet. Round up to the nearest string length (e.g., 15-foot string) to ensure slack for adjustments.
“Most ‘ugly’ light wraps stem from rushing the prep phase. A mirror frame is like a canvas—if it’s not clean, level, and structurally sound, no amount of beautiful lights will compensate.” — Javier Ruiz, Lighting Designer & Founder of Lumina Studio NYC
Step-by-Step Wrapping Process: Precision Over Speed
Follow this sequence exactly. Deviations introduce tension points, visible gaps, or premature detachment. Total time: 45–75 minutes depending on frame complexity.
- Mark anchor points: Using a fine-tip marker, place a dot every 4 inches along the top edge, starting 2 inches from the left corner. Repeat for bottom, left, and right edges. For rounded corners, mark at 2-inch intervals along the curve.
- Start at the top-left corner: Peel backing from one mounting square. Press firmly onto the frame at the first anchor point. Attach the first bulb base (not the wire) directly to the tape—ensure the bulb faces outward, perpendicular to the frame.
- Route the wire vertically: Gently pull the wire taut—but do not stretch—down the left side. At each anchor point, apply a new mounting square and secure the nearest bulb base. Keep wire parallel to the frame edge; avoid diagonal pulls.
- Navigate corners with micro-bends: At each corner, use two mounting squares placed ½ inch apart. Bend the wire gradually—not sharply—to follow the contour. Never force the wire; if resistance occurs, add a third square midway for support.
- Complete the loop: Return to the top-right corner. Trim excess wire 1 inch beyond the final bulb. Secure the cut end with a clear cable tie wrapped once around the wire and frame—do not overtighten.
- Test before finalizing: Plug in lights. Observe for dark spots (indicates poor contact), flickering (loose connection), or uneven spacing (requires repositioning bulbs, not tape).
Pro tip: Work with a partner when wrapping tall mirrors (>48\"). One person holds tension while the other applies tape—prevents sagging and ensures consistent spacing.
Do’s and Don’ts: A Safety & Longevity Table
| Action | Do | Don’t |
|---|---|---|
| Adhesive Use | Apply tape to clean, dry frame; press firmly for 10 seconds per square | Use tape on painted surfaces less than 30 days old or on textured wallpaper |
| Cord Management | Route excess cord behind the mirror using adhesive-backed cord clips | Let cords dangle freely or coil them tightly behind the frame (causes overheating) |
| Light Selection | Choose lights with built-in rectifiers for stable DC output and dimmable drivers | Select lights with exposed solder joints or frayed insulation near bulbs |
| Mirror Type | Wrap only framed mirrors with solid backing (no floating or frameless glass) | Attempt on beveled-edge mirrors without a recessed channel or on tempered glass with adhesive-sensitive coatings |
| Maintenance | Wipe bulbs monthly with dry microfiber; inspect tape adhesion quarterly | Use water, glass cleaner, or compressed air near bulbs or wiring |
Real-World Case Study: The Chicago Apartment Transformation
In early 2023, graphic designer Lena Park renovated her 420-square-foot Logan Square studio. Her primary vanity—a 22\" × 30\" oval mirror with a thin walnut frame—suffered from harsh overhead lighting and zero task illumination. She attempted a quick wrap using dollar-store lights and masking tape. Within 48 hours, three bulbs detached, the wire sagged near the bottom right, and adhesive residue stained the wood grain. Undeterred, she followed the protocol outlined here: cleaned the frame with alcohol, measured twice, used 3M Command™ strips, and routed lights with micro-bends. Result? A flawless halo that elevated her morning routine and became a focal point during virtual client meetings. “It’s not just pretty—it’s functional,” she notes. “I can see my eyeliner smudges now. And yes, I still use it in July.” Her setup has remained intact for 14 months with only one bulb replacement (a manufacturing defect, not adhesive failure).
Frequently Asked Questions
Can I wrap a mirror that’s already mounted on the wall?
Yes—but only if it’s securely anchored with at least two heavy-duty D-ring hangers or French cleats. Remove the mirror temporarily if it hangs from a single nail or wire. Working on a mounted mirror risks shifting, cracking, or falling during tape application. Always lay the mirror face-down on a padded surface (moving blanket or thick towels) for wrapping.
How do I hide the power cord without drilling holes?
Use adhesive-backed cord channels (like GE Slim Cord Organizer) along the wall behind the mirror’s top edge. Route the cord upward into the channel, then horizontally to the nearest outlet. For outlets below the mirror, run the cord vertically down the wall inside a paintable PVC raceway—available in white or almond to blend with trim. Never staple cords to walls or conceal them under rugs.
Will the lights damage my mirror’s silvering or backing over time?
No—provided you use low-voltage LED lights (≤5V) and avoid direct contact between bulbs and the mirror’s silvered edge. Modern mirrors have protective lacquer layers that resist mild heat and UV. However, never use incandescent or halogen lights: their surface temperatures exceed 80°C and can degrade backing compounds within months.
Conclusion: Your Glow-Up Starts Now
A light-wrapped mirror is more than decor—it’s an investment in daily ritual, self-perception, and intentional living. It transforms functional space into sanctuary, utility into elegance, and routine into reverence. You don’t need a contractor, a budget overhaul, or seasonal justification to begin. With under $35 in materials, one afternoon, and disciplined attention to prep and placement, you’ll create illumination that flatters your features, enhances your space, and endures far beyond December. The glow isn’t just visual; it’s psychological—proof that small, deliberate acts of care compound into lasting confidence. So unbox those lights, wipe your frame, measure with patience, and wrap with purpose. Your most radiant version awaits—not in filters or future plans, but in the reflection before you, softly lit and unmistakably yours.
💬 Have you wrapped a mirror—or hit a snag along the way? Share your experience, photos (text descriptions welcome!), or troubleshooting questions below. Let’s build a community of confident, capable creators—one luminous frame at a time.