Wrapping a cylindrical gift—like a bottle of wine, a candle, or a tube-shaped toy—can be surprisingly tricky. Unlike rectangular boxes, cylinders don’t have flat edges or corners, making it easy for paper to wrinkle, bubble, or slide off. The result? A lopsided, crumpled mess that doesn’t do justice to the thought behind the gift. But with the right technique, tools, and a bit of patience, you can achieve a clean, polished look that rivals store-bought presentation.
This guide walks through proven methods, common pitfalls, and insider tips to help you wrap any cylindrical item neatly and confidently. Whether you're preparing a birthday present, holiday gift, or corporate favor, these strategies ensure your wrapping looks intentional, elegant, and gift-ready.
Why Cylindrical Gifts Are Harder to Wrap
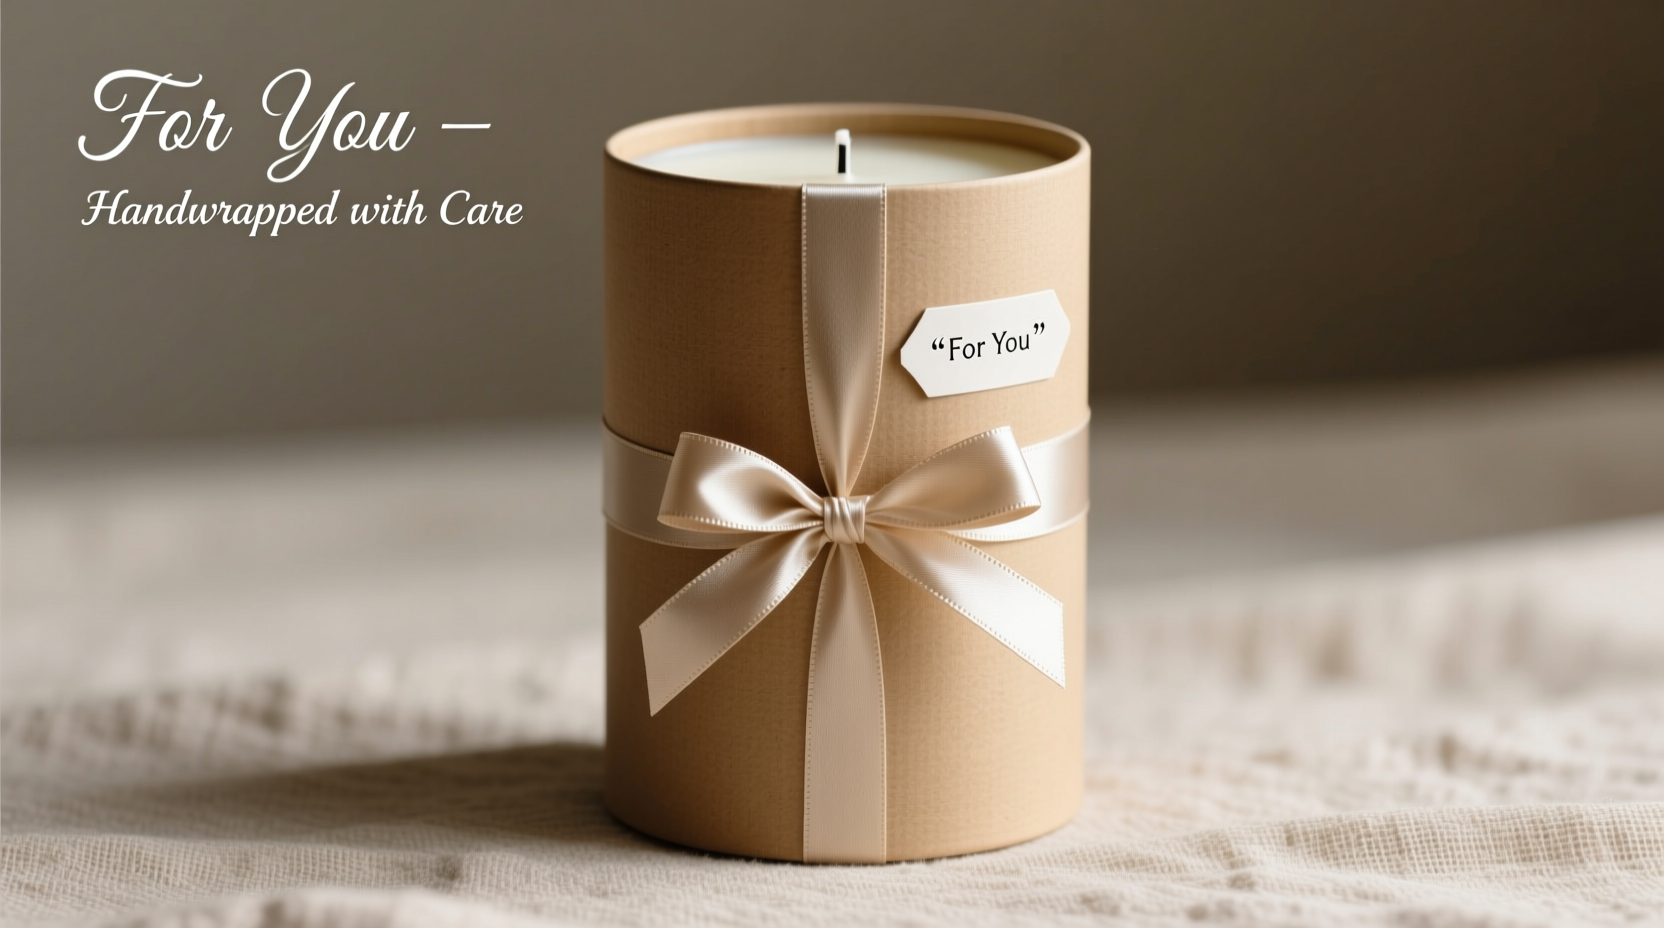
The challenge with wrapping cylinders lies in geometry. Wrapping paper is designed for flat surfaces and right angles. When applied to a curved object, the paper naturally wants to buckle, crease, or gap at the ends. Additionally, tape tends to show more on rounded surfaces, and overlapping layers can create bulk that detracts from a sleek finish.
Common issues include:
- Paper sliding or shifting during application
- Excess material bunching at the ends
- Tape peeling due to lack of adhesion on curved edges
- Visible wrinkles from tension inconsistencies
Understanding these challenges is the first step toward solving them. The key isn't just stronger tape or thicker paper—it's technique.
Step-by-Step Guide to Wrapping a Cylinder Neatly
Follow this detailed process to wrap a cylinder cleanly and efficiently. This method works best for items like bottles, candles, jars, or tubes with consistent diameter from top to bottom.
- Measure and cut the paper: Place the cylinder on the wrapping paper horizontally. Roll it one full rotation and mark where the edge meets the starting point. Add 1 inch (2.5 cm) for overlap. Cut the paper to this width. For length, measure the height of the cylinder and add 2 inches (5 cm)—1 inch for each end closure.
- Roll the paper around the cylinder: Starting at one edge, carefully roll the paper around the cylinder without stretching it. Keep the top and bottom edges aligned with the ends of the cylinder. Avoid pulling too tight, as this causes wrinkling.
- Secure the seam: Use a small piece of double-sided tape or clear tape to join the two long edges. Apply tape only to the inside of the overlap to keep the exterior clean. Press gently but firmly to ensure adhesion.
- Fold one end like a candy wrapper: Hold the cylinder vertically. Gently push the top edge of the paper down into the center, creating pleats every 1–2 inches around the circumference. Pinch each fold to form a star-like closure. Secure with a small piece of tape at the center.
- Repeat on the other end: Flip the cylinder and repeat the same pleating technique on the opposite end. Make sure both closures are symmetrical for a balanced appearance.
- Add finishing touches: Trim any uneven folds with scissors if needed. Attach a ribbon, bow, or gift tag to conceal the taped center and enhance presentation.
Do’s and Don’ts of Cylinder Gift Wrapping
| Do’s | Don’ts |
|---|---|
| Use double-sided tape for invisible seams | Stretch the paper tightly around the cylinder |
| Pre-fold pleats before securing them | Use excessive tape on visible areas |
| Choose smooth, thin paper for easier shaping | Leave raw edges exposed without finishing |
| Align patterns and text before wrapping | Wrap in humid or damp environments (paper warps) |
| Practice on a similar-sized object first | Ignore the grain direction of the paper |
Alternative Methods for Different Cylinder Types
Not all cylinders are uniform. Some taper at the ends, others are very tall or narrow. Adjust your approach based on shape:
For Tapered Cylinders (e.g., perfume bottles)
These require extra care because the diameter changes. Use slightly larger paper and make accordion-style vertical folds along the side as you wrap. Secure intermittently with tiny dabs of tape. Finish ends with fabric or ribbon instead of folding, which won’t lie flat.
For Tall, Narrow Tubes (e.g., posters or scrolls)
Wrap horizontally as usual, but reinforce the ends with circular cardboard inserts. Cut two circles slightly larger than the tube’s diameter. After folding the paper inward, glue or tape it to the cardboard disc. This gives structure and a clean finish.
For Irregular Shapes (e.g., mugs in sleeves)
If the item has handles or protrusions, consider partial wrapping. Cover only the body with a snug band of paper secured with decorative washi tape or a sticker. Let the handle remain exposed. Pair with a tissue-lined gift box for a cohesive look.
Tip: If the cylinder is fragile (like glass), wrap it in a thin layer of bubble wrap first. Then apply the decorative paper over the protective layer—this adds grip and prevents slipping.Expert Insight: What Professional Gift Wrappers Do Differently
Professional gift wrappers prioritize precision, material choice, and subtle details that elevate the final product. According to Laura Bennett, a certified gift presentation specialist with over 15 years of experience:
“Amateurs focus on covering the gift. Professionals focus on controlling the paper. That means managing tension, minimizing handling, and planning every fold ahead of time. With cylinders, the difference between messy and magnificent comes down to three things: paper flexibility, consistent pressure, and practiced pleating.”
Bennett emphasizes the importance of pre-creasing folds before applying tape. “I pinch the pleats into place while the paper is still loose, then tighten and secure. This avoids last-minute adjustments that lead to tears or crooked lines.”
Real Example: Wrapping a Wine Bottle for a Dinner Party
Sarah was hosting a dinner and wanted to give each guest a personalized wine bottle. She initially tried wrapping them like boxes—cutting large squares and folding the ends haphazardly. The result was bulky, asymmetrical, and looked homemade in the worst way.
She switched tactics. Using medium-weight kraft paper with a linen texture, she measured each wrap precisely. She rolled the paper around the bottle, sealed the seam with double-sided tape, then pinched six even pleats at each end. A black satin ribbon tied around the neck of the bottle concealed the center tape and added elegance. The final presentation looked boutique-quality, and guests later commented on how beautifully packaged the gifts were.
The turnaround came not from better materials—but from better method.
Checklist: How to Wrap a Cylinder Gift Without It Looking Messy
Before you start wrapping, use this checklist to ensure success:
- ✅ Choose flexible, lightweight wrapping paper
- ✅ Measure the cylinder’s height and circumference accurately
- ✅ Cut paper with 1 inch of overlap and 1 inch of excess on each end
- ✅ Use double-sided tape for seamless joins
- ✅ Roll the paper smoothly—don’t stretch or pull
- ✅ Pre-crease pleats evenly around the top and bottom
- ✅ Secure center folds with minimal visible tape
- ✅ Add ribbon or embellishments to hide imperfections
- ✅ Inspect from all angles before gifting
Frequently Asked Questions
Can I use a gift bag instead of wrapping?
Yes, especially for irregular or delicate cylinders. However, many gift bags are designed for boxes and may not fit snugly. If using a bag, choose one with tissue paper to fill gaps and prevent movement. That said, hand-wrapped cylinders often feel more personal and thoughtful than bagged gifts.
How do I prevent the paper from unraveling?
Ensure the seam is fully adhered with quality tape. Double-sided tape works best because it bonds both sides without residue. Avoid placing tape only at the edge—extend it slightly inward for greater hold. Also, don’t wrap in high-heat areas; warmth can weaken adhesive over time.
What if my pleats come out uneven?
Uneven pleats are common at first. To fix this, practice on a rolled-up magazine or empty can. Count your folds—six to eight usually work well for standard bottles. Mark light pencil dots around the edge before folding to guide spacing. Once folded, press each crease firmly with a bone folder or the back of a spoon for sharpness.
Conclusion: Elevate Your Gift-Giving with Clean, Confident Wrapping
Wrapping a cylinder doesn’t have to be a source of frustration. With the right approach, it becomes an opportunity to impress. The techniques outlined here—measuring precisely, using the correct paper, mastering the pleat, and finishing with finesse—transform what could be a sloppy package into a beautifully presented gift.
Great wrapping isn’t about perfection. It’s about care, consistency, and attention to detail. When someone receives a thoughtfully wrapped cylinder, they don’t just see the effort—they feel it. And that emotional impact lasts far longer than the unwrapping moment.
💬 Try these steps for your next gift and share your results! Did a particular tip make a difference? Leave a comment and inspire others to wrap with confidence.