Removing vinyl wallpaper can feel like a daunting task, especially when the last thing you want is to damage the drywall underneath. Many homeowners have learned the hard way that aggressive scraping or improper techniques can leave behind gouges, soft spots, or even holes—requiring costly repairs before painting or re-wallpapering. The good news: with the right tools, preparation, and patience, it’s entirely possible to strip stubborn vinyl wallpaper cleanly and preserve your wall surface. This guide walks you through every phase of the process, from identifying your wallpaper type to final cleanup, ensuring minimal risk to your drywall.
Understanding Vinyl Wallpaper and Why It’s Tough to Remove
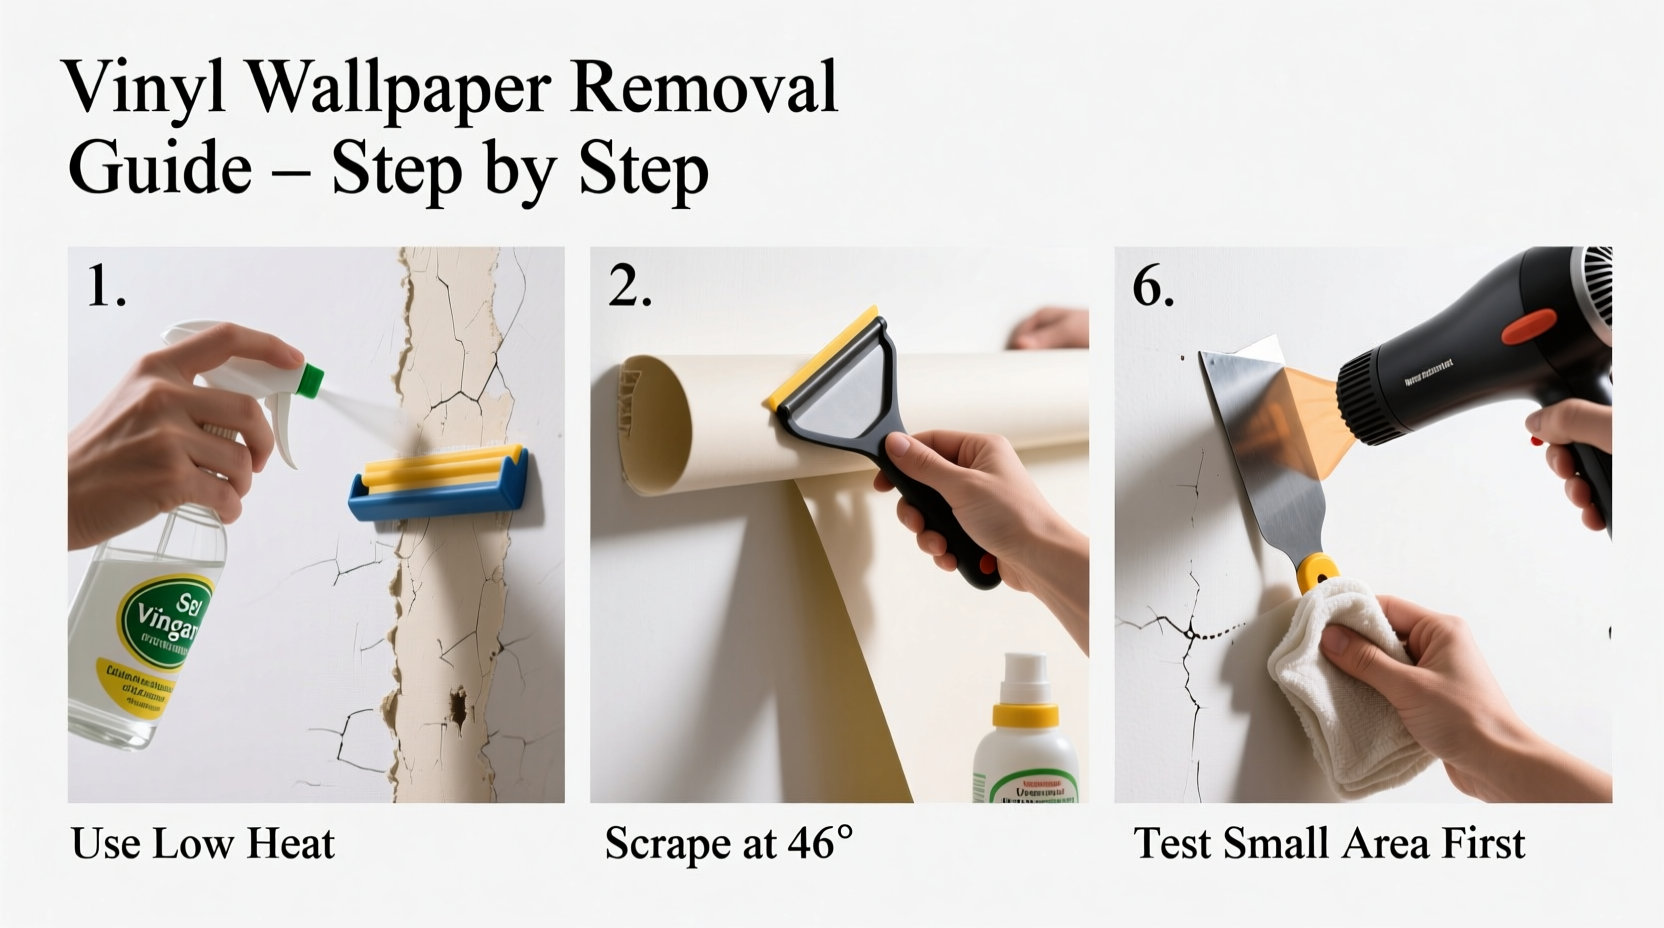
Vinyl wallpaper is popular for its durability, moisture resistance, and ease of cleaning—qualities that make it ideal for kitchens and bathrooms. However, these same traits also make it one of the most challenging types of wallpaper to remove. Unlike traditional paper-based wallpapers, vinyl has a non-porous surface that resists water absorption. Beneath the vinyl layer, there's often a paper backing glued directly to the drywall. If moisture doesn’t penetrate properly, the adhesive remains intact, making the wallpaper cling stubbornly to the wall.
Attempting to peel it off dry usually results in tearing the drywall paper—the thin outer layer that gives drywall its finish and strength. Once that’s compromised, the wall becomes vulnerable to crumbling, uneven textures, and poor paint adhesion later on.
“Never underestimate the bond between vinyl wallpaper and drywall. Rushing removal leads to more time spent patching than peeling.” — Mark Thompson, Certified Drywall Contractor with 20+ years of renovation experience
Essential Tools and Materials You’ll Need
Gathering the right supplies beforehand prevents mid-job frustration and reduces the risk of accidental wall damage. Here’s what you should have on hand:
- Wallpaper scoring tool (manual or electric)
- Spray bottle or garden sprayer
- Warm water
- Dish soap or wallpaper removal solution
- Wide putty knife or plastic scraper
- Sponges and clean rags
- Drop cloths or plastic sheeting
- Utility knife
- Safety goggles and gloves
- Ladder (for high areas)
- Sanding block (fine grit, 120–150)
- Vacuum with brush attachment
Step-by-Step Removal Process
Follow this systematic approach to minimize drywall damage and maximize efficiency.
- Clear the Room and Protect Surfaces
Remove furniture or cover it completely with drop cloths. Lay plastic sheeting on the floor to catch debris and excess water. Turn off electrical power to outlets and switches—you’ll be working near them with water. - Test a Small Area
Use a utility knife to make a small slit in an inconspicuous spot, like behind a door. Try lifting the edge. If it peels easily, you may have a loose-lay or newer install. More likely, it won’t budge—confirming the need for pre-treatment. - Score the Wallpaper Surface
Using a wallpaper scoring tool, roll it firmly across the surface. This creates tiny perforations that allow moisture to reach the adhesive beneath. Be thorough but gentle—don’t press so hard that you cut into the drywall. Overlap passes slightly to ensure full coverage. - Prepare the Soaking Solution
Mix warm water with a few drops of dish soap or a commercial wallpaper remover (like DIF or Ready Strip). Fill a spray bottle or pump sprayer. Avoid boiling water—it can soften drywall compound and increase the risk of damage. - Apply Solution and Let It Soak
Spray the solution evenly over a 3x3 foot section. Wait 10–15 minutes to let it penetrate. Re-spray if the surface dries too quickly. The goal is to soften the glue, not saturate the wall. Look for slight bubbling or wrinkling—that means it’s working. - Begin Peeling Gently
Starting at the top, use a wide plastic scraper to lift a corner. Pull downward at a low angle (about 30 degrees) to reduce pressure on the wall. Work slowly, section by section. If resistance increases, stop and reapply solution. - Address Problem Areas
Tight corners, edges near trim, or layered seams may need extra attention. Use a utility knife to carefully slice along baseboards or ceiling lines—never pry against them. For double-layered sections, remove the top vinyl layer first, then treat the remaining backing separately. - Remove Adhesive Residue
Once the wallpaper is gone, wipe down the wall with a damp sponge and soapy water. For stubborn glue, reapply remover solution and gently scrub with a non-abrasive pad. Never use steel wool or harsh scrapers. - Rinse and Dry
Wipe the wall with clean water to remove any cleaning residue. Allow it to air dry completely—this can take 12–24 hours depending on humidity. Use fans to speed up drying, but avoid heaters that could cause cracking. - Inspect and Repair Minor Damage
Check for torn drywall paper, dents, or leftover adhesive. Light sanding can smooth minor imperfections. For larger issues, apply joint compound, let dry, then sand smooth. Prime before painting.
Do’s and Don’ts When Removing Vinyl Wallpaper
| Do | Don’t |
|---|---|
| Score the surface thoroughly to allow moisture penetration | Try to peel without scoring—vinyl won’t release |
| Work in small sections to maintain moisture | Soak the entire wall at once—leads to over-saturation |
| Use a plastic scraper to protect drywall | Scrape aggressively with a metal blade |
| Let the solution dwell for full effect | Rush the soaking process |
| Repair minor damage before priming | Paint over damaged or sticky surfaces |
Real Example: A Bathroom Renovation Gone Right
Sarah, a homeowner in Portland, decided to update her 1990s-era bathroom. The space had thick vinyl wallpaper in a floral pattern, installed directly over drywall. Previous tenants had painted over it, adding another layer of complexity. Instead of hiring a contractor, she opted to remove it herself using the method described here.
She began by scoring the surface with a manual toothed wheel, then mixed warm water with a capful of liquid fabric softener—a budget-friendly alternative to commercial removers. She worked in two-foot squares, spraying and waiting 12 minutes between applications. After three hours, the entire room was stripped. There were a few small patches where the drywall paper lifted, but she patched them with joint compound, sanded, and primed. Two days later, she painted with mildew-resistant paint. The result? A fresh, modern look without drywall replacement costs, saving over $400 in labor and materials.
Tip: Fabric softener breaks down adhesive due to its surfactant properties. Mix 1 part softener with 3 parts warm water for an effective DIY solution.When to Consider Steaming or Professional Help
While chemical soaking works for most installations, some situations call for stronger methods. If your wallpaper was applied over plaster, has multiple layers, or includes metallic finishes, a wallpaper steamer might be necessary. Steamers heat water to produce vapor that penetrates deep into adhesive, softening it rapidly.
However, steam introduces significant moisture. On drywall, excessive exposure can lead to warping, mold, or delamination. Use only with caution—and always test in a small area first. Professionals often use industrial steamers with precise temperature control, reducing risk.
If you’re dealing with asbestos-containing wallpaper (common in homes built before 1980), do not attempt removal yourself. Contact a licensed abatement specialist. Similarly, if large sections of drywall paper come off during stripping, it may be wiser to hire a drywall repair expert before proceeding.
Post-Removal Care: Preparing Walls for Finishing
After removing all wallpaper and residue, your walls aren’t ready for paint just yet. Follow these steps:
- Inspect closely under angled light to spot missed adhesive or texture differences.
- Vacuum the surface to remove dust and loose particles.
- Sand lightly with fine-grit paper to create a uniform finish.
- Prime with a stain-blocking primer like Zinsser Bullseye 1-2-3. This seals the surface, prevents uneven absorption, and ensures paint adheres properly.
- Wait 24 hours after priming before applying paint.
“Skipping primer after wallpaper removal is a common mistake. Without it, you risk blotchy paint, tannin bleed, and poor durability.” — Lisa Nguyen, Interior Painting Consultant
Frequently Asked Questions
Can I paint over vinyl wallpaper instead of removing it?
Technically, yes—but it’s not recommended long-term. Painting over wallpaper risks trapping moisture, leading to bubbling or mold. If the wallpaper is poorly adhered, cracks will eventually telegraph through the paint. For lasting results, full removal is best.
How long does it take to remove vinyl wallpaper from one room?
Average time ranges from 4 to 10 hours depending on room size, condition, and experience. Older, multi-layered installations take longer. Plan for at least a full weekend for a standard bedroom or bathroom.
Why does the drywall feel soft after removing wallpaper?
Softness usually means the drywall paper face has been removed or weakened, exposing the gypsum core. This area needs repair with joint compound and reinforcement. Never paint over soft spots—they’ll worsen over time.
Final Checklist Before You Start
Removal Preparation Checklist:
- ✅ Furniture moved or covered
- ✅ Power turned off at breaker
- ✅ Outlets and switches removed or protected
- ✅ All tools and supplies gathered
- ✅ Test patch completed
- ✅ Ventilation set up (fans or open windows)
- ✅ Safety gear ready (gloves, goggles)
Conclusion
Removing vinyl wallpaper without damaging drywall is achievable with careful planning and the right technique. By scoring thoroughly, using controlled moisture, and working patiently, you can strip away outdated finishes while preserving your wall integrity. The effort pays off in smoother prep for painting or redesign, avoiding unnecessary repairs and contractor fees. Whether you're refreshing a single accent wall or renovating an entire home, this method puts professional-level results within reach.
💬 Have experience removing tough wallpaper? Share your tips or lessons learned in the comments below—your insight could help someone avoid a costly mistake!