White grout in the shower is prized for its clean, modern appearance—but over time, it can become discolored, dingy, or even develop mildew stains. Many homeowners reach for bleach as a quick fix, but chlorine-based cleaners come with drawbacks: they emit harsh fumes, degrade grout over time, and are unsafe for homes with children or pets. The good news is that bleach isn’t the only option. With the right natural ingredients and consistent care, you can restore your grout to a bright, clean state—without compromising your health or damaging your tiles.
Why Avoid Bleach on Grout?
Bleach has long been a go-to for cleaning mold and mildew, but it’s not ideal for tile grout. Grout is porous, meaning it absorbs liquids—including bleach. Over time, repeated exposure weakens the grout structure, leading to cracking and crumbling. Additionally, bleach doesn’t always remove deep-set dirt; it often just masks discoloration by lightening the surface. This temporary effect can fade quickly, leaving you back where you started.
Environmental and health concerns also make bleach less appealing. The fumes can irritate lungs and eyes, especially in poorly ventilated bathrooms. For eco-conscious households or those sensitive to chemicals, non-toxic alternatives offer a safer, more sustainable path to clean grout.
“Bleach may seem powerful, but it’s overkill for most grout issues. Gentle abrasives and pH-balanced cleaners do the job without sacrificing longevity.” — Dr. Lena Peterson, Indoor Air Quality Specialist
Natural Ingredients That Clean and Brighten Grout
Several household items effectively lift grime and restore brightness without harming grout or your respiratory system. These ingredients work through different mechanisms: some dissolve organic buildup, others gently abrade stains, and a few naturally inhibit mold growth.
- Baking soda: A mild abrasive that scrubs away surface dirt without scratching. It also neutralizes odors and helps break down grease.
- White vinegar: An acidic cleaner that dissolves mineral deposits and kills many types of bacteria and mold spores.
- Hydrogen peroxide (3%): A gentle oxidizer that whitens grout safely. Unlike bleach, it breaks down into water and oxygen, making it environmentally friendly.
- Citric acid: Found in lemon juice or powdered form, it tackles soap scum and hard water stains effectively.
- Dish soap: Cuts through oils and residues left by body washes and shampoos.
Step-by-Step Guide to Restore White Grout Without Bleach
Follow this detailed process to deep-clean and brighten your shower grout using safe, accessible products. This method works best when performed monthly or bi-monthly, depending on usage and humidity levels.
- Clear and rinse the area. Remove all bottles, loofahs, and accessories from the shower. Rinse the tiles and grout lines with warm water to loosen surface debris.
- Pre-treat with vinegar spray. Mix equal parts white vinegar and water in a spray bottle. Spray generously on grout lines and let sit for 5–10 minutes. This softens soap scum and mineral buildup.
- Create a baking soda paste. Combine ½ cup baking soda, ¼ cup hydrogen peroxide, and 1 teaspoon dish soap to form a thick paste. Stir well to avoid lumps.
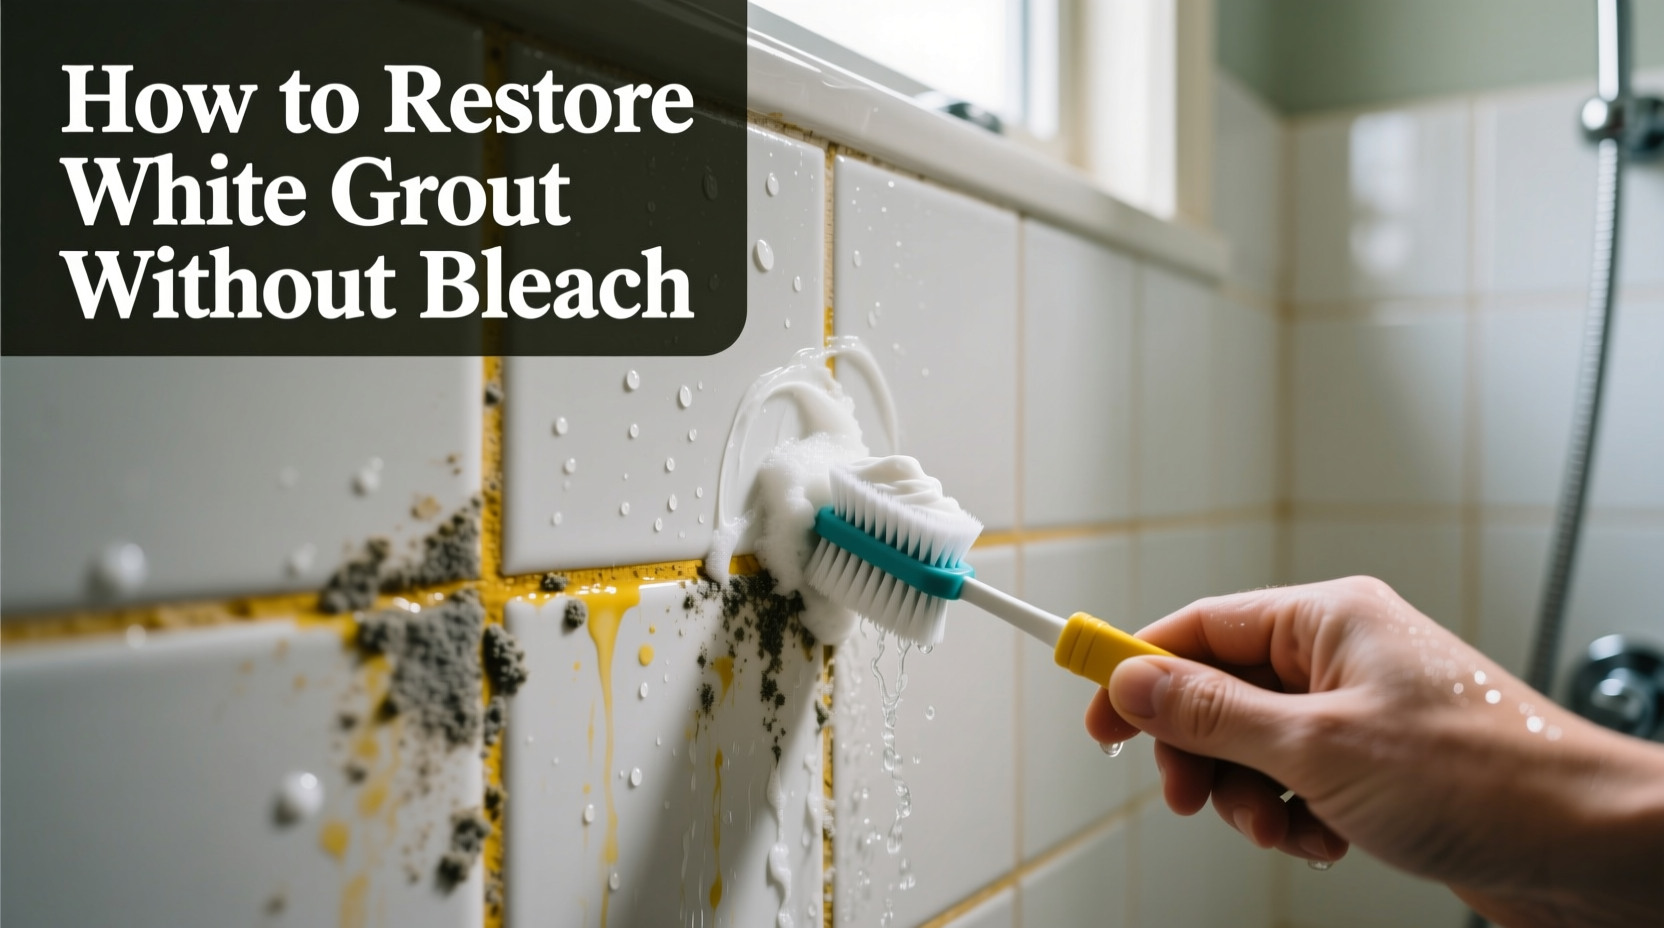
- Apply the paste with a brush. Using an old toothbrush or narrow grout brush, spread the paste directly onto stained grout lines. Work in small sections (about 2x2 feet) to prevent drying.
- Let it dwell. Allow the paste to sit for 15–20 minutes. During this time, hydrogen peroxide will begin oxidizing stains while baking soda lifts residue.
- Scrub thoroughly. Re-wet the brush if needed and scrub each grout line in a back-and-forth motion. Focus on darkened areas. You should see visible improvement within minutes.
- Rinse completely. Use a sponge and warm water to remove all paste residue. Wipe down surrounding tiles to prevent streaking.
- Dry and inspect. Pat the area dry with a microfiber cloth. Check for remaining discoloration. Repeat the process on stubborn spots if necessary.
For ongoing maintenance, wipe down walls after each shower with a squeegee or towel to reduce moisture buildup—a key factor in grout discoloration.
Comparison of Natural vs. Chemical Cleaning Methods
| Method | Effectiveness | Safety | Grout Longevity Impact | Eco-Friendliness |
|---|---|---|---|---|
| Bleach + Water | High (short-term) | Poor (toxic fumes) | Negative (degrades over time) | Poor |
| Vinegar + Baking Soda Paste | Moderate to High | Excellent | Neutral/Positive | Excellent |
| Hydrogen Peroxide Paste | High | Excellent | Positive (non-corrosive) | Excellent |
| Commercial Non-Bleach Tile Cleaner | High | Good (check label) | Neutral | Fair |
| Citric Acid Solution | Moderate (best for soap scum) | Excellent | Neutral | Excellent |
This comparison shows that natural solutions match or exceed chemical cleaners in both safety and sustainability, with minimal trade-offs in performance—especially when applied consistently.
Mini Case Study: Reviving a 10-Year-Old Shower
Sarah, a homeowner in Portland, Oregon, had struggled for years with darkening grout in her master bathroom shower. The space was used daily and suffered from high humidity, leading to persistent mildew stains between the tiles. She previously used bleach monthly, but noticed the grout was beginning to crack and powder along the lower rows.
After researching safer alternatives, she switched to a baking soda and hydrogen peroxide paste regimen. She cleaned the grout thoroughly every six weeks and installed a small exhaust fan to reduce moisture retention. Within three months, the grout regained much of its original brightness. More importantly, the structural integrity improved—no new cracks appeared, and the texture became more cohesive.
“I was shocked at how well the paste worked,” Sarah said. “It took a bit more elbow grease than bleach, but knowing I wasn’t breathing toxic fumes made it worth it.”
Pro Tips for Maintaining Bright Grout Long-Term
Cleaning is only half the battle. Preventative measures ensure your efforts last longer and reduce the frequency of deep cleans.
Tip: After cleaning, apply a water-based grout sealer every 6–12 months to protect against moisture and staining.- Ventilate the bathroom. Run the exhaust fan during and for 20 minutes after showers to reduce humidity.
- Squeegee after use. A quick swipe of the walls prevents water and soap residue from settling into grout.
- Avoid oil-based soaps. Bar soaps containing shea butter or coconut oil leave behind residues that attract dirt.
- Clean weekly. A simple wipe-down with a vinegar-water mix prevents buildup before it becomes visible.
- Use a shower mat. Place a removable mat outside the shower to catch drips and reduce floor grout exposure.
DIY Grout Cleaning Checklist
Keep this checklist handy for your next cleaning session:
- ☐ Remove all items from the shower
- ☐ Rinse tiles and grout with warm water
- ☐ Spray vinegar solution and wait 10 minutes
- ☐ Mix baking soda, hydrogen peroxide, and dish soap into a paste
- ☐ Apply paste to grout lines using a stiff brush
- ☐ Let sit for 15–20 minutes
- ☐ Scrub grout thoroughly section by section
- ☐ Rinse completely with clean water
- ☐ Dry surfaces with a microfiber cloth
- ☐ Inspect results and reapply if needed
- ☐ Consider sealing grout after full drying (next day)
Frequently Asked Questions
Can I use lemon juice instead of vinegar?
Yes, lemon juice works similarly due to its citric acid content. However, it may leave a scent and is slightly less potent than vinegar. Freshly squeezed or diluted bottled lemon juice can be used in a 1:1 ratio with water for pre-treatment.
How often should I deep-clean grout without bleach?
Every 4–8 weeks is ideal for frequently used showers. Less-used bathrooms may only require deep cleaning every 3–4 months. Weekly surface wipes help extend the interval.
Will hydrogen peroxide damage colored grout?
While 3% hydrogen peroxide is generally safe, it can lighten some pigmented grouts over time. Always spot-test in an inconspicuous area first, especially with darker or vintage grout colors.
Final Thoughts: A Healthier Approach to Cleaner Showers
Restoring white grout doesn’t require harsh chemicals or expensive tools. By leveraging common household ingredients and consistent care, you can achieve impressive results that are safer for your family and your home. The methods outlined here not only clean but also preserve the integrity of your grout, extending the life of your tile work and reducing long-term maintenance costs.
Switching from bleach to natural alternatives represents a small change with significant benefits—better air quality, reduced environmental impact, and peace of mind. Whether you're tackling years of buildup or maintaining recently cleaned grout, these strategies empower you to keep your shower looking fresh and inviting.
💬 Have a favorite non-bleach grout cleaning hack? Share your experience in the comments and help others maintain beautiful, healthy bathrooms!