A clean desk should inspire focus, not frustration. Yet, for many of us, the underside of our workstations resembles an overgrown thicket of tangled cords—power strips buried under USB cables, monitor leads snaking across the floor, laptop chargers knotted like old garden hoses. This chaos isn’t just unsightly; it slows you down, increases stress, and can even damage equipment over time. The good news? You don’t need a full tech overhaul to fix it. With a few strategic decisions and permanent organizational habits, you can tame the cable jungle once and for all.
Permanent cable management isn’t about temporary fixes or quick tucks behind furniture. It’s about designing a system that stays neat through daily use, adapts to future devices, and supports both function and aesthetics. Whether you're working from home, building a gaming rig, or managing a hybrid office setup, this guide delivers actionable methods grounded in real-world usability and expert-tested principles.
Assess Your Cable Ecosystem
Before cutting, bundling, or routing anything, take inventory. Most people underestimate how many active cables they actually use. Start by powering down your devices and gently pulling your desk away from the wall. Lay out every cord, adapter, and power brick on the floor or a nearby surface. Group them by function: power, data (USB, Ethernet), audio/video (HDMI, DisplayPort), and peripherals (keyboard, mouse, webcam).
Now, ask yourself three questions:
- Which cables do I use daily?
- Which ones are redundant or broken?
- Can any be replaced with wireless alternatives?
This audit often reveals forgotten items—a second monitor that hasn’t been turned on in months, an old docking station, or multiple chargers for the same device. Eliminating unnecessary cables reduces clutter at the source, making the rest of the organization far more effective.
Tip: Label each cable with a small tag or colored tape before disconnecting. It saves time when reconnecting and prevents confusion later.Choose the Right Tools for Permanent Management
Not all cable organizers are created equal. Temporary zip ties may hold things together today but become brittle and break within months. Velcro straps loosen. Electrical tape yellows and peels. For a truly lasting solution, invest in durable, modular systems designed for long-term use.
Here are the most effective tools for permanent cable control:
- Cable raceways: Adhesive-mounted plastic channels that run along desks, walls, or baseboards. They conceal multiple cables in a sleek, low-profile housing.
- Snap-together conduit kits: Rigid or semi-flexible tubing that can be cut to size and snapped around grouped wires. Ideal for corners or exposed runs.
- Magnetic cable clips: Reusable metal-backed clips that stick securely to metal surfaces (like CPU cases or filing cabinets) and hold cords in place without damaging paint.
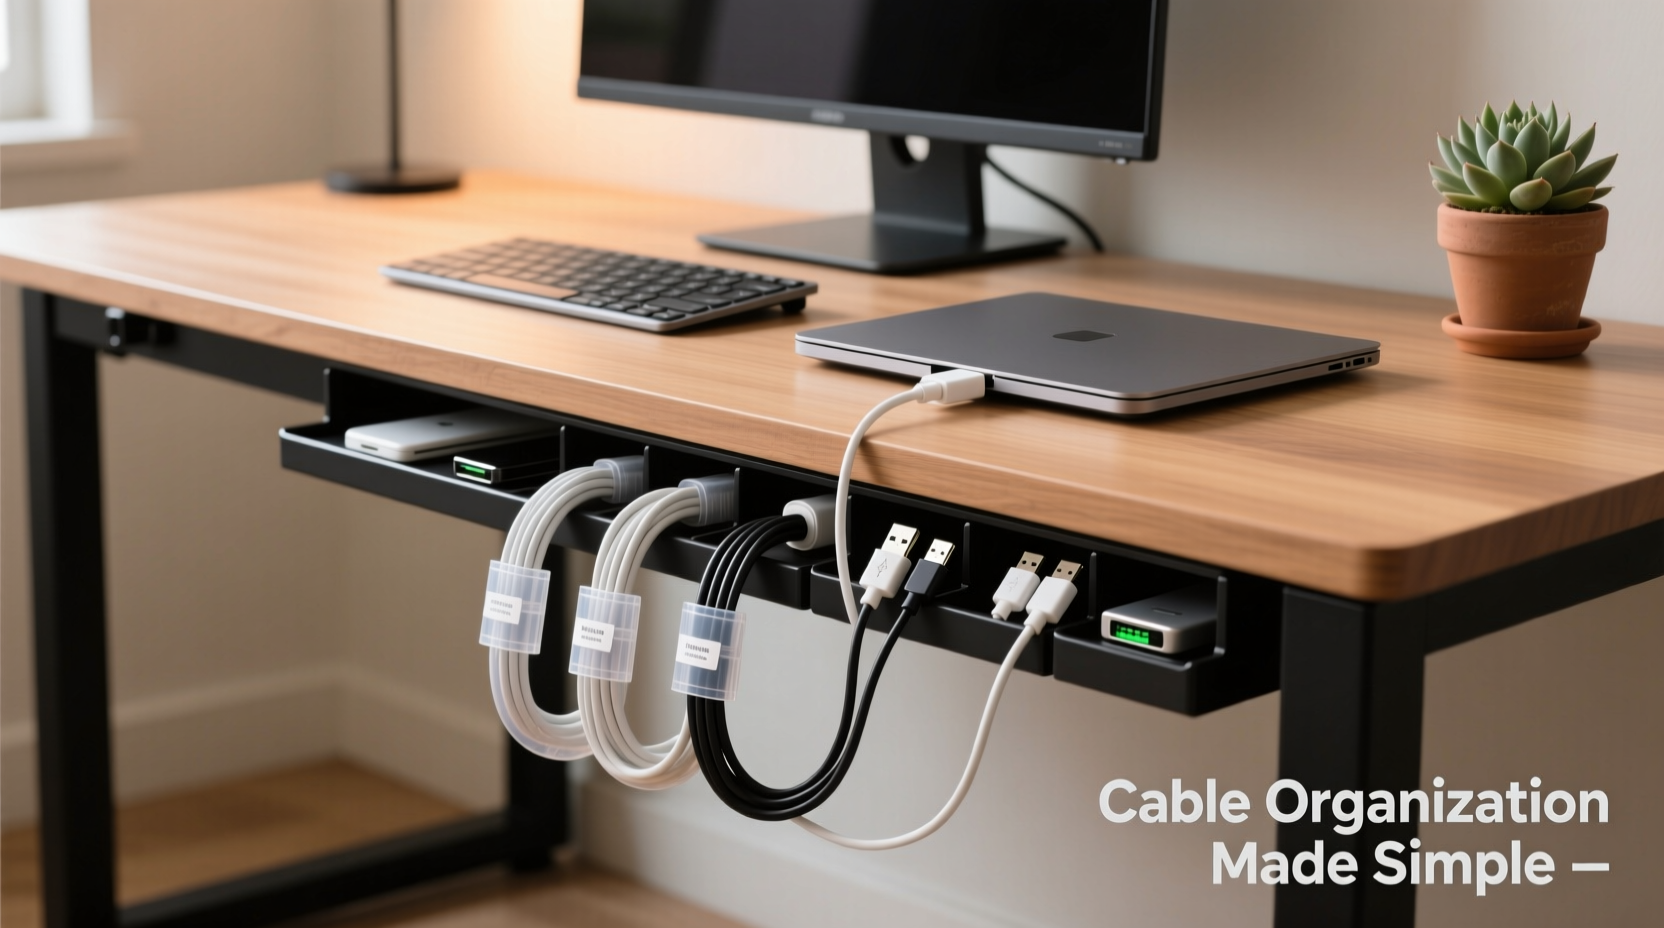
- Under-desk trays: Mount beneath your desktop to house power strips and hub devices, keeping connections off the floor and out of sight.
- Braided nylon sleeves: Flexible, expandable wraps that bundle multiple cables into a single, tangle-free line. More durable than fabric or plastic twist ties.
For high-traffic areas, consider installing in-wall power outlets or USB charging ports during renovations. While not feasible for renters, homeowners gain a major aesthetic and functional advantage with flush-mounted power access.
Do’s and Don’ts of Cable Management Materials
| Do | Don't |
|---|---|
| Use adjustable cable sleeves for evolving setups | Use zip ties that can’t be loosened or replaced |
| Install adhesive mounts on clean, dry surfaces | Apply adhesives to dusty or greasy walls/desks |
| Group similar cables (e.g., all USB lines) | Mix power and data cables tightly together (risk of interference) |
| Leave slight slack at connection points to prevent strain | Pull cables taut, which can damage connectors over time |
| Label hubs and ports for easy identification | Assume you’ll remember which HDMI goes where in six months |
Step-by-Step: Building a Permanent Cable System
Follow this sequence to create a lasting, organized desk environment. Each step is designed to compound clarity and reduce future mess.
- Disconnect everything. Power down all devices and unplug every cable. This ensures you’re working with a blank slate.
- Declutter ruthlessly. Discard frayed wires, obsolete adapters, and duplicates. Recycle responsibly.
- Map your layout. Sketch a simple diagram of your desk and wall outlets. Note where each device will sit and its required connections.
- Install physical organizers. Attach raceways, under-desk trays, or adhesive clips according to your plan. Allow extra length for future changes.
- Route cables strategically. Run power cords along one side of the desk, data cables on the other. Use separate sleeves or channels if possible.
- Bundle and secure. Group similar cables using braided sleeves or hook-and-loop straps. Avoid over-tightening.
- Label everything. Use printed labels, color-coded tags, or a labeling machine on both ends of each cable.
- Test and adjust. Power up all devices. Check for strain, overheating, or loose connections. Make micro-adjustments as needed.
- Seal the system. Once satisfied, reinforce adhesive mounts with small dabs of silicone (if removable later isn’t a concern) and document your setup with a photo for reference.
Real-World Example: From Chaos to Calm
Consider Mark, a freelance video editor working from a converted bedroom. His desk supported two monitors, a desktop PC, audio interface, external SSDs, phone charger, lamp, and Wi-Fi router. Before reorganization, cables spilled onto the floor, tripping hazards formed near his chair, and unplugging one device often meant dislodging five others.
He followed the nine-step process above. He removed three unused power bricks and switched his keyboard and mouse to Bluetooth. He installed a 30-inch raceway along the back edge of his desk and mounted an under-desk tray for his power strip and USB hub. All data cables were routed through a black braided sleeve, while power cords ran separately through the raceway. Each cable end was labeled with heat-shrink tags.
The result? Setup time dropped from 15 minutes (after accidental shutdowns) to under two. Dust accumulation decreased. Most importantly, Mark reported a noticeable improvement in concentration—his workspace finally matched the professionalism of his work.
“Cable management isn’t just about looks—it’s cognitive hygiene. A clean setup reduces decision fatigue and mental clutter.” — Dr. Lena Patel, Ergonomics Researcher at MIT Media Lab
Advanced Strategies for Long-Term Maintenance
Even the best system degrades without upkeep. To ensure permanence, integrate these habits:
- Quarterly reviews: Every three months, inspect cable integrity, retighten mounts, and remove new clutter before it spreads.
- One-in, one-out rule: When adding a new device or cable, retire an old one. Prevents gradual buildup.
- Digital documentation: Save a labeled photo of your setup in the cloud. Useful after moves or power outages.
- Strategic wireless adoption: Replace wired peripherals with reliable wireless versions where performance allows. Fewer cables = fewer failure points.
For shared workspaces, assign color codes by user or function. Blue for monitor cables, red for power, green for network—this makes troubleshooting intuitive for everyone.
Checklist: Permanent Cable Organization in 10 Actions
- ✅ Unplug and lay out all cables
- ✅ Remove damaged or unused cords
- ✅ Identify essential vs. optional connections
- ✅ Choose durable organizers (raceways, sleeves, trays)
- ✅ Plan cable routes avoiding foot traffic
- ✅ Install mounts and channels securely
- ✅ Separate power and data cables
- ✅ Bundle and label all lines
- ✅ Test all devices post-setup
- ✅ Document and schedule maintenance
Frequently Asked Questions
Can I manage cables without drilling or permanent wall modifications?
Absolutely. Adhesive-backed raceways, under-desk trays, and magnetic clips require no drilling. Many are strong enough to hold several pounds and can be removed cleanly when needed. Look for brands with 3M VHB tape for maximum hold on smooth surfaces.
How do I prevent my pet from chewing cables?
Use rigid spiral wrap conduit or PVC tubing to encase vulnerable sections. Apply pet-safe bitter spray as a deterrent. Route cables through elevated raceways or behind furniture. Consider switching to wireless peripherals where possible.
Is it safe to bundle multiple power cables together?
In moderation, yes—but avoid tight bundles of high-wattage cords (like space heaters or amplifiers), as they can overheat. Leave space between thick power lines and never cover bundled cables with rugs or fabric. Data and low-voltage cables (USB, Ethernet) can be safely bundled together.
Conclusion: A Clear Desk Is a Clear Mind
Organizing cables permanently isn’t a one-time chore—it’s an investment in your daily efficiency, safety, and peace of mind. By approaching the task systematically, using durable tools, and building in maintenance from the start, you create a workspace that works for you, not against you. The jungle doesn’t stand a chance.
You don’t need expensive gear or technical expertise. What matters is consistency and intention. Take the first step today: unplug, assess, and begin rebuilding order. In less than a weekend, you can transform chaos into calm—one cable at a time.
💬 What’s the wildest cable tangle you’ve ever fixed? Share your story or tip in the comments—your solution might help someone finally reclaim their desk.