Creating a lighted Christmas hat with wearable twinkle lights is a delightful way to spread holiday cheer—whether at office parties, school events, or neighborhood parades. But beyond the sparkle, safety and durability are essential, especially when children are involved. Unlike store-bought novelty hats that may use unreliable circuits or unsafe batteries, a DIY version allows full control over materials, placement, and electrical integrity. With careful planning, you can craft a festive, eye-catching hat that’s both dazzling and secure.
The key lies in selecting components designed for wearables: low-voltage LED strings, secure battery enclosures, and flexible wiring methods that withstand movement. This guide walks through every step—from choosing the right base hat to integrating lights without compromising comfort or safety. Whether you’re making one for yourself or crafting a batch as handmade gifts, this project blends creativity with practical electronics knowledge.
Selecting Safe, Wearable Lighting Components
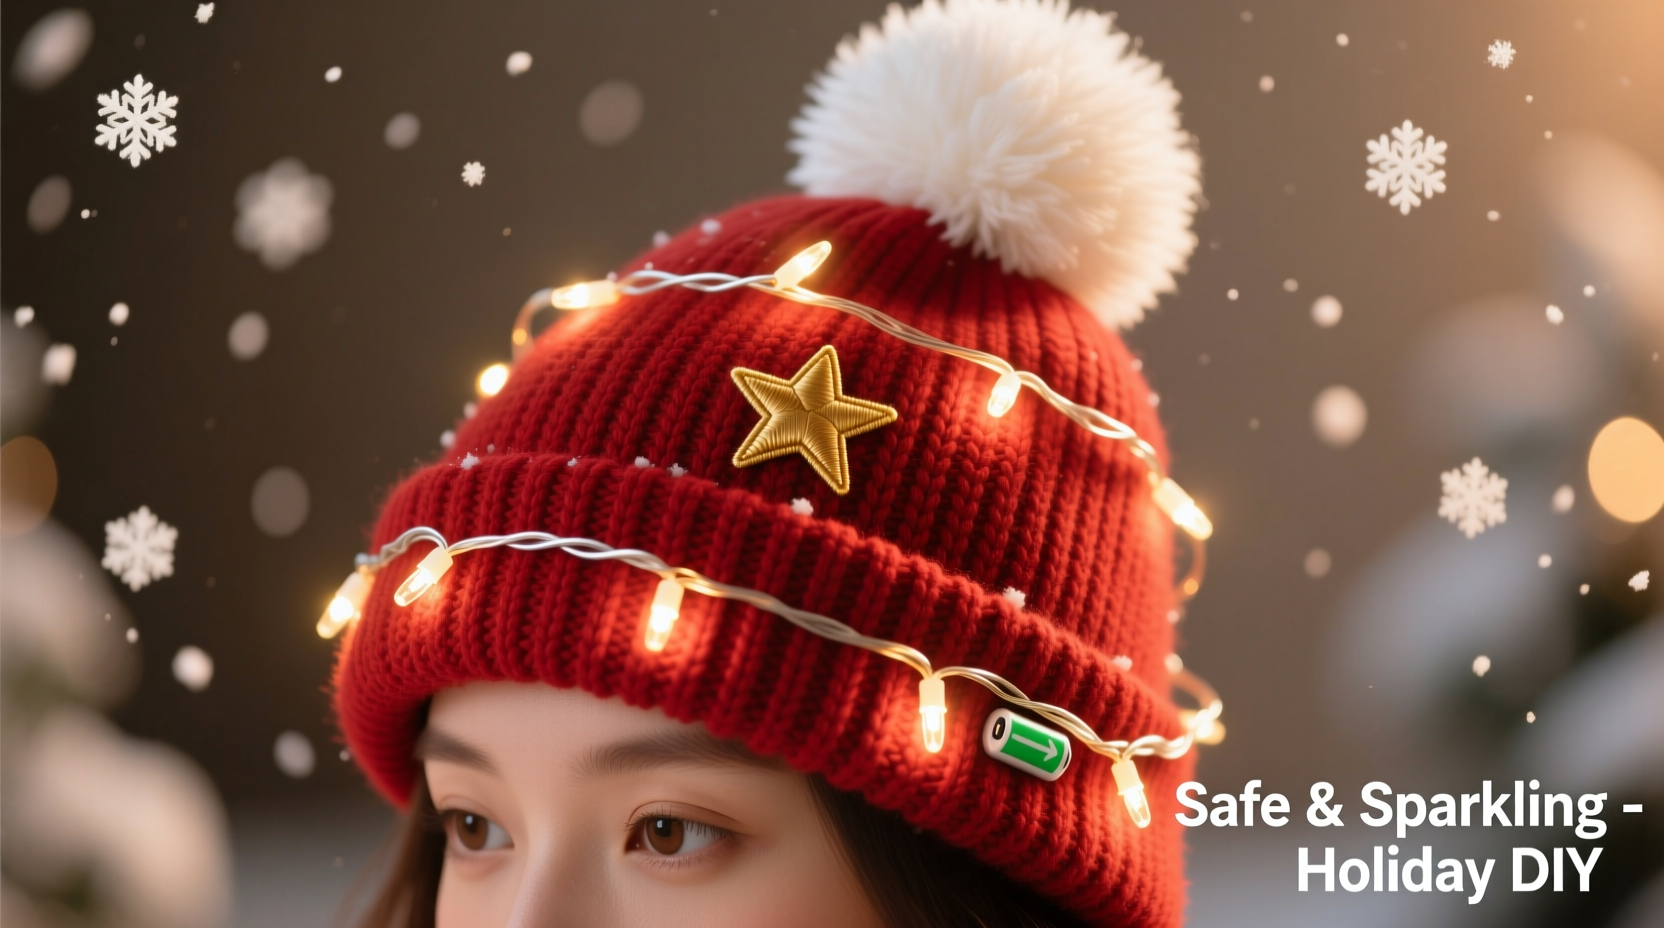
Not all twinkle lights are suitable for clothing. Standard holiday string lights operate on mains voltage and pose serious risks when attached to fabric. For wearable projects, only low-voltage, battery-powered LED lights should be used. These typically run on 3V to 5V, minimizing heat output and electrical hazard.
Micro-LED fairy lights powered by coin cell or AAA batteries are ideal. Look for strings labeled “wearable,” “flexible circuit,” or “for crafts.” Many include an on/off switch and come in lengths between 1 and 3 meters, with 20 to 50 individual LEDs. Warm white, multicolor, or cool white options let you match your holiday theme.
“Battery-operated LED lights designed for garments use encapsulated wiring and current-limiting resistors, reducing risk of short circuits or overheating.” — Dr. Lena Tran, Electrical Safety Consultant, Consumer Wearable Tech LabTip: Choose lights with a removable battery pack so you can turn them off when not in use and prevent accidental drainage.
Avoid any lighting product that feels hot after five minutes of operation. LEDs should remain cool to the touch. If warmth is detected, discontinue use immediately—this indicates poor design or excessive current draw.
Choosing the Right Hat Base and Materials
The foundation of your lighted hat must balance structure, comfort, and compatibility with wiring. Knit beanies, felt Santa hats, and foam reindeer antler headbands are popular choices. Each offers different advantages:
- Knit beanies: Soft, stretchy, and widely available. Best for subtle lighting along the brim or crown.
- Felt Santa hats: Stiff enough to hold wire shapes; excellent for outlining the hat’s edge or adding starbursts on the tip.
- Foam-based novelty hats: Lightweight and moldable. Ideal for embedding lights into cutouts or 3D shapes like snowflakes or candy canes.
Ensure the hat material is dry and clean before attaching lights. Moisture or oils from skin can degrade adhesive connections over time. If decorating a child’s hat, avoid loose parts that could become choking hazards. Secure all wires flush against the fabric and cover connection points with non-toxic fabric glue or heat-shrink tubing.
| Hat Type | Best For | Lighting Tips |
|---|---|---|
| Knit Beanie | Daily winter wear, subtle glow | Weave lights inside the cuff; use needle and thread for invisible fastening |
| Felt Santa Hat | Festive events, photo ops | Outline tip and brim; attach stars or pom-poms with embedded LEDs |
| Foam Antler Headband | Family gatherings, pet costumes | Wrap lights around antlers; use double-sided tape for temporary holds |
Step-by-Step Assembly Guide
Follow this sequence to build a safe, functional lighted Christmas hat. Allow 45–60 minutes for completion, depending on complexity.
- Gather materials: Hat, battery-powered LED string (preferably with switch), thin craft wire or clear fishing line, fabric glue, needle and thread, scissors, ruler, and optional decorations (pom-poms, sequins).
- Plan the layout: Drape the light string over the hat to visualize the design. Common patterns include spiral crowns, brim outlines, or radial bursts from the tip. Mark positions lightly with chalk if needed.
- Secure the battery pack: Attach the battery case to the inside of the hat using fabric glue or sewn pockets. Position it near the back or side for easy access. Never place batteries where they press directly against the scalp.
- Attach the lights: Use small stitches with clear thread to anchor each LED node every 2–3 inches. Alternatively, apply dabs of fabric glue under each bulb. Avoid gluing over the LED lens to prevent dimming.
- Route the wire neatly: Keep wires flat against the fabric. Tuck excess length into seams or folds. For knit hats, weave the wire through inner layers.
- Test the circuit: Turn on the lights and wear the hat for 10 minutes. Check for flickering, heat buildup, or loose connections. Repair any gaps immediately.
- Add final touches: Embellish around lights with matching colors—wrap glitter ribbon near bulbs or glue mini ornaments over anchor points for decoration.
“Sewing lights in place beats adhesive-only methods. Thread holds better during movement and washing, even if just spot-cleaned.” — Marisol Reed, DIY Fashion Instructor at CraftLab NYC
Once assembled, store the hat in a cool, dry place away from pets and sharp objects. Remove batteries during long-term storage to prevent leakage.
Safety Best Practices and Real-World Testing
Safety isn’t just about electrical components—it extends to how the hat performs in real conditions. Consider this scenario:
Mini Case Study: A parent made two lighted hats—one for her 6-year-old and one for herself—using identical kits. The adult version used hot glue to fix lights, while the child’s used hand-stitching. At a holiday parade, the child danced vigorously for 20 minutes. The glued LEDs began detaching, and one wire pulled loose, exposing a contact point. The stitched hat remained intact. After replacing the faulty unit, the family switched to sewing all future wearable lights.This example underscores a critical rule: mechanical fastening (stitching) outperforms adhesives in dynamic environments. Children move unpredictably, and hats shift with wind or motion. Every connection must survive jostling, bending, and occasional tugs.
Beyond construction, consider usage context. Do not wear lighted hats near open flames, such as fireplaces or candles. While LEDs don’t ignite materials, surrounding fabrics like cotton or wool can still catch fire. Similarly, avoid wearing them in rain or snow unless the lights are explicitly rated IP65 or higher for water resistance. Most consumer-grade wearable LEDs are not waterproof.
📋 Checklist: Pre-Wear Safety Inspection- ✅ Confirm all LEDs are securely fastened
- ✅ Check battery pack for corrosion or swelling
- ✅ Ensure wires lie flat and won’t snag
- ✅ Test switch function and brightness
- ✅ Verify no exposed metal contacts are accessible
- ✅ Confirm hat fits snugly without obstructing vision
If any item fails inspection, do not wear the hat until repaired. A moment of caution prevents accidents.
FAQ: Common Questions About Lighted Holiday Hats
Can I wash a lighted Christmas hat?
No—never submerge a lighted hat in water. Even minor moisture can corrode circuits or cause shorts. Spot-clean the fabric with a damp cloth, ensuring the lights and battery compartment stay dry. Remove batteries before any cleaning.
How long do the batteries last?
Typical micro-LED strings last 12 to 48 hours on continuous use with AAA or coin cell batteries. Turning them off when not in use extends life significantly. Carry spare batteries for extended events.
Are these safe for toddlers?
With precautions, yes. Use only lights with fully enclosed wiring and secured battery cases. Supervise closely, avoid small detachable decorations, and limit wear time to prevent overheating or discomfort. Opt for hats where lights are integrated into the structure rather than hanging loosely.
Final Thoughts and Encouragement to Create
A lighted Christmas hat is more than a seasonal accessory—it’s a symbol of joy, craftsmanship, and thoughtful celebration. By building one yourself, you ensure it meets safety standards, fits perfectly, and reflects your personal flair. More importantly, you set an example of responsible DIY culture: innovation paired with caution.
Whether you're brightening a family tradition or surprising coworkers with handmade holiday spirit, this project proves that festive magic doesn’t require expensive gadgets—just intention, care, and a few well-placed twinkles. So gather your supplies, test your circuits, and stitch with confidence. The season awaits your sparkle.
💬 Have you made a wearable light project? Share your tips, challenges, or photos in the comments—your experience could inspire someone’s next holiday creation!