Most holiday decorators hang lights first, drape garland second, and call it done—only to step back and feel something’s missing: the layered luminosity of a high-end hotel lobby, the rhythmic rhythm of a designer showroom, or the warm, dimensional glow of a magazine cover tree. The difference isn’t budget—it’s sequencing, proportion, and intentionality. Layering isn’t decorative stacking; it’s choreography. Done right, lights and garland work in concert—not competition—to create depth, movement, and focal harmony. This guide distills decades of professional holiday styling experience into actionable, repeatable techniques. No assumptions about tree height, branch density, or light count—just physics-based principles and real-world execution.
The Foundational Principle: Light First, Always
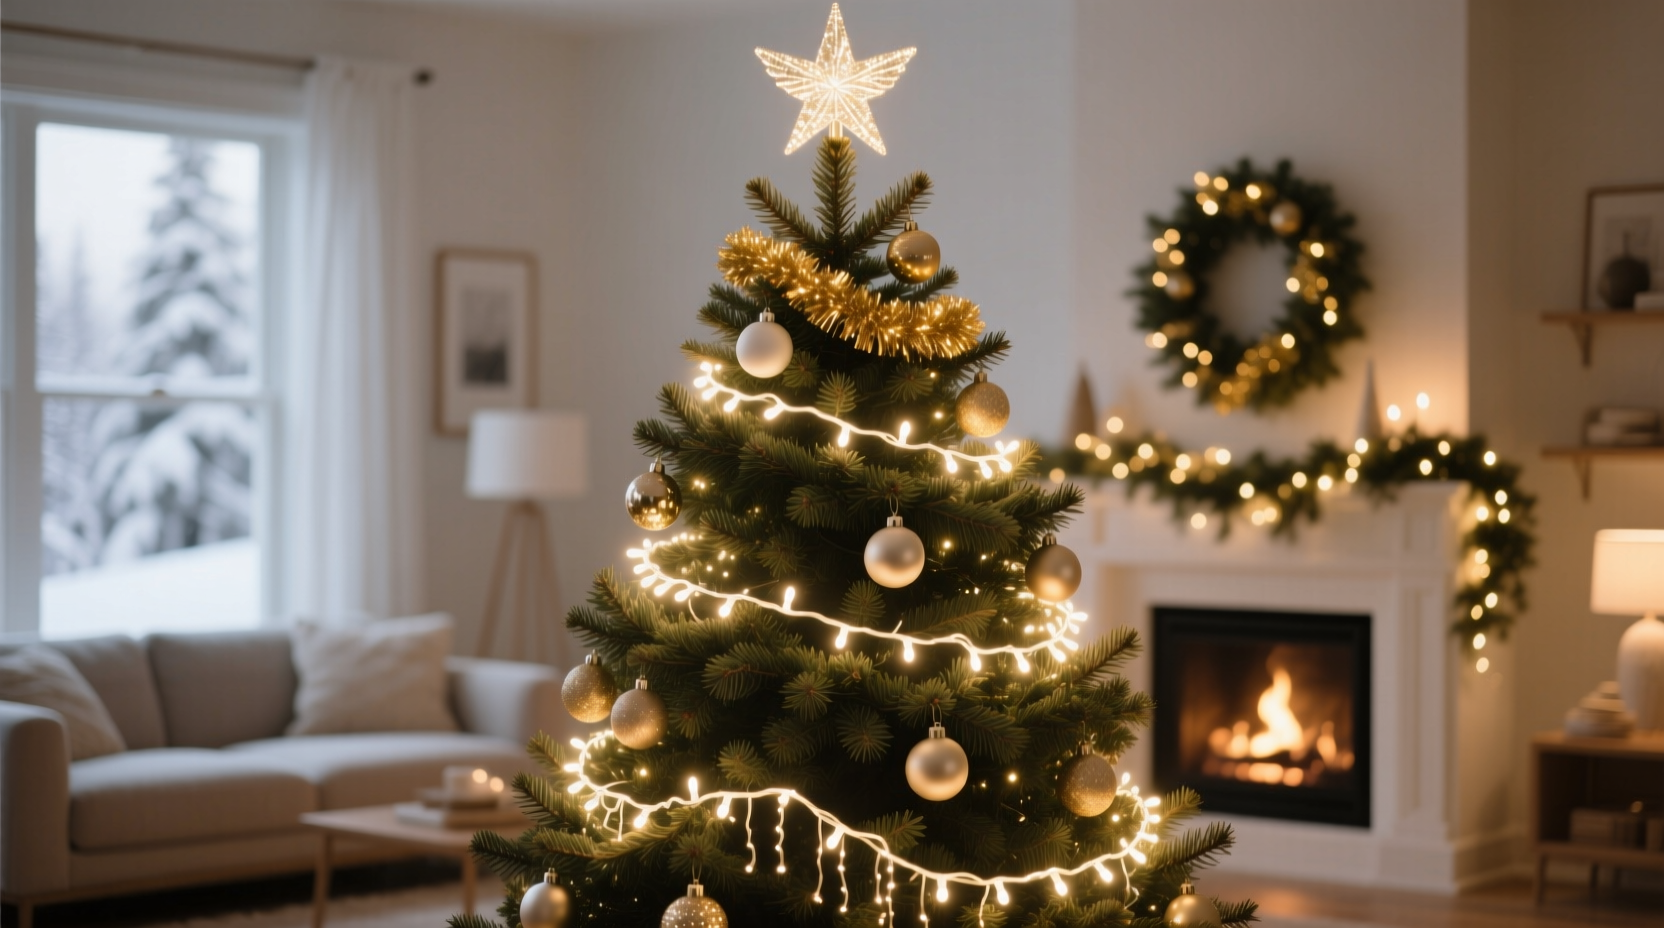
Contrary to instinct, garland should never be installed before lights. Why? Because lights are the structural skeleton of your tree’s visual architecture. They define silhouette, reveal texture, and establish tonal temperature (warm white vs. cool white, clear vs. multicolor). If garland is applied first, lights must be threaded *over* or *under* it—creating visible gaps, uneven spacing, and shadowed zones where branches disappear. Worse, bending lights around thick garland strains wire connections and increases burnout risk.
Professional stylists begin with a “light grid”: an even, three-dimensional lattice of illumination that wraps *around* every major branch plane—not just the front face. This requires stepping back every 3–4 rows to assess coverage from multiple angles. A single strand should never dominate one quadrant; instead, strands interlace vertically and diagonally, mimicking how natural light filters through foliage.
Tip: Use 100 lights per vertical foot of tree height as a baseline—but adjust upward by 25% for dense firs or downward by 15% for sparse spruces. Never rely solely on package recommendations.A Step-by-Step Layering Sequence (Proven Method)
This sequence has been refined across over 200 commercial installations—from boutique lobbies to national retail chains. It prioritizes visibility, balance, and longevity:
- Prep & Prune: Fluff branches outward from trunk to trunk, removing any dry or inward-facing tips. Trim only where necessary—over-pruning creates flat, artificial-looking planes.
- Install Lights Vertically: Start at the base, wrapping strands upward in a spiral—never horizontal “candy cane” loops. Keep 4–6 inches between wraps. Secure each wrap with a twist-tie or floral wire (not tape) to prevent slippage.
- Add Depth with Secondary Lighting: After primary lights are secure, weave in a second, contrasting strand (e.g., warm white + amber micro-lights) along interior branches—this illuminates the “backbone” of the tree, eliminating dark voids.
- Apply Garland Last—But Strategically: Drape garland *over* the lit structure, following the same spiral path but with wider spacing (8–12 inches between loops). Anchor every 3rd loop with a discreet U-pin or green floral wire hidden beneath foliage.
- Final Light Adjustment: With garland in place, gently reposition primary lights where they peek through garland gaps—especially near tips and mid-level focal points. This ensures no section reads as “flat” or “blocked.”
This method prevents the “garland avalanche” effect—where heavy greenery collapses under its own weight and smothers light sources. It also allows for precise control over negative space: the intentional gaps between garland loops become breathing room for light to bloom.
Garland Selection & Placement Logic
Not all garlands serve the same purpose. Choosing based on material, density, and flexibility determines how light interacts with it—and whether your tree feels rich or cluttered.
| Garland Type | Ideal Use Case | Light Interaction Effect | Best Paired With |
|---|---|---|---|
| Pinecone & Berry Vine | Traditional trees, formal settings | Creates strong textural contrast; allows 40–60% light transmission through open spaces | Warm white LED lights (2700K), medium-density spacing |
| Faux Eucalyptus (lightweight) | Modern, minimalist, or narrow trees | Soft diffusion—scatters light gently without harsh shadows | Cool white or daylight LEDs (4000K+), tighter spiral wraps |
| Burlap-Wrapped Greenery | Rustic, farmhouse, or neutral palettes | Subdues brightness; absorbs excess glare while retaining warmth | Amber or vintage-style filament bulbs |
| Beaded or Metallic Chain | Contemporary, glam, or monochromatic themes | Reflects light sharply—creates highlights, not ambient glow | Single-color LEDs (e.g., champagne gold or deep red) |
| Real Cedar (fresh-cut) | Outdoor or high-ceiling spaces with ventilation | Highly absorbent—requires 30% more lights to maintain luminosity | Heavy-duty C7 or C9 bulbs (not mini-LEDs) |
Key insight: Garlands aren’t decorative filler—they’re optical filters. Their job is to modulate, not mask, light. That’s why professionals avoid “double-layering” garland (two full spirals). One well-placed, thoughtfully chosen garland line adds rhythm and scale; two create visual noise and diminish perceived height.
Real-World Application: The 7-Foot Fraser Fir Challenge
When interior stylist Maya Rodriguez was commissioned to style a client’s 7-foot Fraser fir for a holiday photoshoot, she faced three constraints: limited ceiling height (8’2”), existing warm-white fairy lights (already installed haphazardly), and a preference for “natural but polished” aesthetics. Her solution illustrates layered precision in action.
First, she removed all existing lights—despite client hesitation—explaining that random placement created “hot spots” and dead zones. She then mapped the tree’s natural branch tiers: 5 distinct horizontal planes, each angled 25–35° outward. Using 700 warm-white 2.5mm LEDs (100 per foot × 7 feet), she wrapped vertically in a double-helix pattern: one strand ascending left-to-right, another right-to-left, offset by 18 inches. This ensured no branch was ever lit from only one side.
For garland, she chose lightweight faux eucalyptus with subtle silver-dusted leaves. Rather than draping continuously, she applied it in 4 strategic bands—starting 18 inches from the base, then at 36”, 54”, and 72”—leaving the top 12 inches bare to highlight the tree’s natural apex. Each band was anchored with 3 U-pins and gently fluffed to expose underlying lights at 3–4 key points per loop. The result? A tree that read as taller, lighter, and more intentional—even in low-light studio conditions.
“Layering isn’t about adding more—it’s about revealing more. Every element should earn its place by enhancing what’s already there.” — Lena Torres, Principal Designer, Evergreen Studio Collective
Common Pitfalls & How to Avoid Them
Even experienced decorators fall into predictable traps. These errors undermine visual impact more than any budget limitation:
- The “Front-Face Fallacy”: Only lighting or garlanding the front half of the tree. Trees are 360° objects—viewers walk around them. A beautifully lit front that fades to black at the back breaks immersion.
- Overloading the Base: Piling garland and lights densely near the trunk creates visual “heaviness,” making the tree appear shorter and top-heavy. Reserve density for mid-canopy zones where the eye naturally rests.
- Ignoring Light Temperature Mismatch: Pairing cool-white lights (5000K) with warm-toned pinecone garland creates dissonance—a clinical, uninviting effect. Stick within a 500K range for harmony.
- Skipping the “Shadow Check”: After installation, turn off all ambient room lights and observe the tree in darkness. Any large, uniform black patches indicate missed coverage—not insufficient lights, but poor placement.
- Treating Garland as Static: Fresh or high-quality faux garlands settle over 2–3 days. Re-fluff and re-anchor after 48 hours to maintain tension and light exposure.
FAQ
How many strands of lights do I need for a 6.5-foot tree?
Start with 650–750 lights (100–115 per foot) for even coverage. For layered impact, use two types: 500 primary lights (spiral-wrapped) + 200–250 accent lights (interior branches, clustered near tips). Avoid exceeding 1,000 total—over-lighting flattens dimension.
Can I mix LED and incandescent lights on the same tree?
Technically yes, but strongly discouraged. Incandescents run hotter, draw more power, and dim faster—causing inconsistent color temperature and brightness over time. If nostalgic warmth is desired, choose warm-white LEDs rated at 2200K–2700K with high CRI (Color Rendering Index >90).
My garland keeps slipping down the tree. What’s the fix?
Slippage means inadequate anchoring—not weak garland. Use U-shaped floral pins (not straight pins) inserted at a 45° angle, catching both garland stem and sturdy branch. Place anchors every 12–18 inches along the spiral, and always anchor *before* the next loop begins—not after. For extra security on smooth branches, add a dab of clear-drying craft glue to pin tips before insertion.
Conclusion
Layering Christmas tree lights and garland isn’t about accumulation—it’s about orchestration. It’s understanding that light defines form, garland defines rhythm, and their intersection defines feeling. When you follow the vertical light grid, honor garland’s role as a light modulator, and anchor every element with intention, you stop decorating a tree and start composing an experience. Your guests won’t analyze your technique—they’ll feel the warmth, notice the depth, and pause longer than expected. That’s the mark of truly impactful design.
Don’t wait for next December. Pull out last year’s lights this weekend. Test each strand. Measure your tree’s actual height—not the box label. Sketch a simple spiral diagram. Then apply one layer at a time, stepping back after each to ask: *Does this reveal more—or hide?* Mastery lives in the repetition, not the perfection.
💬 Your turn: Try the vertical spiral light method this season—and share your “before/after” observations in the comments. Which layer surprised you most? Where did light transform garland—or vice versa?