A Christmas village brings warmth, nostalgia, and festive charm to any living room. Miniature churches, snow-dusted cottages, and glowing train stations create a magical scene that families gather around each holiday season. But behind the sparkle lies a less enchanting reality: a tangle of cords snaking across floors, furniture, and baseboards. These visible power lines disrupt the aesthetic and can even pose tripping hazards or tempt curious pets.
With thoughtful planning and a few clever techniques, you can conceal these wires effectively—preserving the magic without sacrificing safety or style. Whether your display spans an entire sideboard or occupies a corner shelf, there are solutions that blend seamlessly into your home’s decor. This guide walks through proven strategies used by interior designers, holiday enthusiasts, and professional decorators to keep cords hidden and spaces elegant.
Why Hiding Cords Matters Beyond Aesthetics
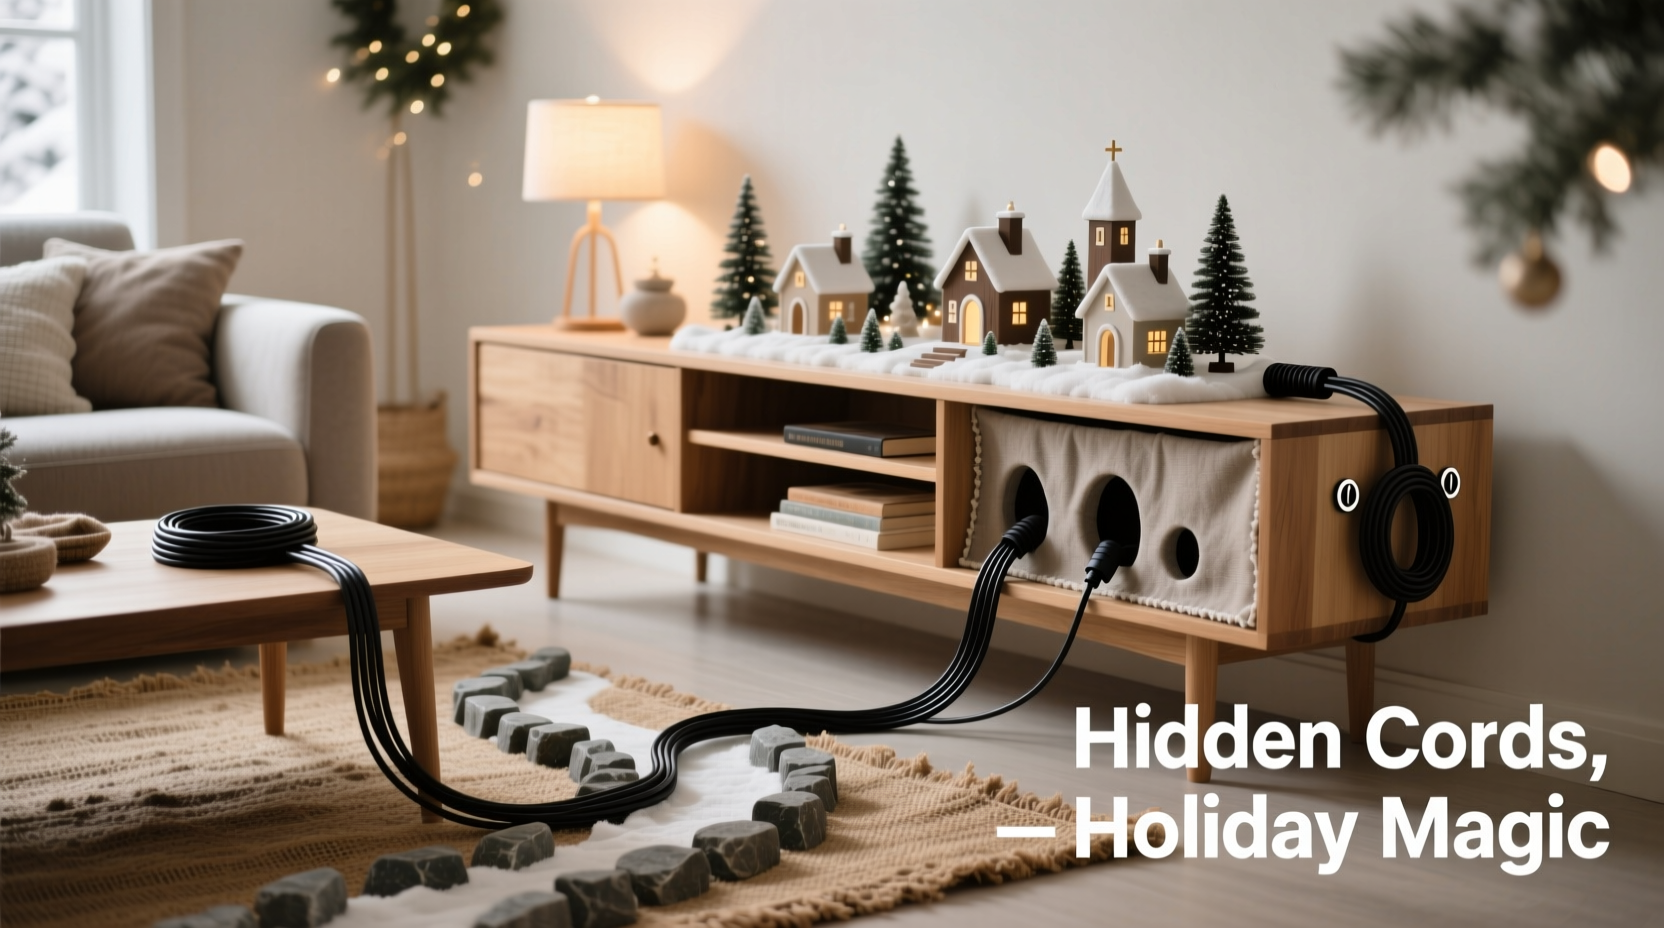
While a clean visual presentation is the most obvious benefit, hiding cords serves several functional purposes:
- Safety: Loose cords on the floor increase the risk of trips and falls, especially in high-traffic areas where children or elderly family members walk.
- Pet Protection: Dogs and cats may chew on exposed wires, risking electric shock or damage to the display.
- Durability: Concealed cords are less likely to be pulled, stepped on, or frayed, extending the life of your lighting systems and transformers.
- Visual Harmony: A seamless display enhances immersion. When viewers aren’t distracted by black wires, they can fully appreciate the miniature world you’ve built.
Interior designer Laura Simmons notes, “The details make or break a curated space. In holiday decorating, managing cords isn’t just practical—it’s part of the artistry.”
“Great holiday design doesn’t end at placement. The best displays feel effortless because nothing distracts from the story being told.” — Laura Simmons, Interior Stylist & Seasonal Decor Consultant
Step-by-Step Guide to Cord Management for Christmas Villages
Follow this logical sequence to plan, execute, and maintain a cord-free appearance in your living room Christmas village setup.
- Map Your Layout Before Setup
Sketch out your intended arrangement on paper or use digital tools. Identify where each building will go and note which require power. Group powered pieces together when possible to minimize cord runs. - Choose Power Sources Strategically
Position extension cords and power strips near base outlets. Use surge-protected models with multiple ports to reduce the number of plugs needed. Consider flat-style cords—they lie flatter against surfaces and are easier to disguise. - Use Cord Covers or Raceways
Install adhesive-mounted cord covers along baseboards or under furniture edges. Paint them to match your wall color for near-invisibility. These plastic channels enclose multiple cords and protect them from foot traffic. - Route Wires Behind Furniture
Leverage existing furniture like sofas, consoles, or entertainment centers as natural barriers. Run cords behind them using low-profile clips to keep wires flush against legs or frames. - Incorporate Decorative Elements as Shields
Place faux snow drifts (made from polyester filling), artificial trees, or miniature fences over sections of cord running between buildings. Ensure no heat-emitting lights are covered, however, to prevent fire risks. - Label Cords for Easy Troubleshooting
Use small tags or colored tape to mark which cord connects to which building. This avoids confusion during disassembly and helps identify issues quickly if one section goes dark. - Test the Entire System Before Finalizing
Turn everything on once all pieces are arranged. Check for flickering, overheating, or loose connections. Adjust routing if any cord appears stretched or strained.
Effective Tools and Materials for Cord Concealment
Not all cord-hiding methods are equal. Some products integrate better with home aesthetics while others offer superior protection. Below is a comparison of common options based on ease of use, cost, visibility, and durability.
| Tool/Method | Visibility | Installation Ease | Cost (Approx.) | Best For |
|---|---|---|---|---|
| Cord Covers (Raceways) | Low (when painted) | Easy | $10–$25 | Baseboard runs, long stretches |
| Fabric Cord Wraps | Very Low | Moderate | $8–$20 | Shorter cords, visible areas |
| Adhesive Cable Clips | Medium | Very Easy | $5–$12 | Securing cords under shelves |
| Under-Rug Cord Protectors | Hidden | Moderate | $15–$30 | Crossing open floor areas |
| Battery Packs (for LEDs) | None | Easy | $10–$40 | Small accent lights, mobility |
Fabric cord wraps, often made from braided textile sleeves, slip over existing cords and come in neutral tones like beige, gray, or white. They’re ideal for sections that remain partially visible, such as cords trailing from a coffee table to a nearby outlet.
For homes with area rugs, under-rug cord protectors provide a safe way to cross walkways. These flat, rubberized channels sit beneath the rug edge and prevent tripping while protecting the wire from wear.
Real Example: A Living Room Transformation
Consider the case of Mark and Elena Thompson, who display a 30-piece Christmas village annually in their suburban living room. Their layout includes a working train loop, illuminated church, and several lighted houses arranged around a central tree.
In previous years, tangled cords ran across hardwood floors, requiring careful navigation during gatherings. Guests often commented on the “messy backside” of the display. Determined to improve, the couple redesigned their setup using a combination of raceway systems and strategic furniture placement.
They installed white-painted cord covers along two adjacent baseboards, routing all main power lines through them. A low entertainment console was repositioned slightly forward to shield the vertical drop from a wall outlet. Battery-operated mini-lights were added to rooftops and street signs, reducing dependency on plug-ins.
The result? A fully immersive village that appeared to glow magically from within—no visible infrastructure. Family photos taken during their holiday party showed guests admiring the scene without stepping over anything. As Elena said, “It finally looks like something you’d see in a department store window.”
Checklist: Preparing Your Christmas Village for a Clean Cord-Free Display
Use this checklist before assembling your display to ensure a tidy, professional result:
- ☐ Inventory all village pieces and identify which require electricity
- ☐ Measure distances from each piece to the nearest outlet
- ☐ Purchase necessary extension cords, power strips, and cord covers
- ☐ Choose paint-matched raceways or fabric sleeves for visible runs
- ☐ Test all lights and transformers for functionality
- ☐ Plan routing path: behind furniture, under rugs, or along baseboards
- ☐ Install adhesive clips or mounts to secure cords in place
- ☐ Label each cord for quick identification later
- ☐ Add battery-powered accents to reduce cord count
- ☐ Do a final walkthrough to check for trip hazards or strain points
Common Mistakes to Avoid
Even well-intentioned efforts can go wrong if basic principles are overlooked. Here are frequent missteps and how to prevent them:
- Daisy-Chaining Too Many Extension Cords: Connecting multiple extensions increases fire risk and voltage drop. Instead, use a single heavy-duty cord or relocate your display closer to an outlet.
- Covering Heat-Generating Transformers: Never bury power adapters under fabric, snow, or enclosed spaces. Overheating can damage equipment or create hazards.
- Using Damaged or Frayed Cords: Inspect every wire before plugging in. Replace cracked insulation immediately.
- Ignoring Outlet Load Limits: Plugging too many items into one circuit can trip breakers. Spread loads across different wall outlets if possible.
- Forgetting Future Access: Seal cords in permanent raceways only if you won’t need to adjust the display. Otherwise, opt for removable solutions.
Frequently Asked Questions
Can I run cords under a thick area rug safely?
Yes, but only if you use an under-rug cord protector designed for floor crossings. Regular cords under rugs can overheat due to lack of airflow or get damaged from foot traffic. The protector flattens the cord profile and prevents tripping.
Are wireless power solutions available for Christmas villages?
True wireless power (like induction) isn't practical for most village setups yet. However, rechargeable battery packs for LED lighting are widely available and effective for small-scale applications. Look for AA or AAA-sized LED modules with 8–12 hour run times.
How do I hide cords on hardwood or tile without damaging the floor?
Use double-sided tape-mounted cord covers or clear adhesive cable clips. These bond securely but remove cleanly without residue. Avoid duct tape or nails, which can scratch or mar finishes.
Final Thoughts: Elevate Your Holiday Display with Smart Design
A beautiful Christmas village should inspire joy, not frustration. By taking time to manage cords thoughtfully, you preserve both the integrity of your display and the safety of your home. The techniques outlined here—ranging from simple adhesive clips to full raceway systems—are accessible to anyone, regardless of budget or DIY experience.
Remember, the goal isn’t perfection—it’s intentionality. Even minor improvements, like grouping cords together or using a single decorative sleeve, make a noticeable difference. As more people embrace seasonal home styling as a form of creative expression, attention to detail becomes the hallmark of a truly memorable display.
💬 Have a clever cord-hiding trick of your own? Share it in the comments below and help fellow holiday decorators create safer, cleaner, and more magical living rooms this season.