Stucco exteriors offer timeless curb appeal, but their textured, porous surface complicates holiday decorating. Traditional methods like nails or adhesive hooks can leave permanent holes or sticky residue that’s nearly impossible to remove by January. Homeowners often face a dilemma: risk damaging the facade or skip festive lighting altogether. Fortunately, there are proven, non-invasive techniques that let you display dazzling Christmas lights while protecting your stucco’s integrity. This guide covers practical, tested solutions that balance safety, aesthetics, and ease of removal.
Why stucco demands special care during decoration
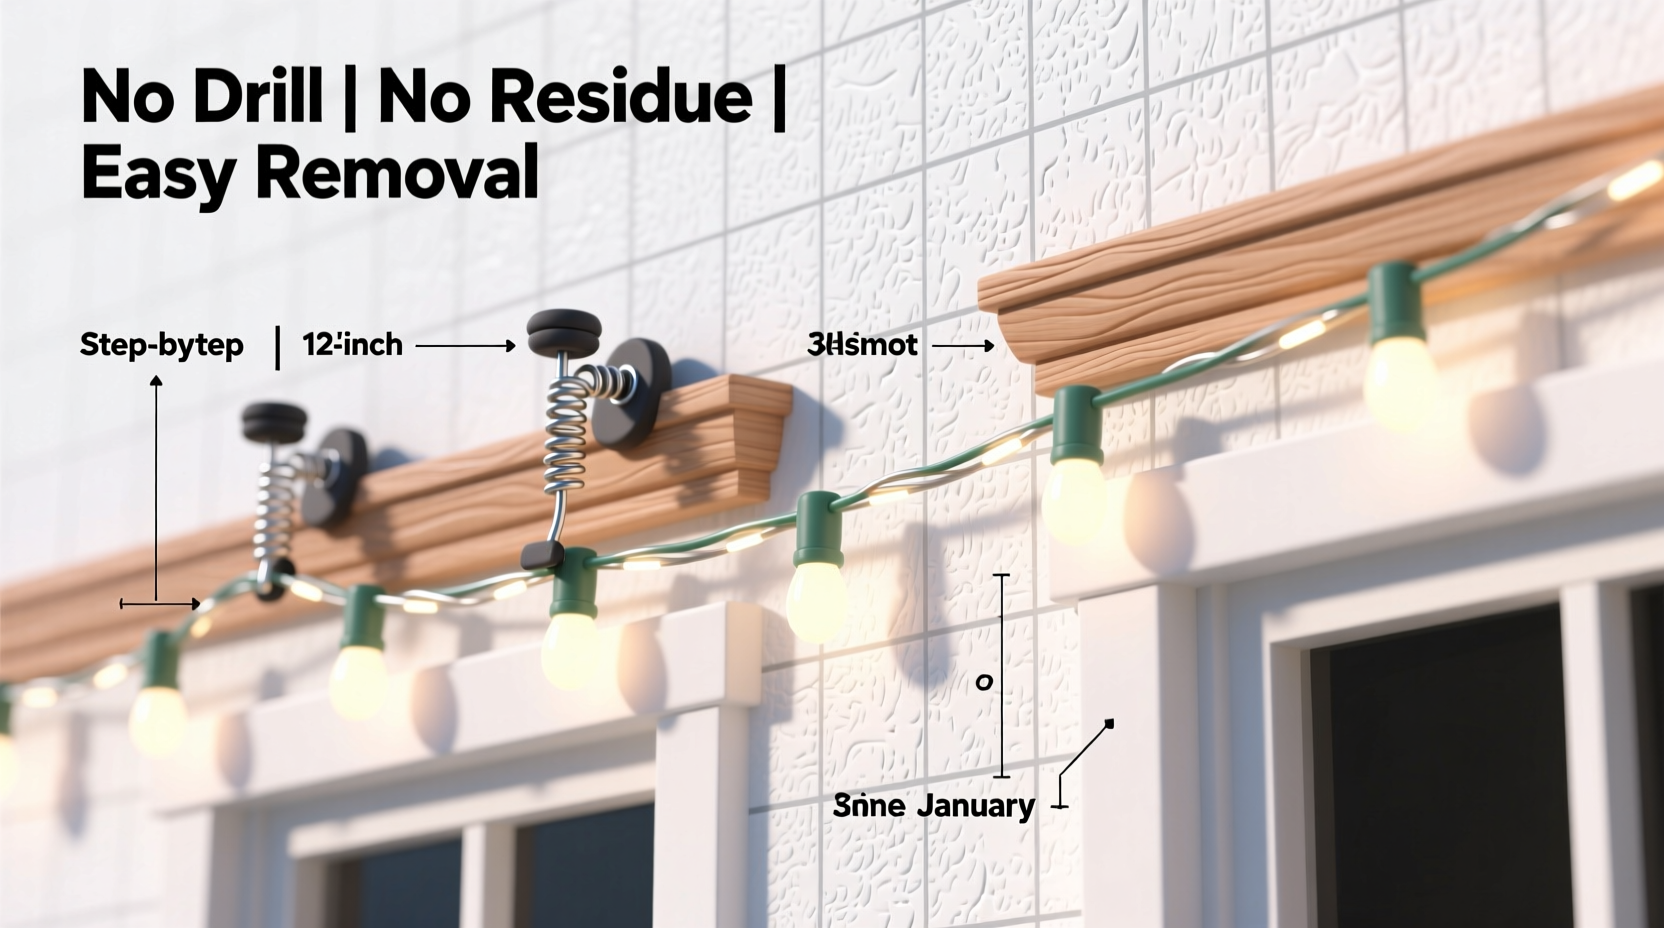
Stucco is a cement-based exterior coating known for durability and weather resistance. However, its composition makes it vulnerable to cracking when penetrated, especially in freeze-thaw climates. Drilling into stucco not only compromises structural cohesion but also creates entry points for moisture, which can lead to mold, efflorescence, or interior water damage over time. Similarly, adhesives such as tape, glue dots, or command strips may seem convenient, but they often fail in temperature extremes and pull away paint or small fragments of the stucco finish upon removal.
The texture traps dirt and grime, so any leftover adhesive becomes a long-term eyesore. Unlike smooth vinyl siding or brick, where tension clips or mortar anchors work reliably, stucco requires gentler alternatives. The goal is secure attachment that withstands wind and winter conditions without leaving behind scars or stickiness when spring arrives.
“Many homeowners don’t realize that even minor penetrations in stucco can initiate costly repairs down the line. Non-invasive hanging methods aren’t just cosmetic—they’re preventive maintenance.” — Rafael Mendez, Building Envelope Consultant
Safe, effective tools and materials for stucco-friendly light hanging
Success begins with selecting the right hardware. Avoid anything designed to pierce or chemically bond to surfaces. Instead, focus on mechanical fasteners that grip through friction, weight distribution, or tension across stable anchor points. Below is a comparison of common options:
| Tool | Works on Stucco? | Leaves Residue? | Wind Resistance | Removal Ease |
|---|---|---|---|---|
| Nails/Screws | No – causes cracks | Yes – hole remains | High | Poor |
| Adhesive Hooks | Risky – fails in cold | Yes – sticky residue | Low | Fair |
| Plastic Clips (gutter/roof) | Limited – poor grip | No | Moderate | Good |
| Wire Hangers (S-shaped) | Yes – if used correctly | No | High | Excellent |
| Gutter Anchors + Rope | Yes – indirect method | No | Very High | Excellent |
| Magnetic Holders (on metal trim) | Situationally | No | Moderate | Excellent |
The most reliable approaches leverage existing architectural features—such as gutters, downspouts, window frames, or eaves—as support structures, bypassing direct contact with the stucco entirely. When those aren’t available, specialized wire hangers designed for rough surfaces provide secure, invisible mounting.
Tip: Always inspect your home’s perimeter before installing lights. Identify sturdy anchor zones like metal gutters, wood fascia, or stone foundations—these are safer than attaching directly to stucco.Step-by-step: Hanging lights using gutter-mounted S-hooks
If your house has gutters, you already have a built-in track system ideal for supporting Christmas lights. This method avoids all contact with stucco and allows full access for cleanup after the holidays.
- Assess gutter condition: Ensure gutters are securely fastened and free of debris. Loose sections should be repaired before hanging any additional weight.
- Select galvanized steel S-hooks: Choose 3- to 4-inch hooks resistant to rust. Avoid plastic versions—they become brittle in cold weather.
- Space hooks evenly: Place one hook every 12 to 18 inches along the gutter edge, depending on light strand weight. Heavier LED icicle lights may require closer spacing.
- Insert the top bend into the gutter: Slide the longer end under the front lip of the gutter, letting the shorter end hang downward.
- Attach light strands: Loop each bulb base or wire connector over the lower hook. For net lights or curtain arrays, drape rows across multiple hooks.
- Connect strands carefully: Use outdoor-rated extension cords and plug connections elevated off the ground. Never overload circuits.
- Test before finalizing: Turn on the display at dusk to evaluate brightness, coverage, and alignment.
This system supports up to 5 pounds per linear foot when properly installed. At season’s end, simply unhook each S-curve and store them in a labeled container for reuse. No residue, no damage—just clean lines and easy takedown.
Alternative method: Using tension wire between anchor points
For homes without gutters or with limited roofline access, tension wiring offers a discreet and strong solution. This technique uses nearly invisible stainless steel cable stretched between two fixed points—such as fence posts, porch columns, or adjacent trees—to suspend lights parallel to the stucco wall without touching it.
Materials needed:
- Stainless steel aircraft cable (1/16” to 1/8” diameter)
- Cable tensioners or turnbuckles
- Wall-mounted or post-mounted cable brackets (non-penetrating types with rubber padding)
- Zip ties or insulated wire grips
- Measuring tape and gloves
Installation steps:
- Determine start and end points where brackets can be mounted without drilling—such as wooden beams or masonry pillars.
- Install padded brackets using heavy-duty construction adhesive or clamping hardware suitable for outdoor use.
- Run the cable between brackets, threading it through tensioners to allow post-installation tightening.
- Stretch the cable taut—minimal sag ensures even light distribution.
- Secure light strands to the cable every 6–8 inches using UV-resistant zip ties. Avoid twisting tightly to prevent wire damage.
- Anchor power cords separately to prevent strain on the cable system.
This method creates a floating effect, making lights appear suspended in mid-air. It’s particularly effective for outlining second-story windows or creating vertical light columns beside entryways. Come January, disconnect the power, snip zip ties (save reusable ones), loosen tensioners, and coil the cable for storage.
Tip: Paint dark-colored cables black before installation to make them less visible during daylight hours.Real-world example: A California bungalow transformed—no damage, no regrets
In Santa Barbara, homeowner Lena Tran faced pressure from neighbors to join the annual holiday lighting contest—but refused to compromise her 1920s Spanish-style stucco home. Previous tenants had left nail holes near the eaves, and she vowed not to repeat their mistakes.
She opted for a hybrid approach: S-hooks supported her main roofline string lights, while tension wires framed both sides of her arched front door. She used warm-white LED mini lights spaced 4 inches apart for maximum glow. To hide cords, she routed them along the base of flower beds, secured with landscape staples.
The result? A five-star rating from the neighborhood committee and zero damage upon removal. “I took down everything in under 45 minutes,” she said. “No scraping, no scrubbing. Just folded the wires and put them in the attic. Best Christmas yet.”
Checklist: Pre-hang preparation and post-season removal
Follow this checklist to ensure a smooth, damage-free experience from setup to takedown:
- ☐ Inspect all light strands for frayed wires or broken bulbs before installation
- ☐ Confirm GFCI protection on outdoor circuits
- ☐ Map out desired light layout using chalk or temporary tape (on non-stucco areas)
- ☐ Gather non-damaging tools: S-hooks, tension cables, padded clamps, zip ties
- ☐ Install lights during mild weather—avoid rain or freezing temperatures
- ☐ Test display at night before finalizing placement
- ☐ Label storage bins by location (e.g., “Front Gutter,” “Porch Columns”)
- ☐ Remove lights within two weeks of New Year’s Day to avoid sun degradation
- ☐ Clean and dry strands before storing in spools or reels
- ☐ Re-inspect stucco surface after removal to confirm no residue or wear
Frequently asked questions
Can I use Command Strips on stucco?
Generally, no. While marketed as “damage-free,” Command Strips rely on flat surfaces for proper adhesion. Stucco’s uneven texture prevents full contact, causing premature detachment. Even if they hold initially, removal often pulls loose granules or leaves stubborn backing residue that requires solvents to clean—risking discoloration.
What about fishing line or clear rope?
Fishing line can work temporarily for lightweight decorations like garlands or ornaments, but it’s not recommended for electrical lighting. UV exposure weakens monofilament over time, increasing breakage risk. If used, combine it with secure anchor points and inspect frequently. Braided nylon cord rated for outdoor use is a stronger alternative.
Are gutter clips safe for all gutter types?
Most aluminum and steel gutters handle standard S-hooks well. However, avoid using metal hooks on vinyl gutters—they can crack under stress. For vinyl, choose plastic-coated hangers specifically labeled for flexible materials, or switch to tension-based systems instead.
Final thoughts: Celebrate sustainably, preserve your home
Holiday lighting should enhance your home, not endanger its structure or future value. With thoughtful planning and the right tools, you can achieve a professional-quality display on stucco walls—without sacrificing surface integrity or spending January scrubbing off glue.
The key is working with your home’s existing architecture rather than against it. Leverage gutters, eaves, and nearby fixtures to support lights indirectly. Invest in reusable hardware like S-hooks and tension cables; they pay for themselves in saved repair costs and reduced frustration. Most importantly, prioritize safety: use grounded outlets, avoid overloading circuits, and install timers to limit runtime.
💬 Have a stucco-safe decorating hack? Share your method in the comments below—help fellow homeowners light up the season without the mess.