A well-designed Christmas lighting display does more than celebrate the season—it transforms your home into a neighborhood landmark. When lights are thoughtfully planned and cohesively arranged, they enhance architectural features, create visual harmony, and draw admiration from passersby. But achieving that polished, magazine-worthy glow requires more than plugging in strings of bulbs. It demands strategy, coordination, and an eye for detail. Whether you're aiming for subtle elegance or festive extravagance, designing a coordinated lighting scheme can elevate your home’s curb appeal and leave a lasting impression.
Understand Your Home’s Architecture and Landscape
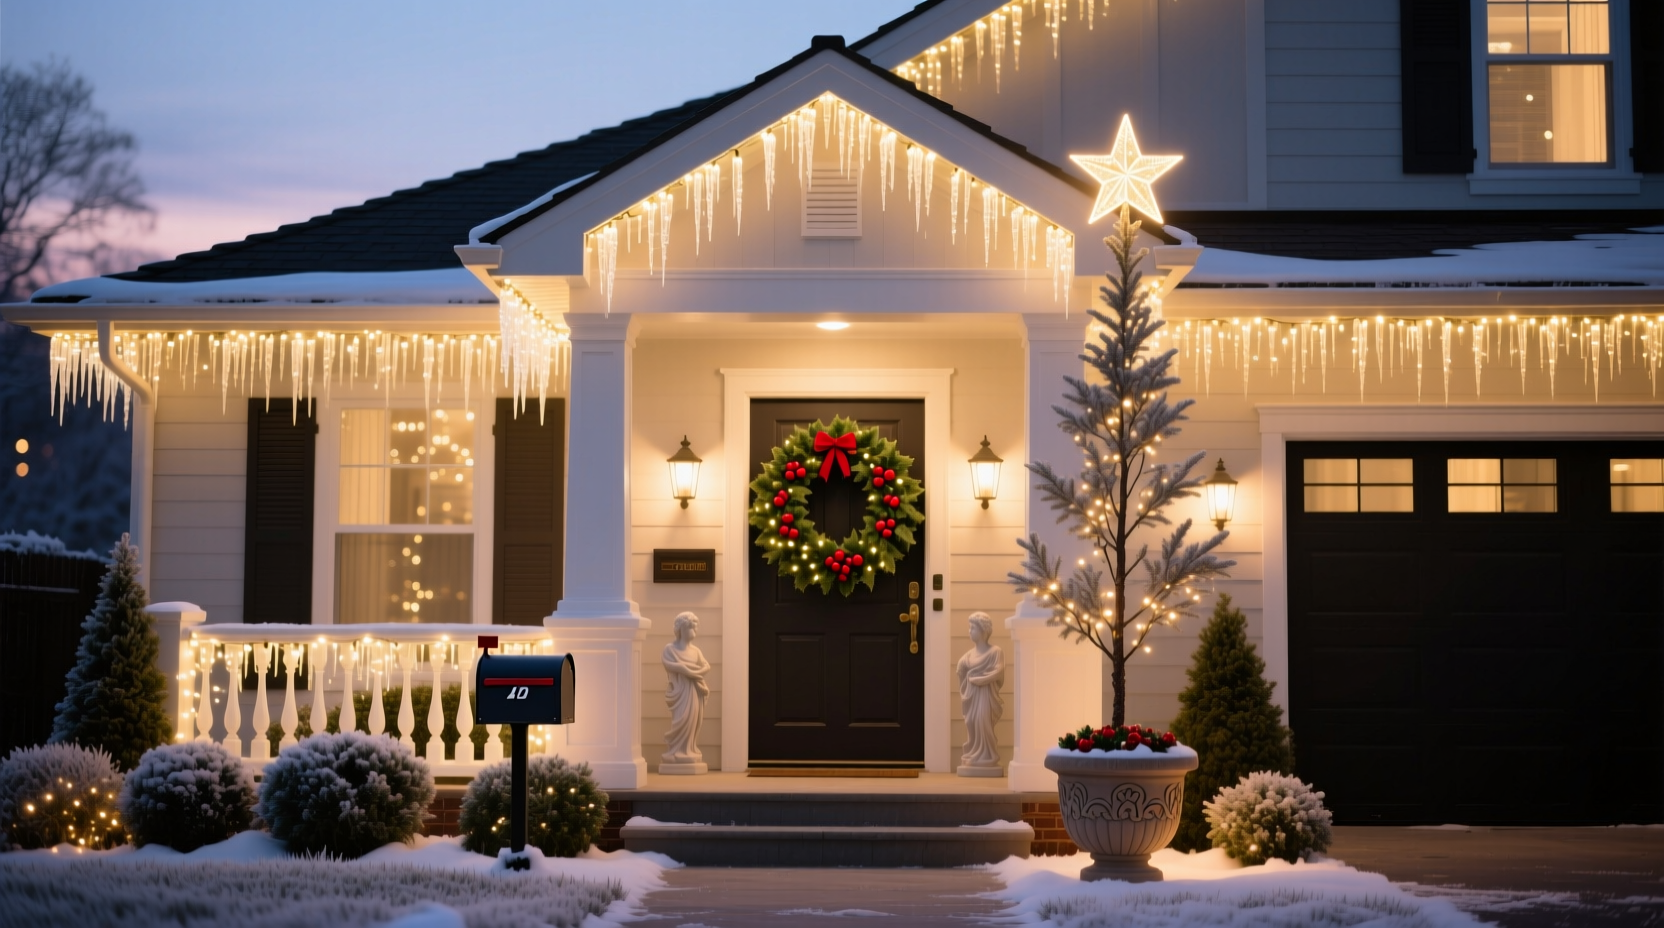
The foundation of any successful lighting plan begins with observation. Before purchasing a single strand of lights, walk around your property at dusk. Note the lines of your roofline, the shape of eaves, porches, columns, trees, and shrubs. Identify focal points—such as a front door, gable peak, or mature evergreen—that naturally draw the eye. These areas should anchor your lighting scheme.
For homes with strong horizontal lines—like ranches or colonials—emphasize continuity by running lights along rooflines, soffits, and deck railings. For vertical structures such as two-stories or cottages with steep roofs, use upward-facing spotlights on trees or accent lights on columns to add height and drama. Even modest homes can benefit from strategic highlighting; a simple outline of the front porch or illuminated pathway can dramatically improve presence.
Tip: Use a garden hose filled with water to test light placement—drape it along gutters or fences to simulate how string lights will look before installation.Create a Color Palette That Complements Your Exterior
Just like interior design, exterior lighting benefits from a deliberate color scheme. The most visually appealing displays avoid random mixes of red, green, blue, and white. Instead, they use a limited palette that complements the home’s siding, trim, and surrounding landscape.
White lights—especially warm white—are timeless and elegant. They provide a soft, inviting glow that enhances without overwhelming. Cool white offers a crisper, modern feel, ideal for contemporary homes. For added warmth, pair warm white lights with copper wire LEDs, which emit a golden hue that blends beautifully with wood tones and brick.
If you prefer color, limit your selection to two or three hues that harmonize with your home. For example, a gray or blue house pairs well with cool white and icy blue lights. A cream or beige facade shines with warm white and soft gold. Red brick homes often look best with traditional red-and-white combinations or all-warm-white schemes to avoid clashing.
“Lighting should enhance the home, not compete with it. Think of it as jewelry—subtle, intentional, and perfectly matched.” — Marcus Lang, Residential Lighting Designer
Plan Your Layout with a Step-by-Step Approach
A coordinated lighting scheme isn’t improvised. It follows a clear sequence of decisions and installations. Follow this timeline to ensure a smooth, professional result.
- Sketch a rough map of your home’s exterior, marking key features to highlight (e.g., roof peaks, windows, trees).
- Determine power sources and plan extension cord routes. Avoid crossing sidewalks or driveways unless using covered cord protectors.
- Choose your lighting types: string lights for outlines, net lights for bushes, spotlights for trees, and icicle lights for eaves.
- Buy all materials at once, including clips, timers, surge protectors, and storage bins for post-season.
- Install during daylight for safety and accuracy. Start with structural elements (roof, gutters) before moving to landscaping.
- Test each section as you go to catch faulty strands early.
- Use a programmable timer set to turn lights on at dusk and off at midnight for energy efficiency and convenience.
Timing matters. Most homeowners begin installing between Thanksgiving and the first weekend of December. Starting early avoids last-minute stress and allows time to adjust if elements don’t work as expected.
Coordinate Light Types and Placement for Maximum Impact
Variety adds interest, but consistency ensures cohesion. Use different types of lights purposefully, not randomly. Here’s how to match lighting styles to specific areas:
| Light Type | Best For | Placement Tips | Avoid |
|---|---|---|---|
| String Lights (Mini or LED) | Rooflines, fences, railings | Space evenly using plastic clips; stagger colors if mixing | Overlapping strands or visible cords |
| Icicle Lights | Eaves, gutters | Hang in even rows with consistent drip length | Uneven spacing or tangled drops |
| Net Lights | Bushes, hedges, shrubs | Lay flat over top and drape down sides | Stretching over large trees |
| Spotlights / Uplights | Trees, architectural details | Place at ground level, aimed upward at 30–45 degree angle | Pointing directly at windows |
| C7/C9 Bulbs | Large-scale displays, commercial looks | Use with compatible sockets and heavy-duty cords | Indoor-only fixtures outdoors |
Consistency in bulb size and spacing also contributes to a polished look. Mixing mini lights with C7s on the same structure can appear cluttered. Stick to one type per feature unless intentionally layering for depth—for example, outlining a window with mini lights and placing a spotlight behind a wreath above it.
Tip: Use adhesive-backed gutter clips instead of nails—they’re faster to install and won’t damage roofing materials.Real Example: Transforming a Suburban Front Yard
Sarah Mitchell, a homeowner in Portland, Oregon, wanted to enhance her 1920s craftsman bungalow without overwhelming its charm. Her initial attempts resulted in a patchwork of colored lights that clashed with the dark green shutters and stone foundation.
She revised her approach: she replaced multicolored strings with warm white LED mini lights, outlining the roofline, porch railing, and front steps. She wrapped fairy lights around the trunks of two Douglas fir saplings flanking the walkway and used net lights on a low boxwood hedge. Finally, she installed two low-voltage spotlights to uplight a decorative birdbath and a vintage lantern near the door.
The result was a balanced, inviting display that emphasized the home’s character rather than masking it. Neighbors began referring to her street as “Luminous Lane,” and local news featured her home in a holiday segment. Her secret? “I stopped thinking about ‘more’ and started thinking about ‘better,’” she said.
Essential Checklist for a Coordinated Lighting Scheme
- Walk around your home at night to identify natural focal points
- Choose a color palette (e.g., warm white only, red & white, gold & white)
- Inventory existing lights and replace outdated or damaged strands
- Select appropriate light types for each area (string, icicle, net, spotlight)
- Map out power sources and extension cord paths
- Purchase clips, timers, and surge protectors
- Install during daylight hours, starting with structural elements
- Test each section before finalizing placement
- Set a timer for consistent on/off times (e.g., 5 PM to 12 AM)
- Take photos from the street to evaluate balance and brightness
Common Mistakes That Break the Visual Flow
Even experienced decorators make missteps that undermine their efforts. Avoid these pitfalls:
- Mixing color temperatures: Combining warm white and cool white LEDs creates an inconsistent look, like mismatched lightbulbs indoors.
- Over-lighting small areas: Piling too many strands on one bush or window overwhelms the eye and drains power.
- Ignoring symmetry: If you light one side of the driveway, mirror it on the other. Asymmetry works only when intentional and balanced.
- Using indoor lights outdoors: Indoor-rated strings aren’t weatherproof and pose safety risks.
- Leaving cords exposed: Visible extension cords across lawns or sidewalks detract from professionalism. Use cord covers or route them discreetly.
“A cohesive display doesn’t need to be bright—it needs to be smart. Less is often more when every element has a purpose.” — Lena Tran, Holiday Lighting Consultant
Frequently Asked Questions
How many lights do I need for my home?
A general rule is 100 lights per foot of tree height or 25–50 strands for an average-sized home. However, quality matters more than quantity. Focus on even coverage and strategic highlights rather than sheer volume.
Can I mix LED and incandescent lights?
It’s not recommended. LEDs use less energy, generate less heat, and last longer. Incandescents may burn out faster and increase fire risk when buried under insulation like mulch or snow. Stick with LEDs for safety and longevity.
Should I hire a professional installer?
If your home has multiple stories, complex architecture, or hard-to-reach areas, hiring a pro ensures safety and precision. Professionals also have access to commercial-grade materials and custom designs. For simpler homes, DIY can be cost-effective and rewarding.
Final Thoughts: Design with Purpose, Shine with Pride
A coordinated Christmas lighting scheme is more than decoration—it’s a statement of care, creativity, and community spirit. By aligning your lights with your home’s architecture, committing to a unified color story, and installing with intention, you create a display that resonates far beyond the holiday season.
The most memorable displays aren’t the brightest—they’re the ones that feel complete, balanced, and thoughtfully composed. Whether you’re illuminating a city townhouse or a country farmhouse, the principles remain the same: plan ahead, edit ruthlessly, and let your home’s best features shine through.
💬 Share your lighting journey! Have a photo of your setup or a tip that worked wonders? Leave a comment and inspire others to light up their neighborhoods with confidence and style.