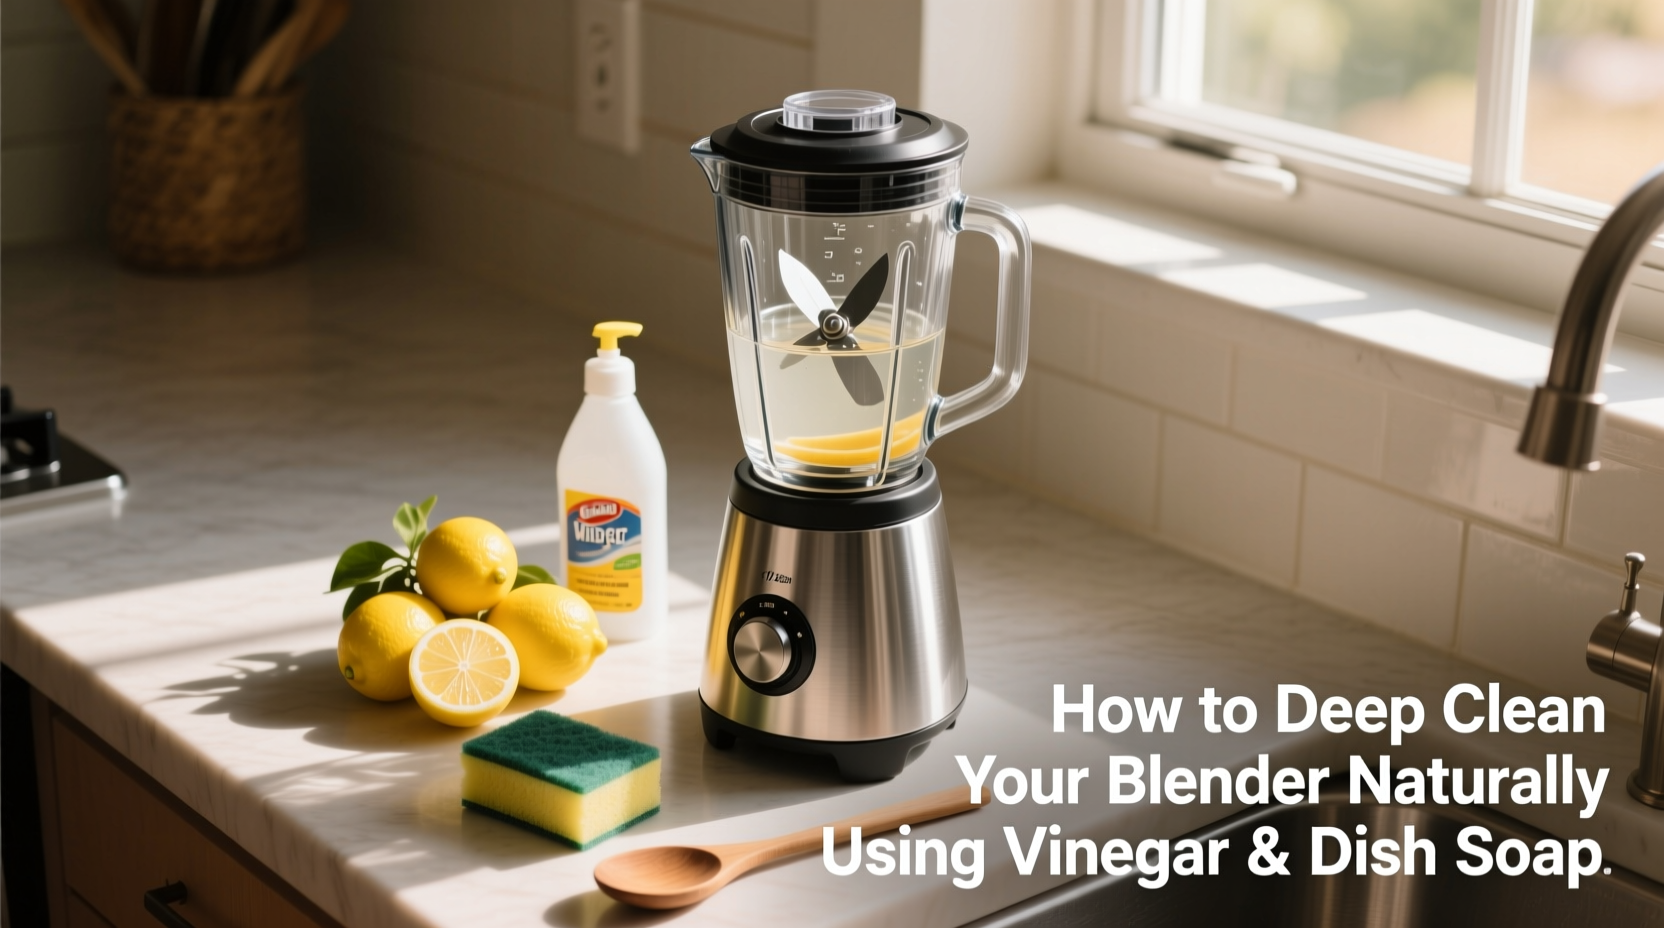
A blender is one of the most frequently used appliances in modern kitchens. Whether you're whipping up smoothies, soups, or sauces, it works hard every day. But with frequent use comes residue buildup—stains, odors, and even bacterial growth in hard-to-reach areas like the blade assembly and gasket. While many reach for chemical cleaners, a natural solution using white vinegar and dish soap is not only effective but also safer for your health and the environment.
Vinegar’s acetic acid breaks down mineral deposits and kills bacteria, while dish soap lifts grease and food particles. Together, they form a powerful, non-toxic cleaning duo. This guide walks through a complete, step-by-step method to deep clean your blender naturally, ensuring hygiene, performance, and longevity without harsh chemicals.
Why Natural Cleaning Matters for Your Blender
Blenders come into direct contact with food, making cleanliness crucial. Residue trapped under the blade or in the rubber gasket can harbor mold, mildew, and bacteria. Over time, this affects taste, smell, and even food safety. Commercial degreasers often contain synthetic fragrances, chlorine, or ammonia—ingredients that may leave behind traces or react with food.
Natural cleaning eliminates these risks. Vinegar is a proven antimicrobial agent; studies show it reduces E. coli, S. aureus, and other common pathogens by over 90%. Dish soap, when used properly, emulsifies oils and suspends debris for easy rinsing. The combination is gentle on blender materials—glass, plastic, stainless steel—and safe for households with children or pets.
Tip: Always unplug your blender before cleaning. Never submerge the motor base in water.Step-by-Step Guide to Deep Cleaning with Vinegar and Dish Soap
This method works for all standard countertop blenders with removable jars, including brands like Vitamix, Ninja, and KitchenAid. Follow these steps for a thorough, natural deep clean.
- Disassemble the Blender Jar
Remove the jar from the base. Unscrew the blade assembly from the bottom. Take out the rubber gasket (the ring between the blade and jar) if it’s detachable. This is where grime accumulates most. - Rinse Immediately
Rinse the jar, lid, and blade components under warm running water to remove loose food particles. Avoid using cold water if the blender was just used for hot soup—it can cause thermal shock in glass jars. - Create the Cleaning Solution
In the blender jar, combine:- 1 cup of white vinegar (5% acidity)
- 1 tablespoon of natural dish soap (free of dyes and phosphates)
- Warm water to fill halfway
- Blend for Initial Scrubbing
Secure the lid tightly. Run the blender on high for 30–60 seconds. The agitation helps dislodge stuck-on food and coats all interior surfaces with the cleaning solution. - Soak the Components
Pour out the mixture. Fill the jar halfway with warm water and add ½ cup of vinegar. Let the jar, lid, blade, and gasket soak for 15–20 minutes. For heavily stained blenders, extend soaking to 30 minutes. - Scrub the Blade Assembly
Use a soft-bristle brush or toothbrush to scrub around the blade edges, threads, and especially the underside of the blade housing. Pay attention to crevices where pulp and oil collect. - Clean the Gasket Thoroughly
The rubber seal often traps moisture and organic matter. Soak it separately in vinegar and wipe both sides with a cloth. Replace it if cracked or discolored. - Rinse and Reassemble
Rinse all parts under warm water until no suds or vinegar smell remains. Dry completely with a microfiber towel before reassembling. Ensure the gasket is seated properly to prevent leaks.
Do’s and Don’ts of Natural Blender Cleaning
| Do’s | Don’ts |
|---|---|
| Use distilled white vinegar for consistent acidity | Use bleach or abrasive powders—they can damage plastic and leave toxic residues |
| Let the vinegar solution sit on tough stains | Submerge the motor base in water—moisture can short-circuit electronics |
| Replace worn gaskets annually | Ignore odors—persistent smells mean trapped bacteria or mold |
| Clean immediately after blending sticky ingredients like nut butter | Use steel wool or scouring pads—they scratch surfaces and trap bacteria |
| Dry all parts fully before storage | Leave the jar assembled—this traps moisture and promotes mold growth |
Mini Case Study: Eliminating Lingering Odors in a High-Use Blender
Sarah, a busy mother of two in Portland, used her blender daily for green smoothies and homemade baby food. After six months, she noticed a sour smell despite regular rinsing. She tried commercial cleaners, but the odor returned within days. Frustrated, she followed the vinegar and dish soap method outlined here.
After disassembling the jar, she discovered black specks under the gasket—mold from trapped banana and spinach residue. She soaked all parts in vinegar for 25 minutes, scrubbed the blade housing with an old toothbrush, and replaced the gasket. Post-cleaning, the smell vanished. Six weeks later, with weekly maintenance using a vinegar rinse, her blender remained odor-free and performed smoothly.
This case illustrates how hidden areas compromise hygiene even with surface-level cleaning. A deep clean every 4–6 weeks prevents such issues.
“Many people don’t realize that the blade seal is a breeding ground for microbes. Vinegar is one of the few natural agents that can penetrate biofilm and sanitize effectively.” — Dr. Lena Torres, Microbiologist and Food Safety Consultant
Maintenance Checklist for Long-Term Blender Care
To keep your blender in top condition, follow this monthly checklist:
- ✅ Disassemble and inspect the blade and gasket for wear
- ✅ Perform a full vinegar and dish soap deep clean
- ✅ Check for cracks or cloudiness in the jar (signs of plastic degradation)
- ✅ Wipe the motor base with a damp cloth and mild soapy water
- ✅ Store the jar upside down with the lid off to allow airflow
- ✅ Replace the gasket if stiff, cracked, or discolored
- ✅ Run a quick vinegar rinse (1/2 cup vinegar + warm water, blend 30 sec) weekly
Frequently Asked Questions
Can I use apple cider vinegar instead of white vinegar?
While apple cider vinegar has similar acidity, its color and residual sugars may stain plastic or leave a scent. White vinegar is preferred for its clarity, neutral smell after drying, and consistent 5% acetic acid concentration.
How often should I deep clean my blender?
If used daily, deep clean every 4–6 weeks. Occasional users can do it every 2–3 months. Signs it’s time include lingering odors, visible film on the jar, or difficulty assembling the blade due to gunk buildup.
Is it safe to mix vinegar and dish soap?
Yes. Unlike mixing vinegar with bleach (which produces toxic gas), vinegar and dish soap are safe together. The soap enhances wetting action, helping vinegar spread and adhere to surfaces for better disinfection.
Conclusion: A Cleaner Blender for Healthier Habits
Your blender plays a vital role in maintaining a healthy diet, but its effectiveness depends on proper care. Using vinegar and dish soap offers a simple, affordable, and chemical-free way to deep clean without compromising safety or performance. Regular maintenance prevents contamination, extends the life of your appliance, and ensures every smoothie tastes fresh.
Start today: disassemble your blender, prepare the natural cleaning solution, and give it the attention it deserves. Once you see the grime that builds up unseen, you’ll never skip a deep clean again.
💬 Have a tip for keeping your blender sparkling? Share your experience in the comments below—your insight could help others maintain their kitchen tools naturally and effectively!