Personalized ornaments are more than holiday decorations—they're keepsakes that carry memories, names, dates, and unique designs that reflect individuality. With the rise of accessible 3D printing technology, creating one-of-a-kind ornaments has never been easier or more affordable. Whether you're designing a gift, commemorating an event, or building a small business around custom decor, mastering the process of crafting personalized ornaments through 3D printing opens a world of creative possibilities.
This guide walks you through the entire journey—from conceptualizing your design to post-processing the final piece—ensuring professional-quality results even if you're new to 3D modeling or printing.
Understanding 3D Printing for Personalized Ornaments
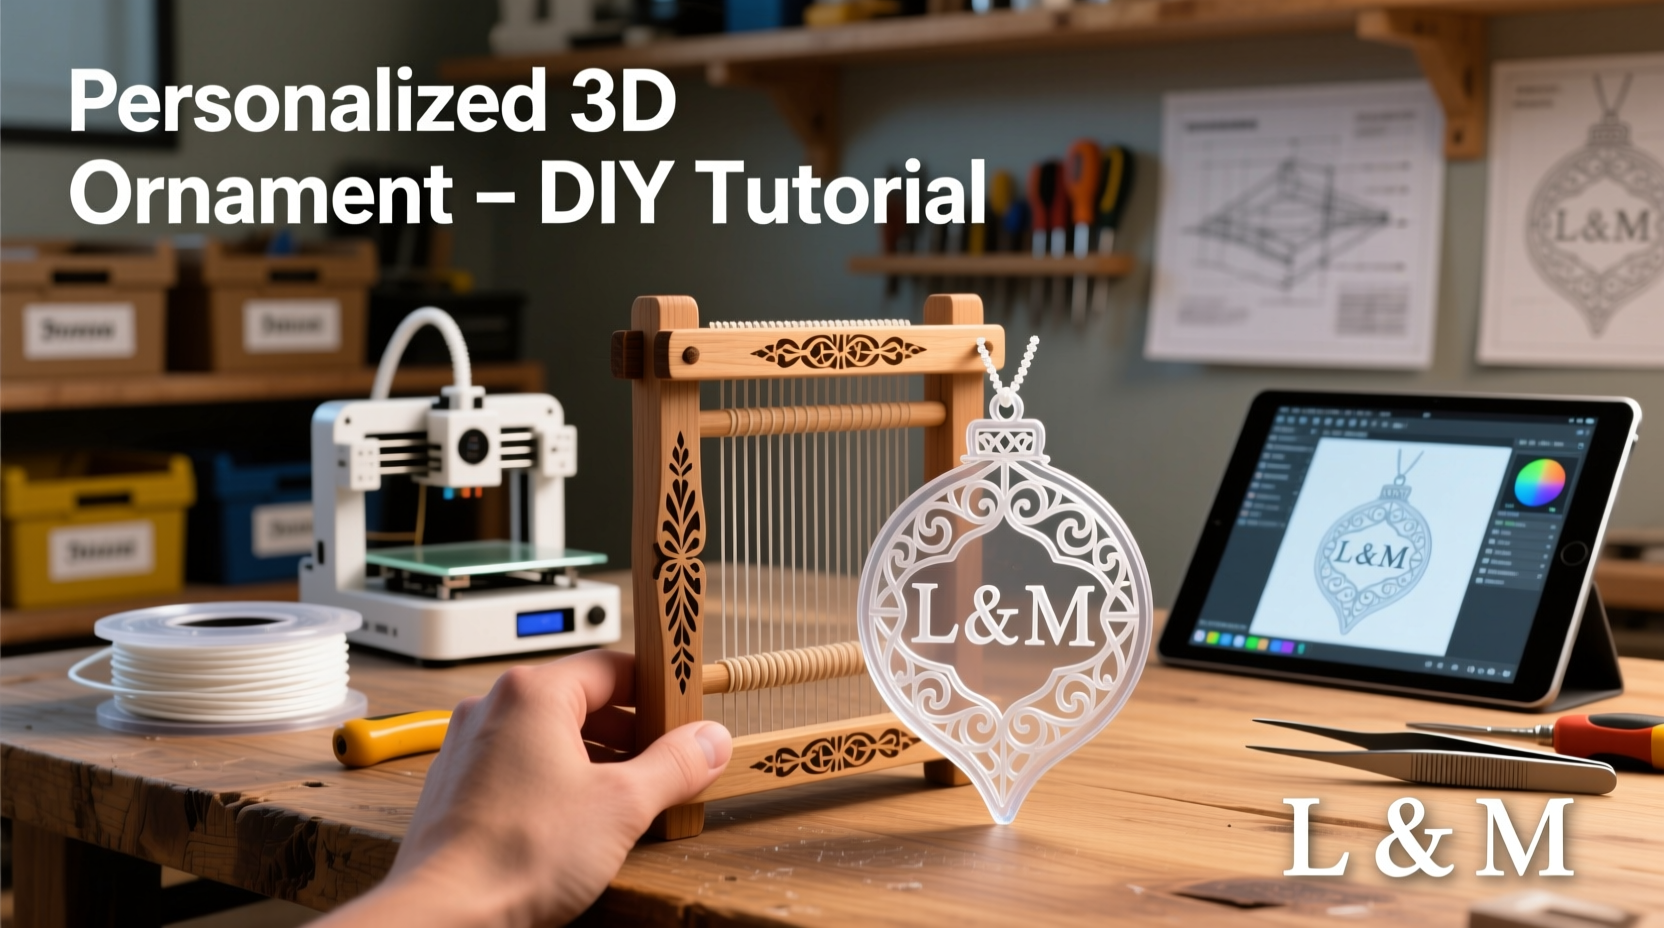
3D printing transforms digital models into physical objects by layering material—typically thermoplastic filament like PLA (polylactic acid)—based on precise instructions from a computer file. For personalized ornaments, this means you can embed names, dates, symbols, textures, or intricate geometries that would be difficult or costly to produce with traditional manufacturing.
The most common type of 3D printer used for such projects is the Fused Deposition Modeling (FDM) printer, which is widely available, cost-effective, and suitable for detailed decorative work. Resin printers (SLA/DLP), while more delicate and expensive to maintain, offer higher resolution ideal for fine engravings and smooth surfaces.
“Customization is where 3D printing truly shines. A single change in the model—a name, a date, a shape—can be implemented in minutes without retooling.” — Dr. Lena Park, Additive Manufacturing Researcher at MIT Media Lab
Unlike mass-produced items, each printed ornament can be uniquely tailored. This makes them perfect for gifts, wedding favors, memorials, or seasonal traditions passed down through generations.
Step-by-Step Guide: Creating Your Custom Ornament
Crafting a personalized ornament involves several distinct stages. Follow this timeline to ensure accuracy, efficiency, and a polished outcome.
- Define the Purpose and Design Concept
Is it a Christmas tree ornament? A baby’s first holiday memento? A retirement gift? Clarifying the purpose helps determine size, material, and aesthetic choices. - Choose Your 3D Modeling Software
Select a program based on your skill level:- Beginners: Tinkercad (browser-based, intuitive drag-and-drop interface)
- Intermediate: Fusion 360 (free for hobbyists, parametric design support)
- Advanced: Blender (open-source, powerful sculpting tools)
- Create or Modify a Base Model
You can start from scratch or use existing templates from platforms like Thingiverse or Printables. Customize shapes—stars, snowflakes, houses, animals—with personal details. - Incorporate Personal Elements
Add text (names, years), symbols (hearts, initials), or embedded images (silhouettes, logos). Use extrusion to make letters stand out or engrave them subtly into the surface. - Export as STL File
Once satisfied with your model, export it in STL format—the standard file type accepted by slicing software. - Prepare the Print Using Slicing Software
Use Cura, PrusaSlicer, or Bambu Studio to convert your model into G-code. Adjust settings:- Layer height: 0.1–0.2 mm for detail vs. speed
- Infill density: 10–20% (ornaments don’t need structural strength)
- Supports: Enable only if overhangs exceed 45 degrees
- Print orientation: Position flat side down for best adhesion and surface quality
- Print the Ornament
Load your filament, start the print, and monitor the first few layers to ensure proper bed adhesion. Most small ornaments take 30 minutes to 2 hours to complete. - Post-Processing
Remove supports carefully with flush cutters. Sand rough edges with fine-grit sandpaper (120–400 grit). Optionally prime and paint for a professional finish. - Add Hanging Mechanism
Thread ribbon, string, or thin wire through a pre-designed hole. If no hole exists, drill gently using a pin vise.
Design Best Practices and Material Selection
Choosing the right materials and adhering to design principles ensures durability and visual appeal. Here's what works best for personalized ornaments:
| Material | Best For | Limitations |
|---|---|---|
| PLA (Polylactic Acid) | Indoor ornaments, vibrant colors, easy printing | Brittle in heat; not ideal for hot climates |
| TPU (Flexible Filament) | Ornaments needing bendability (e.g., soft holiday figures) | Harder to print; requires slower speeds |
| Resin (Standard or Tough) | Fine details, engraved names, jewelry-style pieces | Requires UV curing and safety precautions |
| Wood-Filled PLA | Natural, rustic look; sandable and stainable | More abrasive on nozzles; needs regular maintenance |
Avoid overly thin walls (<0.8 mm) and unsupported overhangs unless using supports. For text, aim for a minimum height of 1.5 mm and depth of 0.5 mm to remain legible after printing.
Tip: Use “negative space” creatively—cut out letters instead of adding them. This reduces print time and adds elegance.Real Example: A Family Name Ornament Project
Sarah Thompson, a teacher in Portland, wanted to create matching ornaments for her students’ families during the winter holidays. She designed a simple house silhouette with rounded roofs and a centered chimney. Inside the chimney area, she added a customizable field labeled “[Last Name] Home.”
Using Tinkercad, she created a master template. For each student, she duplicated the file, changed the family name, and exported the STL. She printed all 24 ornaments in white PLA on her Ender 3 V2, using 0.12 mm layer height and 15% infill. The prints took about 90 minutes each, running overnight.
After printing, she lightly sanded the base and painted the roof red with acrylics. Each was strung with gold cord and placed in a small gift box with a handwritten note. Parents later shared photos of the ornaments displayed proudly on their trees.
What made this project successful was consistency in design, efficient batch processing, and thoughtful personalization—all enabled by 3D printing.
Checklist: From Idea to Finished Ornament
Follow this concise checklist to stay organized and avoid common pitfalls:
- ☐ Define the occasion and recipient
- ☐ Choose appropriate size (typically 2–4 inches in diameter)
- ☐ Select modeling software and create or import base design
- ☐ Add personal elements (name, date, symbol) with adequate dimensions
- ☐ Export as STL and open in slicing software
- ☐ Configure print settings: layer height, supports, infill, orientation
- ☐ Verify print preview for errors or collisions
- ☐ Start print and monitor initial layers
- ☐ Remove print and clean up support marks
- ☐ Optional: sand, prime, paint, or apply protective coating
- ☐ Attach hanging element securely
- ☐ Package thoughtfully for gifting
Frequently Asked Questions
Can I reuse the same model for different names?
Yes. Save your base design as a template. Most 3D modeling programs allow you to quickly modify text fields and re-export the file. This is ideal for批量制作 (batch production) of similar ornaments.
How long do 3D printed ornaments last?
With proper care, PLA ornaments can last decades indoors. Avoid prolonged exposure to sunlight, heat, or moisture. Display away from radiators or windows to prevent warping or fading.
Are 3D printed ornaments safe for children?
Yes, if designed safely. Avoid sharp edges and small detachable parts. Use non-toxic filament (look for food-safe or child-safe certifications) and water-based paints. Supervise young children when handling.
Expert Tips for Advanced Customization
As you grow more confident, explore advanced techniques to elevate your designs:
- Multicolor Prints: Use a dual-extruder printer or switch filaments mid-print (pause at specific layers) to add colored accents like red holly berries or golden stars.
- Embed Objects: Pause the print midway and insert beads, crystals, or metal rings before resuming. This creates hybrid decorative pieces.
- Parametric Design: In Fusion 360 or OpenSCAD, set variables for names or sizes so the model auto-adjusts. Ideal for scalable production.
- QR Code Integration: Embed a tiny QR code that links to a photo, message, or video. Print at high resolution (resin recommended) so it remains scannable.
“The future of gifting is hyper-personalization. 3D printing allows emotional resonance in physical form—something mass retail simply can't replicate.” — Mark Liu, Product Innovation Lead at Formlabs
Conclusion: Turn Imagination Into Heirloom
Crafting a personalized ornament using 3D printing technology blends artistry, precision, and sentiment into a tangible object. What begins as a digital sketch becomes a cherished decoration, telling a story every time it’s hung. The barrier to entry is lower than ever: affordable printers, free software, and online communities provide all the support you need.
Whether you’re making your first test print or launching a side business selling custom holiday decor, the ability to personalize at scale is revolutionary. You’re not just making ornaments—you’re preserving moments, celebrating identities, and giving gifts that feel truly one-of-a-kind.
🚀 Ready to bring your idea to life? Fire up your slicer, choose a name, and print your first personalized ornament today. Share your creation online with #My3DOrnament—we’d love to see what you make!