Installing holiday lights on a roof is one of the most visually rewarding—and technically risky—parts of seasonal decorating. Asphalt shingle roofs, which cover over 75% of U.S. homes, are especially vulnerable: improper anchoring can lift granules, crack sealant strips, puncture underlayment, or even void manufacturer warranties. Yet thousands of homeowners resort to staples, nails, or heavy-duty tape each December—only to discover curled shingles, water infiltration points, or costly repairs come spring. The good news? Damage-free light installation isn’t just possible—it’s straightforward when you understand shingle anatomy, material compatibility, and load distribution principles. This guide distills field-tested techniques used by professional lighting installers, roofing contractors, and home inspectors into actionable, science-backed practices. No guesswork. No shortcuts that compromise integrity. Just methods that respect your roof’s design, protect its lifespan, and deliver brilliant illumination.
Why Traditional Anchoring Methods Fail Shingle Roofs
Asphalt shingles are engineered as a layered, interlocking system—not a rigid surface for fastening. Each shingle has three critical zones: the exposed tab (granule-coated and weather-facing), the self-sealing strip (a heat-activated asphalt adhesive near the top edge), and the nailing zone (a reinforced band 3–4 inches below the butt edge where nails *must* be placed for wind resistance). When staples or nails pierce outside this narrow nailing zone—or worse, penetrate through multiple layers—they create permanent pathways for moisture, accelerate UV degradation at the puncture site, and disrupt the shingle’s ability to flex with temperature changes. Adhesives like duct tape or hot glue compound the problem: their solvents migrate into asphalt binders, softening the shingle matrix and attracting dust and algae that retain moisture. One study by the National Roofing Contractors Association found that 68% of premature shingle failures in decorative-light zones correlated directly to improper fastener placement or adhesive residue left after removal.
Tip: Never staple or nail above the nailing zone—even “just one” fastener near the shingle’s top edge can break the self-seal bond and allow wind uplift.Roof-Safe Anchoring Tools: What Works (and Why)
The safest anchoring systems rely on two principles: distributed pressure (spreading force across multiple shingle tabs) and zero penetration (no piercing, no chemical bonding). Below is a comparison of five widely available tools, ranked by roof compatibility, ease of removal, and long-term impact:
| Tool | How It Works | Risk Level | Best For |
|---|---|---|---|
| Shingle Tabs Clips (e.g., Gemmy LightLock, Christmas Light Emporium GripClips) | Clips slide under the lower edge of an overlapped shingle tab; built-in wire channel holds cord securely via friction and gravity. | Low — no contact with sealant strip, no granule loss, fully removable in seconds. | All standard 3-tab and architectural shingles; ideal for straight runs along eaves and rakes. |
| Heavy-Duty Vinyl-Coated S-Hooks | Hooked over ridge cap shingles or gable-end starter courses; lights drape from hook body without tension on roof surface. | Low — only contacts ridge cap (designed for foot traffic); zero shingle contact. | Gables, ridges, dormers; best for vertical drops or accent lighting. |
| Weighted Sandbag Anchors (with nylon webbing) | Webbing looped around light strands, secured to sandbags placed on roof valleys or behind parapets; uses gravity, not adhesion. | Low — no surface contact; sandbags distribute weight evenly. | Flat roof sections, valleys, or areas with limited shingle access (e.g., behind chimneys). |
| Temporary Double-Sided Roof Tape (e.g., 3M 401+ or SikaBond-TD) | Acrylic-based, UV-stable tape designed for temporary roofing applications; bonds to clean shingle surface but releases cleanly within 90 days. | Moderate — requires meticulous cleaning first; only safe if removed before 12 weeks and never applied to wet or dusty shingles. | Short-term installations (under 60 days); emergency use only. |
| Staples/Nails/Gutter Hooks on Shingles | Direct penetration into shingle surface or nailing through multiple layers. | High — violates UL 1897 and ASTM D3462 standards; voids most manufacturer warranties. | Avoid entirely. Use only on non-shingle surfaces (gutters, fascia, soffits). |
Step-by-Step: Installing Lights Using Shingle Tab Clips
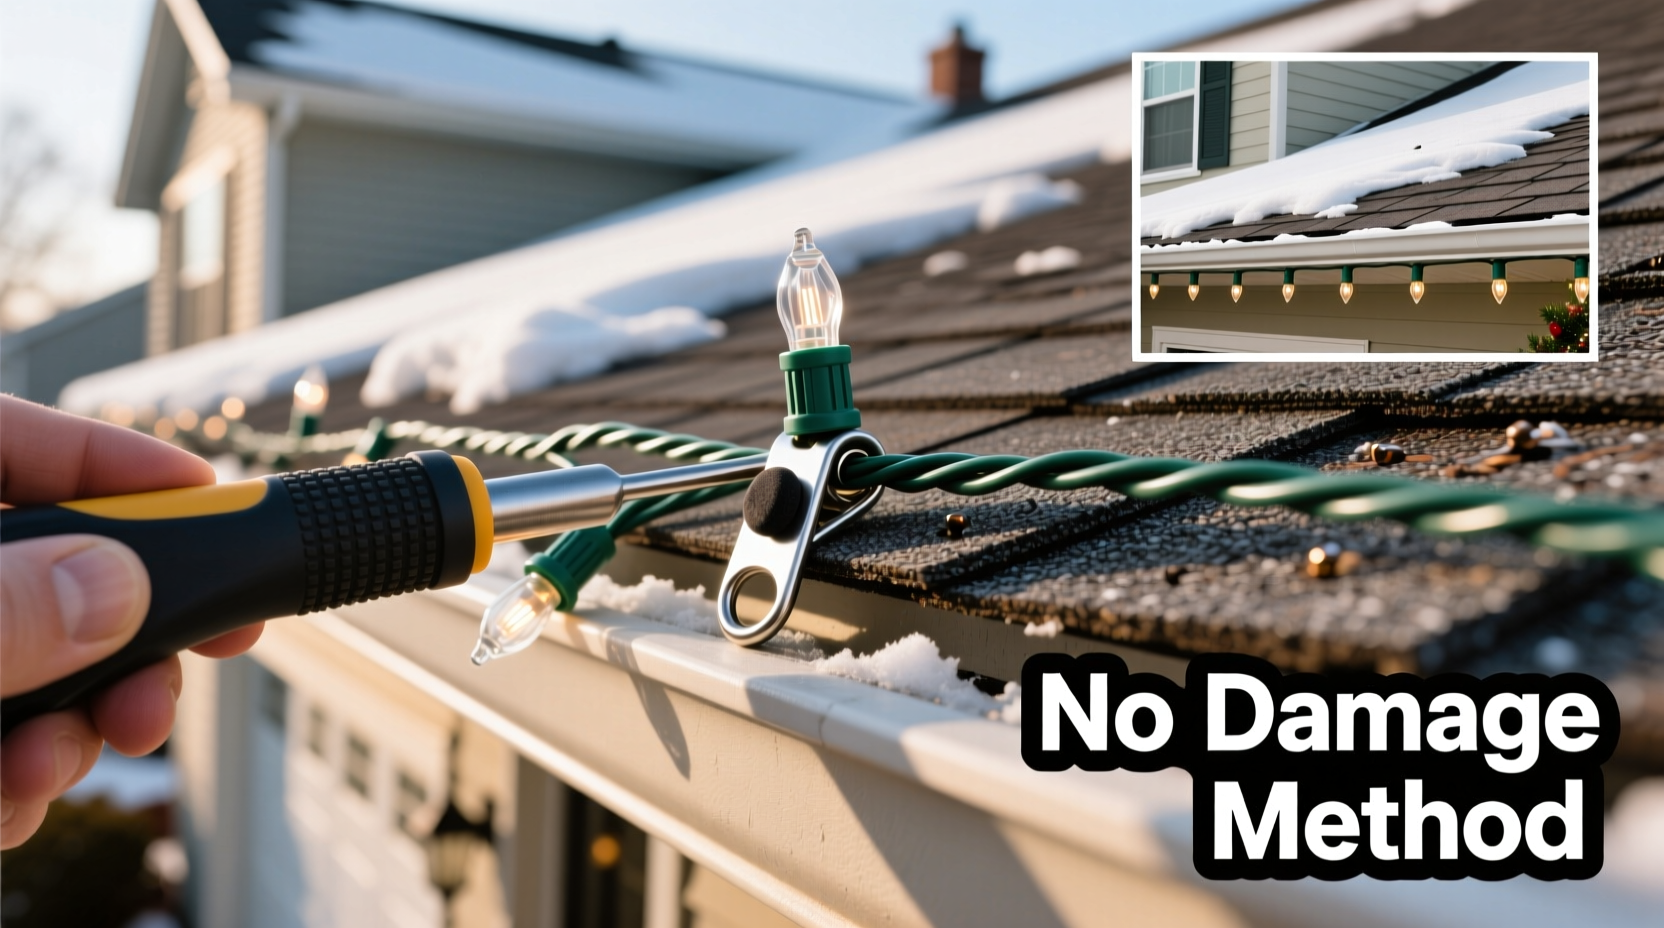
This method is the gold standard for residential shingle roofs. Unlike generic clips sold online, certified shingle tab clips are tested for wind resistance up to 110 mph and designed to nest precisely within the ½-inch gap between overlapping shingle courses. Follow this sequence for reliable, damage-free results:
- Inspect & Prep: Walk the roof on a dry, mild day (45–75°F). Remove debris, moss, or loose granules from the eave line. Check for cracked, curled, or missing shingles—repair these first. Do not install lights on wet, icy, or frozen shingles.
- Identify the Nailing Line: Locate the horizontal line where shingles are nailed (typically 3–4 inches up from the bottom edge of the lowest course). Your clips must sit *below* this line—never straddle it.
- Position the First Clip: Slide the clip’s lower prong under the bottom edge of the second-to-lowest shingle (i.e., the one covering the first course). Gently lift the shingle tab just enough to insert—do not force. The clip should rest flat against the roof deck, with its wire channel facing upward.
- Space Evenly: Place clips every 12–16 inches along the eave. For architectural shingles with deeper exposure, space at 14 inches to prevent sagging. Avoid placing clips directly above roof vents or plumbing boots.
- Thread & Secure: Lay lights along the eave, feeding the cord into each clip’s channel. Press down gently to engage the friction grip—no twisting or over-tightening. Test stability by lightly tugging the strand; it should hold firm without lifting the shingle.
- Final Check: From ground level, verify lights hang vertically—not angled inward toward the roof. Adjust any clip causing tension or misalignment. Leave 6–8 inches of slack at endpoints to accommodate thermal expansion.
Real-World Case Study: The Henderson Roof Rescue
In December 2022, the Henderson family in Cincinnati installed 800 feet of C9 lights on their 20-year-old GAF Timberline HD shingle roof using generic plastic clips purchased from a big-box store. By January, they noticed granules collecting in gutters and three shingles near the garage eave had begun curling upward. A roofing inspector confirmed the clips had been forced under shingles too aggressively, breaking the self-sealing strip and creating micro-lifts. Repairs cost $420—not for replacement shingles, but for labor-intensive resealing and granule restoration.
The following year, they switched to certified shingle tab clips and followed the step-by-step process above. Installation took 22 minutes longer—but required zero ladder repositioning, caused no granule loss, and survived three winter ice storms. In April, they removed the lights in under 90 seconds per clip. Their roofer inspected the eave line and confirmed “no visible disturbance to sealant or substrate.” As homeowner Sarah Henderson noted: “It wasn’t about spending more money—it was about spending time *once*, correctly, instead of paying for consequences later.”
Expert Insight: What Roofing Professionals Emphasize
“Shingles aren’t meant to be ‘fastened to’—they’re meant to shed water *over*. Any anchor that lifts, stretches, or chemically bonds to them interferes with that fundamental purpose. The safest lights don’t cling; they nest. If your method requires tools stronger than your fingers, it’s already compromising the roof.” — Marcus Delaney, RRO (Roofing Industry Certified Roofing Professional), 22 years with GAF Master Elite Contractor Network
“I’ve replaced hundreds of shingles damaged by holiday lights. The most common error? People think ‘it’s just for a month.’ But asphalt doesn’t heal. A 1/16-inch crack from a staple expands with freeze-thaw cycles—and that’s how leaks begin two years later.” — Lena Ruiz, Certified Home Inspector, InterNACHI
Essential Pre-Installation Checklist
- ☑ Confirm roof surface is dry, ambient temperature is between 45°F–75°F, and no rain/snow is forecast for 48 hours
- ☑ Inspect all shingles for cracks, blisters, granule loss, or curling—defer installation if issues exist
- ☑ Clean shingle surface along eave line with a soft brush (no water pressure washers)
- ☑ Choose clips rated for your shingle type (3-tab vs. architectural) and verify UL 1897 compliance
- ☑ Measure total linear footage needed—add 10% extra for slack and adjustments
- ☑ Test one clip on a discreet area first; observe for 24 hours to confirm no lifting or adhesive transfer
- ☑ Plan light removal date—set calendar reminder for January 10–15 to avoid prolonged exposure
FAQ: Addressing Common Concerns
Can I use gutter clips instead of shingle clips?
Yes—if your gutters are securely mounted and made of aluminum or heavy-gauge steel. Avoid plastic or thin-gauge gutters, which can warp or detach under light weight and wind load. Always inspect gutter hangers for rust or looseness first. Note: Gutter clips do not eliminate the need for proper shingle protection elsewhere—e.g., on gables or dormers.
What if my roof has cedar shakes or slate?
Do not use shingle tab clips on cedar or slate. These materials lack the uniform overlap and flexibility of asphalt shingles. Instead, use S-hooks anchored to ridge caps or install a dedicated aluminum mounting rail along the eave (professionally recommended). Cedar and slate require specialized fastening protocols to prevent splitting or spalling.
Will LED lights generate enough heat to damage shingles?
No. Modern low-voltage LED strings operate at under 12V and emit negligible heat—far less than ambient summer sun exposure. The real thermal risk comes from incandescent bulbs or poorly ventilated transformers mounted directly on shingles. Always mount transformers on fascia, soffits, or walls—not roof surfaces.
Conclusion: Decorate with Confidence, Not Compromise
Your roof is a precision-engineered barrier—not a holiday bulletin board. Every staple driven, every strip of tape applied, every clip forced beyond its design limits chips away at decades of weather protection. But this season, you have better options: tools engineered for shingle compatibility, techniques validated by industry professionals, and a clear understanding of why “temporary” doesn’t mean “harmless.” Anchor your lights with intention—not inertia. Install with patience—not pressure. And remove with care—not delay. When you choose methods that honor your roof’s integrity, you’re not just avoiding damage—you’re preserving value, safety, and peace of mind. That’s the kind of holiday tradition worth keeping.
💬 Share your roof-safe lighting tip or ask a question! Join the conversation—your experience could help another homeowner avoid costly mistakes this season.