Gifting a gift card is practical, but it often lacks the emotional warmth of a thoughtful present. The solution? Combine functionality with sentiment by embedding gift cards into handmade photo album-style holders. These creative DIY projects transform an ordinary gift into a cherished keepsake, blending personal memories with future experiences. Whether celebrating a birthday, anniversary, or holiday, these handmade albums elevate the act of giving and create lasting impressions.
Why Combine Gift Cards with Photo Albums?
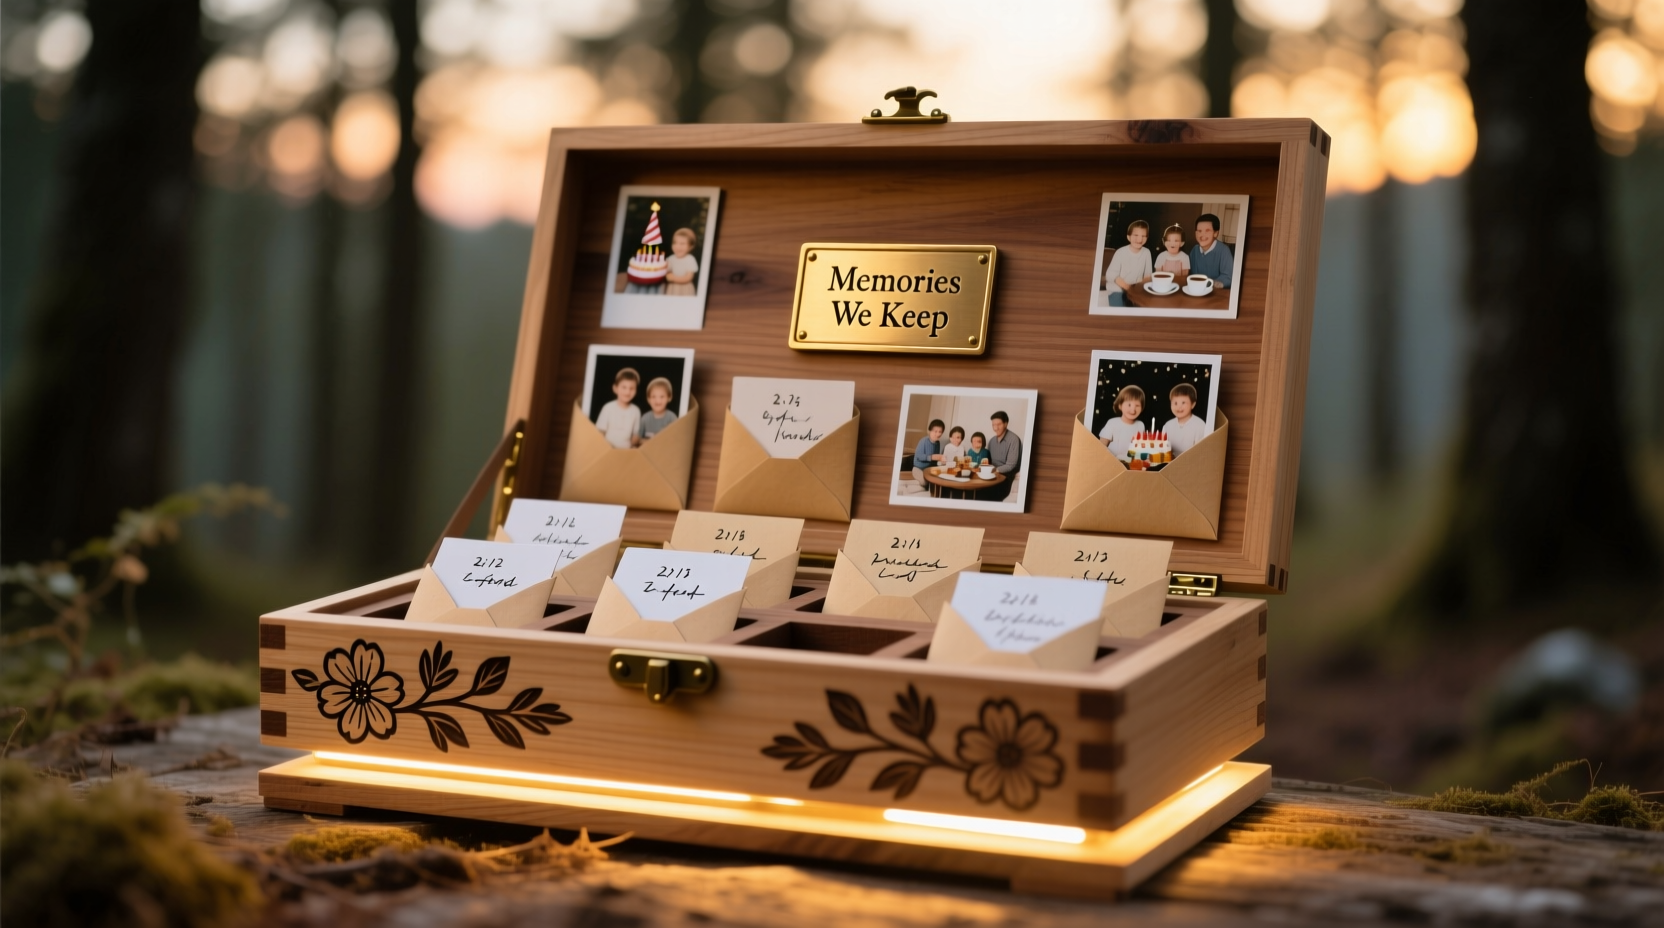
A gift card alone may be convenient, but it rarely feels special. When paired with a curated collection of photos in a custom-designed album, it becomes more than just a transaction—it tells a story. This hybrid approach allows givers to reflect on shared moments while hinting at new adventures the recipient can enjoy using the card.
For example, a gift card to a favorite restaurant tucked behind photos of past meals together adds nostalgia. A spa gift card placed within a collage of relaxed vacation snapshots reinforces self-care and relaxation. The visual narrative enhances the emotional value of the gift, making it far more meaningful than cash or plastic alone.
“People don’t remember the gift—they remember how it made them feel. A photo-integrated gift card does both.” — Lila Monroe, Gift Experience Designer
Creative DIY Holder Ideas You Can Make at Home
With minimal supplies and a bit of creativity, you can design stunning gift card holders that function as mini photo albums. Below are five original concepts that blend aesthetics, utility, and sentimentality.
1. Memory Lane Flip Book
Create a small accordion-fold booklet where each panel displays a photo leading up to the final reveal: the gift card. Use craft paper or cardstock for durability. Attach photos with glue dots or corner mounts, leaving the last flap as a pocket for the card. Title it “What’s Next?” or “Our Next Chapter” to build anticipation.
2. Pocket Page Album
Use a slim binder or disc-bound notebook with clear pocket pages. Insert printed photos into the top half and slide the gift card into the bottom sleeve. Customize with handwritten captions, stickers, or washi tape borders. This format is expandable—add extra pages if you want to include multiple cards or coupons.
3. Envelope Story Scroll
Roll several connected sheets of heavy paper into a scroll, attaching photos chronologically along the length. Seal the end with a ribbon and tuck the gift card inside. Include short notes beneath each image (“Remember this?”) to guide the viewer through shared memories before revealing the gift.
4. Mini Shadow Box Frame
Build a shallow wooden box frame with layered cardboard dividers. Mount photos on each tier, creating depth. Place the gift card behind glass or in a small slot at the base. Add dimensional elements like pressed flowers, ticket stubs, or fabric swatches for texture. This doubles as wall art after use.
5. Puzzle Reveal Album
Design a cover that looks like a puzzle missing one piece. Cut a tabbed insert shaped like a puzzle piece from sturdy cardstock, attach the gift card to its back, and let it slide in and out. Behind the missing piece, place a photo teasing the experience the card will fund—a beach scene for a resort gift card, for instance.
Tip: Always laminate gift cards before inserting them into albums to prevent wear from handling during viewing.Step-by-Step Guide: Building a Basic Photo-Gift Card Holder
Follow this simple 6-step process to create a polished, professional-looking holder in under two hours.
- Gather materials: Cardstock (8.5” x 11”), printed photos, double-sided tape, scissors, ruler, bone folder, clear plastic sleeve or laminator, ribbon or twine.
- Choose a theme: Match the album’s tone to the occasion—vintage, modern, playful, romantic—and select coordinating colors and fonts.
- Print and trim photos: Select 4–6 high-quality images. Crop to uniform sizes (e.g., 3” x 4”) for consistency.
- Assemble the base: Fold cardstock in half to form a booklet. Score the fold with a ruler and bone folder for a clean crease.
- Mount photos: Arrange and adhere photos on the interior pages. Leave space on the final page for a gift card pocket.
- Add the card holder: Create a pocket using a folded rectangle of clear plastic or laminated paper. Glue three sides to the last page, leaving the top open for easy access.
Decorate the cover with calligraphy, stencils, or embossed initials. Tie with a satin ribbon and include a handwritten note on the inside front cover.
Material Comparison: Best Options for Durability and Aesthetics
| Material | Best For | Pros | Cons |
|---|---|---|---|
| Cardstock (110 lb) | Basic albums, folding books | Affordable, easy to cut and write on | Less durable over time |
| Chipboard | Cover bases, shadow boxes | Rigid, holds shape well | Harder to cut without tools |
| Faux Leather | Luxury feel, long-term keepsakes | Water-resistant, elegant finish | More expensive, requires adhesive care |
| Clear Plastic Sleeves | Gift card protection | Transparent, reusable, durable | Can look cheap if low quality |
| Washi Tape & Stickers | Decorative accents | Easy to apply, removable | Not archival-safe long-term |
Real Example: A Birthday Surprise That Became a Family Heirloom
Sarah wanted to give her sister a memorable 30th birthday gift. Instead of handing over a $100 spa gift card directly, she created a four-page flip album titled “Decade of Us.” Each page highlighted a year of their friendship with candid photos and brief anecdotes. The final page featured a laminated gift card in a velvet-lined pocket with the message: “Time to relax—you’ve earned it.”
The recipient was moved to tears. She used the card immediately but kept the album on her nightstand for years. Two years later, Sarah found her nephew flipping through it, asking about the stories. What began as a simple gift evolved into a family keepsake.
Checklist: Preparing Your DIY Gift Card Album
- ☐ Choose a theme and color scheme
- ☐ Select 4–8 meaningful photos
- ☐ Print and trim images to size
- ☐ Gather crafting supplies (cardstock, adhesive, cutting tools)
- ☐ Design layout and test placement
- ☐ Assemble base structure
- ☐ Mount photos securely
- ☐ Create and attach gift card pocket
- ☐ Add decorative elements and personal messages
- ☐ Laminate or seal for longevity
Frequently Asked Questions
Can I reuse the album after the gift card is used?
Absolutely. Many recipients remove the card and continue using the album as a standalone memory book. Design it so the card is easily removable without damaging the structure.
How do I protect the gift card from bending or scratching?
Laminate the card or place it in a rigid plastic sleeve. Avoid folding corners or allowing loose movement within pockets. For added security, glue only one edge of the sleeve to allow removal.
Are digital kits acceptable instead of physical albums?
Digital versions work well for remote gifting, but they lack tactile appeal. Consider mailing a physical copy afterward or pairing a digital slideshow with a printed mini-album for maximum impact.
Final Thoughts: Elevate Gifting Through Personalization
In an age of instant transactions and disposable presents, taking time to craft a personalized gift speaks volumes. A DIY gift card photo album isn’t just a container—it’s a narrative, a tribute, and a promise of future joy. It shows effort, attention to detail, and emotional intelligence. More importantly, it gives the recipient something they can revisit long after the card has been spent.
💬 Ready to make your next gift unforgettable? Start gathering photos today and turn a simple gift card into a timeless keepsake. Share your creation online with #GiftCardAlbum and inspire others to give more meaningfully.