Daisies are among the most beloved flowers in home gardens—cheerful, resilient, and effortlessly charming. Their bright white petals surrounding golden centers bring a sense of simplicity and joy to any outdoor space. While often considered easy to grow, achieving truly vibrant, long-lasting blooms requires more than just planting and forgetting. Understanding soil needs, sunlight requirements, watering habits, and seasonal care makes all the difference between sparse, struggling plants and a flourishing daisy display.
This guide offers actionable advice grounded in horticultural best practices to help both novice and experienced gardeners grow robust, blooming daisies outdoors. From selecting the right variety to maintaining plant health through the seasons, every detail counts.
Choose the Right Daisy Variety for Your Climate
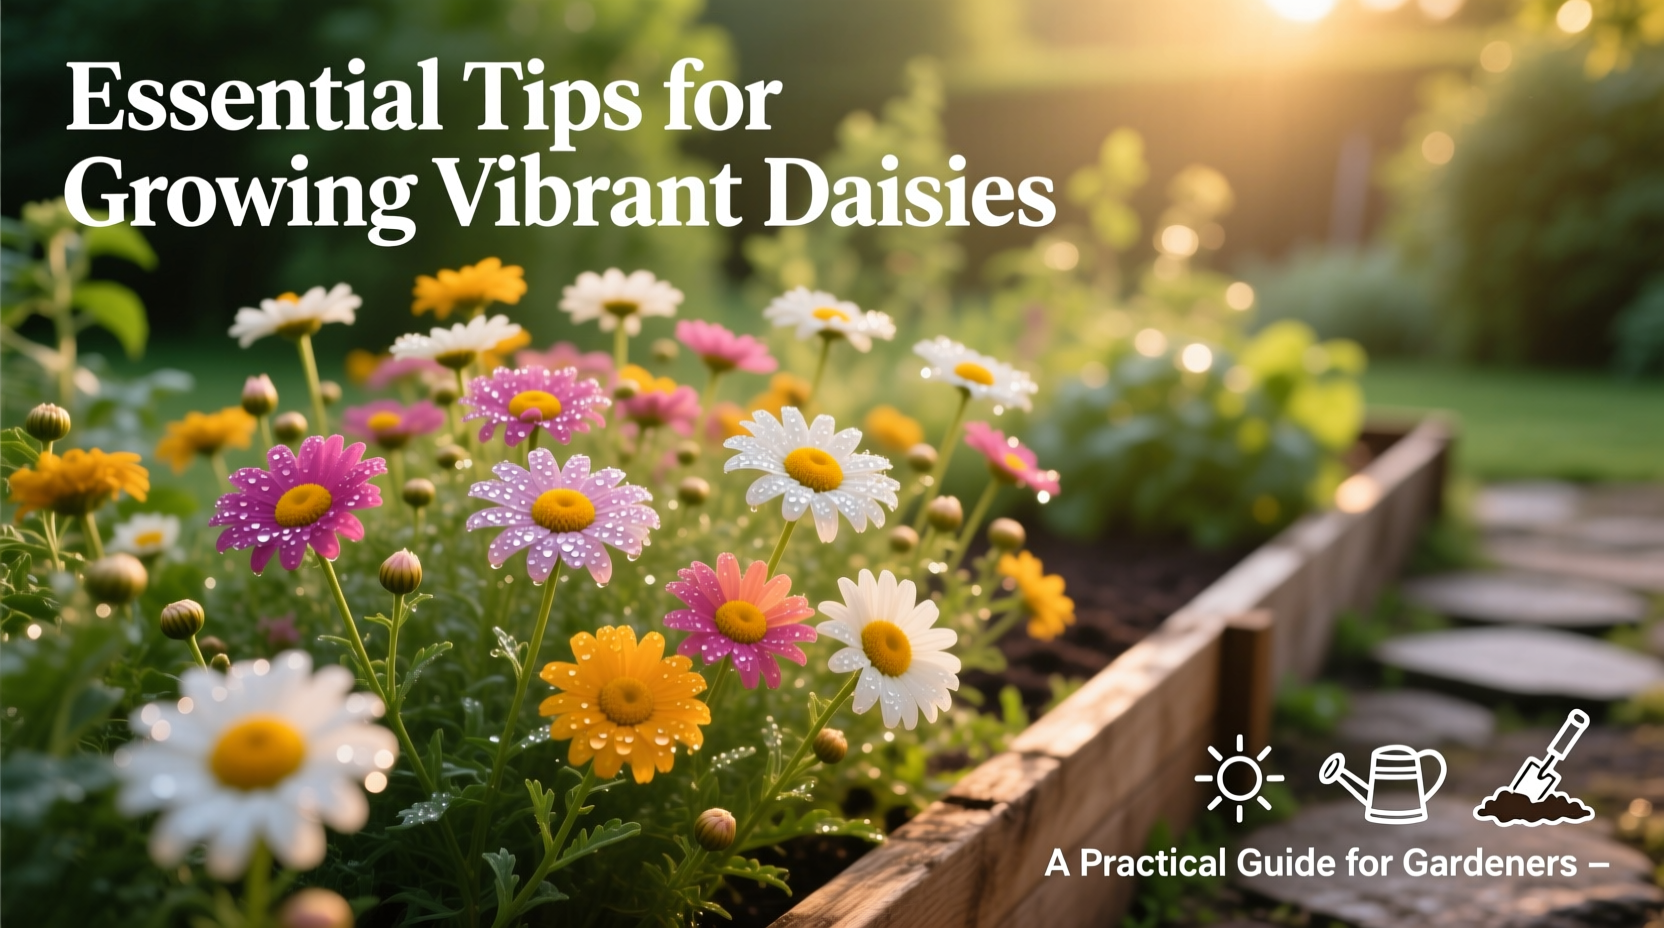
Not all daisies are created equal. The term “daisy” encompasses several species, including Shasta daisies (Leucanthemum x superbum), African daisies (Osteospermum), and English daisies (Bellis perennis). Each has different hardiness zones, bloom times, and cultural preferences.
Shasta daisies are perennial in USDA zones 5–9 and thrive in temperate climates with moderate humidity. African daisies prefer warmer zones (8–11) and excel in full sun with excellent drainage. English daisies are cool-season annuals or biennials, ideal for spring color but less heat-tolerant.
Tip: Match your daisy variety to your local climate zone to ensure longevity and reduce maintenance.| Daisy Type | Hardiness Zone | Lifespan | Sunlight Needs |
|---|---|---|---|
| Shasta Daisy | 5–9 | Perennial | Full sun (6+ hours) |
| African Daisy | 8–11 | Tender perennial / Annual | Full sun |
| English Daisy | 4–8 (as biennial) | Biennial / Annual | Partial to full sun |
Prepare the Soil for Optimal Growth
Daisies demand well-draining soil. They are highly susceptible to root rot if left in soggy conditions. Ideal soil is loamy, slightly acidic to neutral (pH 6.0–7.0), and enriched with organic matter.
Before planting, loosen the soil to a depth of 12 inches. Incorporate 2–3 inches of compost or aged manure to improve fertility and structure. Avoid heavy clay soils unless amended or planted in raised beds.
“Great blooms start underground. Invest time in soil prep—it pays off in stronger roots and more flowers.” — Dr. Lena Peterson, Horticulturist, Oregon State Extension
If your garden suffers from poor drainage, consider creating a sloped bed or using containers with drainage holes. Raised beds also offer excellent control over soil composition and moisture levels.
Planting and Spacing for Healthy Airflow
Proper spacing prevents fungal diseases like powdery mildew, which commonly affect daisies in humid or crowded conditions. Space Shasta daisies 18–24 inches apart; African daisies need 12–18 inches. This allows air to circulate freely around foliage.
Plant in spring after the last frost when soil temperatures reach at least 60°F (15°C). Dig a hole twice as wide as the root ball and set the crown level with the soil surface. Water thoroughly after planting to settle the roots.
Step-by-Step Planting Guide
- Choose a sunny location with at least 6 hours of direct sunlight.
- Test and amend soil pH if necessary.
- Dig holes spaced appropriately for the variety.
- Gently loosen roots before placing in the hole.
- Cover with soil, water deeply, and apply a light mulch layer.
Maintenance Through the Seasons
Consistent care ensures continuous blooming and plant vigor. Daisies benefit from deadheading, regular watering, and occasional feeding.
Water deeply once or twice a week, depending on rainfall, aiming for 1 inch of water per week. Avoid overhead watering to reduce leaf wetness and disease risk. Instead, use soaker hoses or water at the base.
Fertilize sparingly. Over-fertilizing leads to lush foliage but fewer flowers. Apply a balanced, slow-release fertilizer (10-10-10) in early spring and again mid-summer. Organic options like compost tea or fish emulsion work well too.
Deadhead spent blooms regularly by pinching or cutting the stem just above a leaf node. This encourages new flower production and keeps the plant looking tidy.
In late fall, cut back foliage to 2–3 inches above ground after it dies down. In colder zones, apply a light mulch layer to protect crowns during winter. Remove mulch in early spring to prevent crown rot as temperatures rise.
Mini Case Study: Reviving a Struggling Daisy Bed
Susan, a gardener in central Pennsylvania, noticed her Shasta daisies were producing fewer blooms and developing yellow leaves. After testing her soil, she discovered poor drainage and a pH of 5.4—too acidic. She lifted the plants, amended the bed with lime and compost, improved grading for runoff, and replanted with proper spacing. Within one season, her daisies rebounded with dense foliage and dozens of flowers per plant. The key? Addressing soil issues first.
Common Challenges and How to Solve Them
Even well-maintained daisies can face pests and diseases. Watch for aphids, spider mites, and slugs. Inspect leaves weekly, especially undersides. A strong spray of water often dislodges aphids; neem oil works for persistent infestations.
Powdery mildew appears as white, powdery spots on leaves, usually in humid weather. Prevent it with good airflow, proper spacing, and avoiding wet foliage. If detected early, treat with a baking soda spray (1 tablespoon baking soda, 1/2 teaspoon liquid soap, 1 quart water).
Root rot occurs in poorly drained soils. Symptoms include wilting despite moist soil and dark, mushy roots. Prevention is critical—never let daisies sit in waterlogged soil.
Checklist: Essential Daisy Care Routine
- ✅ Choose climate-appropriate daisy variety
- ✅ Test and amend soil before planting
- ✅ Plant in full sun with proper spacing
- ✅ Water deeply but infrequently at the base
- ✅ Deadhead regularly to prolong blooming
- ✅ Fertilize lightly in spring and midsummer
- ✅ Cut back in fall and mulch in cold zones
- ✅ Monitor for pests and diseases weekly
Frequently Asked Questions
How often should I divide my daisy plants?
Shasta daisies should be divided every 2–3 years in early spring or fall. Overcrowded clumps lead to reduced flowering and weak growth. Division rejuvenates the plant and provides new stock for other areas of the garden.
Can daisies grow in pots?
Yes, especially African and smaller varieties. Use a container at least 12 inches wide with drainage holes. Fill with quality potting mix and place in full sun. Container-grown daisies may need more frequent watering and feeding than in-ground plants.
Why are my daisies not blooming?
Lack of blooms can result from insufficient sunlight, over-fertilization (especially nitrogen), inadequate deadheading, or overcrowding. Ensure your plants receive at least 6 hours of direct sun and avoid high-nitrogen fertilizers that promote leaf growth over flowers.
Final Thoughts and Call to Action
Growing vibrant daisies outdoors is a rewarding experience that enhances both garden aesthetics and personal satisfaction. With thoughtful variety selection, proper soil preparation, consistent care, and seasonal attention, your daisy patch can become a highlight of your landscape year after year.
The beauty of daisies lies not only in their appearance but in their resilience and accessibility. Whether you're tending a cottage border or a modern container garden, these flowers adapt beautifully when given the right foundation.
🚀 Start today: Pick one area in your garden, assess the sunlight and soil, and plant a few daisy starts. Share your progress, ask questions, or post photos in the comments—let’s grow brighter gardens together!