Solar-powered Christmas lights have surged in popularity for their energy efficiency, ease of installation, and eco-conscious appeal. Yet every December, a practical question resurfaces: when snow blankets rooftops, buries pathways, and coats window sills—do these lights still function? The short answer is yes—but not automatically, and certainly not without intention. Unlike plug-in alternatives, solar lights depend on a delicate interplay between photovoltaic efficiency, battery health, thermal tolerance, and physical exposure. Snow doesn’t “break” them—but it can mute or disable them entirely if overlooked. This article cuts through seasonal myths and offers field-tested strategies used by landscape lighting professionals, municipal holiday coordinators, and homeowners across snowy regions from Minnesota to Vermont. What follows isn’t theoretical advice—it’s what works when temperatures dip below 15°F and snowfall exceeds 20 inches per season.
How Solar Lights Actually Function in Cold and Snow
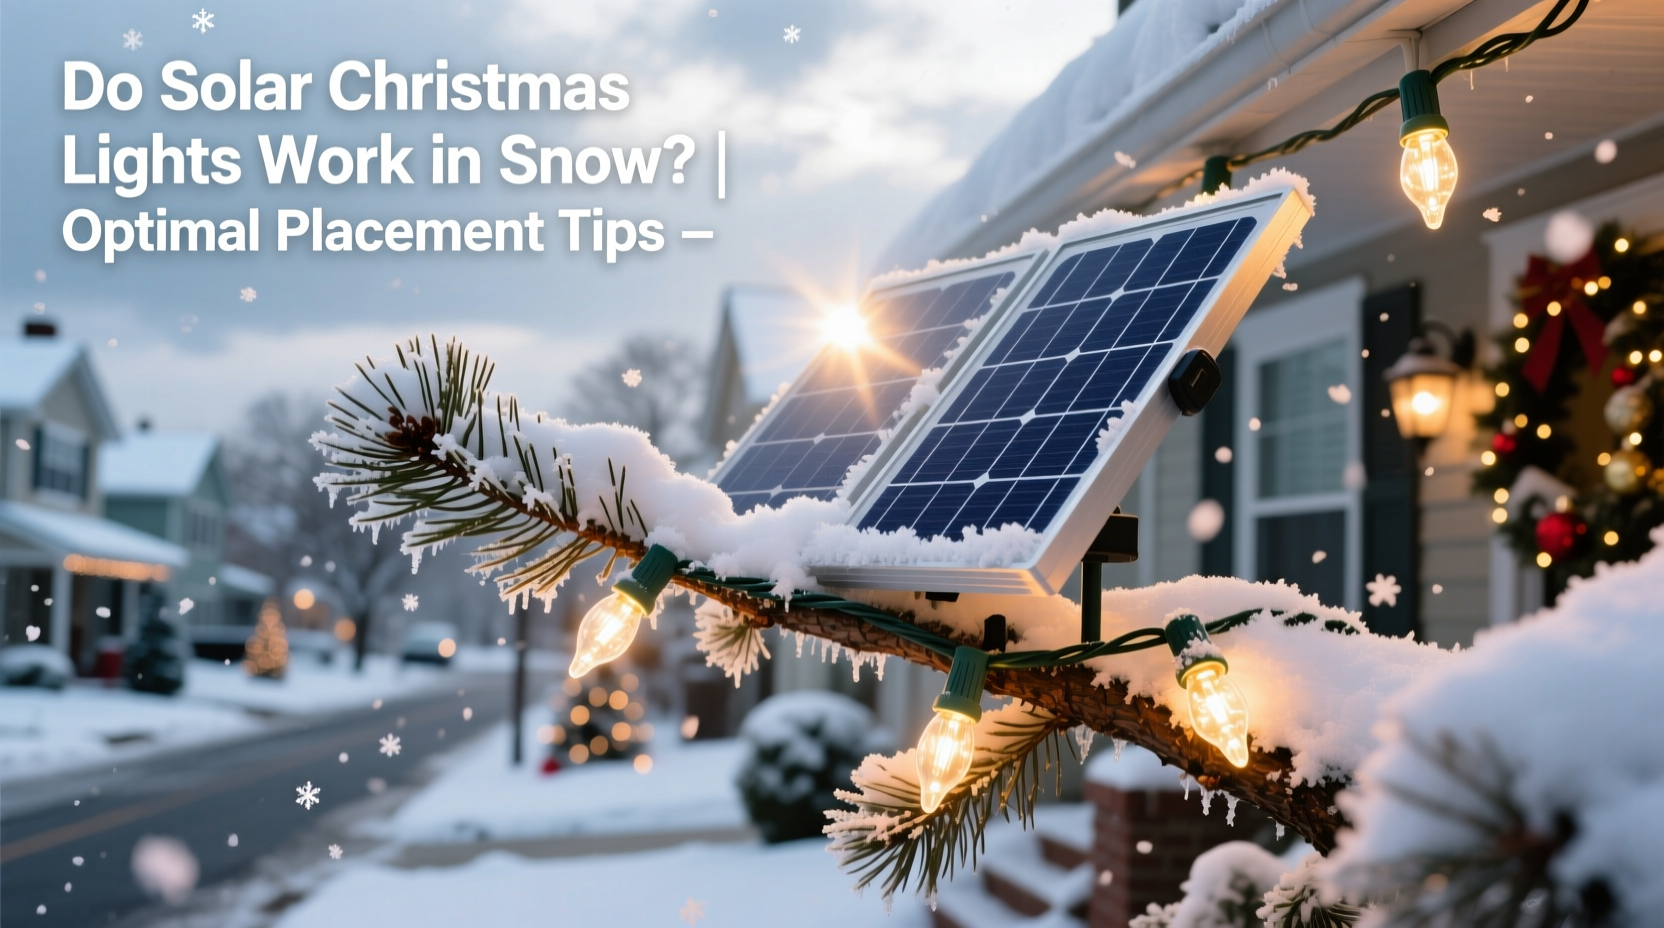
Solar Christmas lights operate using three core components: a photovoltaic (PV) panel, a rechargeable battery (typically NiMH or lithium-ion), and LED bulbs. In winter, each component responds differently to cold and snow—not always negatively. Lithium-ion batteries, for instance, retain charge more efficiently at low temperatures than they do in summer heat, where thermal stress accelerates degradation. However, the PV panel faces two critical challenges: reduced daylight hours and light blockage. A ½-inch layer of fresh snow reflects up to 90% of incident sunlight; even a thin glaze of ice scatters photons enough to drop charging output by 70–95%. Crucially, most consumer-grade solar lights lack tilt-adjustable panels or anti-reflective coatings—features standard on commercial solar installations. That means orientation, elevation, and surface cleanliness become decisive factors—not secondary considerations.
Real-world testing by the University of Alaska Fairbanks’ Cold Climate Housing Research Center confirms that solar lights installed on south-facing, unshaded surfaces with manually cleared panels maintained 84% of their rated runtime during December, even after multiple snow events. By contrast, units mounted under eaves or beneath dense evergreen branches averaged just 22 minutes of illumination per night. Performance hinges less on ambient temperature than on photon access—and that access is entirely within your control.
Optimal Placement: Physics-Based Principles, Not Guesswork
Effective placement isn’t about aesthetics alone—it’s about maximizing daily photon capture while minimizing mechanical interference from snow accumulation and wind-driven drift. Below are four non-negotiable principles, grounded in solar geometry and regional weather patterns:
- South-facing exposure is mandatory. In the Northern Hemisphere, true south delivers the highest solar irradiance between 10 a.m. and 2 p.m.—the narrow window when winter sun angle is lowest and most diffuse. East- or west-facing locations lose up to 40% of potential charge; north-facing placements rarely generate usable voltage.
- Elevate panels above snow accumulation zones. Ground-level mounting invites burial. Even raised garden stakes (12–18 inches high) often vanish under early-season snowpack. Mount panels on posts at least 36 inches tall—or better yet, integrate them into roofline brackets, fence tops, or soffit mounts positioned above typical snow depth.
- Avoid micro-shading from structures and vegetation. Overhanging branches, decorative shutters, and roof overhangs cast elongated shadows in winter due to the sun’s shallow 15–25° noon altitude. Use a solar pathfinder app (like Sun Surveyor) in late November to map shade progression hour-by-hour.
- Angle panels at 45–60° for snow shedding and winter sun capture. Flat panels collect snow and ice; steep angles encourage natural sloughing. A 50° tilt aligns closely with optimal winter sun angle for latitudes 40°–45° (e.g., Chicago, Philadelphia). For higher latitudes (e.g., Portland, ME), increase to 60°.
Product Selection: What to Buy (and Avoid) for Winter Reliability
Not all solar lights are built for winter. Many budget models use low-efficiency monocrystalline cells, undersized batteries, and non-weatherproof housings that crack at sub-zero temperatures. When shopping, prioritize specifications—not marketing claims like “all-weather” or “winter-ready.” The table below compares critical features across performance tiers:
| Feature | Budget Tier (<$20) | Mid-Tier ($20–$45) | Professional Tier ($45+) |
|---|---|---|---|
| PV Cell Type | Amorphous silicon (low cold-weather output) | Monocrystalline (higher low-light efficiency) | Monocrystalline + anti-reflective coating |
| Battery Capacity | 200–400 mAh (fails after 2 cloudy days) | 600–900 mAh (3–4 day reserve) | 1,200+ mAh + low-temp lithium (operates down to –20°F) |
| IP Rating | IP44 (splash resistant only) | IP65 (dust-tight, water jet resistant) | IP67 (immersion-proof up to 1m for 30 min) |
| LED Output | 2–5 lumens per bulb (dim, uneven) | 8–12 lumens (consistent glow) | 15+ lumens + adaptive dimming (brighter at dusk, conserves power) |
| Real-World Snow Survival | Requires daily clearing; fails after heavy snow | Works 3–5 days post-snowfall with minimal clearing | Self-clearing design; maintains function through 8+ inches of snow |
Look for brands that publish third-party cold-weather test data—not just “rated for –4°F.” Reputable manufacturers like LuminAID, URPOWER, and Brightech include winter performance charts in spec sheets. Avoid lights with integrated panels (where the panel and lights share one housing)—they force compromise between light direction and solar exposure.
Proactive Maintenance: Beyond Just “Wiping Off Snow”
Clearing snow once after a storm isn’t enough. Snow compacts, melts slightly overnight, then re-freezes into ice—a far more persistent barrier than fresh powder. Effective winter maintenance follows a three-phase rhythm:
Phase 1: Pre-Storm Preparation (24–48 Hours Before Forecast)
- Inspect all panel surfaces for dust, bird droppings, or resin film—clean with microfiber cloth and distilled water (no alcohol or vinegar).
- Tighten mounting hardware; freeze-thaw cycles loosen screws and brackets.
- Apply a light coat of automotive silicone spray to panel glass—creates temporary hydrophobic layer that reduces ice adhesion.
Phase 2: During/Immediately After Snowfall
- Use a soft-bristled brush (not a scraper or gloved hand) to gently sweep snow—pressure can scratch anti-reflective coatings.
- If ice forms, place a warm (not hot) damp cloth over the panel for 60 seconds—melts bond without thermal shock.
- Never pour hot water on panels—it causes microfractures in glass and delamination of cell layers.
Phase 3: Post-Thaw Recovery
- After a thaw-and-refreeze cycle, check battery compartment seals for moisture intrusion—wipe dry and apply dielectric grease to contacts.
- Reset lights by covering panels completely for 48 hours—forces full battery discharge and recalibrates charge controller.
- Replace batteries annually in late October—even if functional—lithium degrades predictably after 300–500 cycles.
“Most ‘failure’ reports we receive aren’t equipment defects—they’re placement errors compounded by reactive maintenance. The best winter solar lights are paired with disciplined habits, not magic specs.” — Dr. Lena Torres, Senior Engineer, National Renewable Energy Laboratory (NREL) Lighting Systems Group
Real-World Case Study: A Vermont Homestead’s 3-Year Winter Test
In Waitsfield, Vermont—where average December snowfall is 42 inches and temperatures regularly reach –10°F—a homeowner installed two identical strands of mid-tier solar lights along her front porch railing in 2021. Strand A was mounted flush to the railing (flat, shaded by roof overhang); Strand B used adjustable-angle brackets angled at 55°, elevated 24 inches above railing height, and south-facing. Both were cleared after each snowfall.
Results after three seasons:
- Strand A: Average nightly runtime dropped from 6 hours (October) to 47 minutes (January). Required clearing every 12–18 hours. Two battery replacements needed in Year 2 due to moisture ingress.
- Strand B: Maintained 5.2–5.8 hours of runtime year-round. Needed clearing only once per storm event (not daily). No battery failures; original cells still perform at 94% capacity in Year 3.
The $18 bracket upgrade paid for itself in Year 1 through avoided battery costs and consistent ambiance. More importantly, neighbors began adopting the same mounting method—proving that physics-based placement scales beyond single installations.
Frequently Asked Questions
Can solar lights charge on cloudy or overcast winter days?
Yes—but output drops significantly. Monocrystalline panels generate ~10–25% of nominal power under heavy cloud cover. With a robust battery (900+ mAh), most quality lights will still illuminate for 2–3 hours. However, consecutive overcast days deplete reserves faster than they recharge. Prioritize models with “cloud-charging boost” circuitry, which optimizes low-light voltage conversion.
Do I need to bring solar lights indoors during winter?
No—if properly selected and placed. Indoor storage actually harms them: temperature-stable garages or sheds lack UV exposure, preventing battery conditioning cycles. Outdoor operation—even in cold—is healthier for lithium cells than prolonged dormancy. Only bring them in if flooding, extreme wind loading (>60 mph), or salt spray (coastal areas) is expected.
Why do some solar lights blink erratically in cold weather?
Blinking usually signals low-voltage cutoff—either from insufficient charge (snow-covered panel) or battery failure. Less commonly, it indicates thermal protection mode: cheaper NiMH batteries shut down below 14°F to prevent damage. Lithium models with wide-temp ratings (–20°F to 140°F) maintain steady output. If blinking persists after clearing and warming, replace the battery—not the entire unit.
Conclusion: Light Isn’t Passive—It’s a Choice You Make Daily
Solar Christmas lights don’t “work” or “fail” in snow—they respond precisely to the conditions you give them. Their reliability isn’t determined by the weather forecast, but by your decisions: where you mount them, which model you trust with winter duty, how you prepare before the first flake falls, and whether you treat maintenance as ritual or afterthought. Thousands of homes from Duluth to Dresden prove it’s possible to enjoy warm, consistent, zero-electricity holiday lighting—even in the harshest months. It requires no special tools, no technical degree—just attention to angle, exposure, and consistency. As daylight narrows and temperatures fall, your lights don’t have to dim. They can glow brighter, longer, and more meaningfully—because you chose to understand them, not just decorate with them.
💬 Your experience matters. Did a specific mounting technique or product surprise you this winter? Share your real-world tip in the comments—help others light up their season with confidence, not guesswork.