Flat, monotonous walls can make even the most thoughtfully decorated room feel incomplete. Texture transforms surfaces into visual experiences—adding depth, dimension, and character that paint alone cannot achieve. Whether you're renovating a living room, refreshing a bedroom, or upgrading a rental space with landlord-friendly options, textured walls offer an artistic edge. From time-honored plaster methods to modern DIY hacks, there are countless ways to elevate your interiors with tactile appeal.
Why Texture Matters in Interior Design
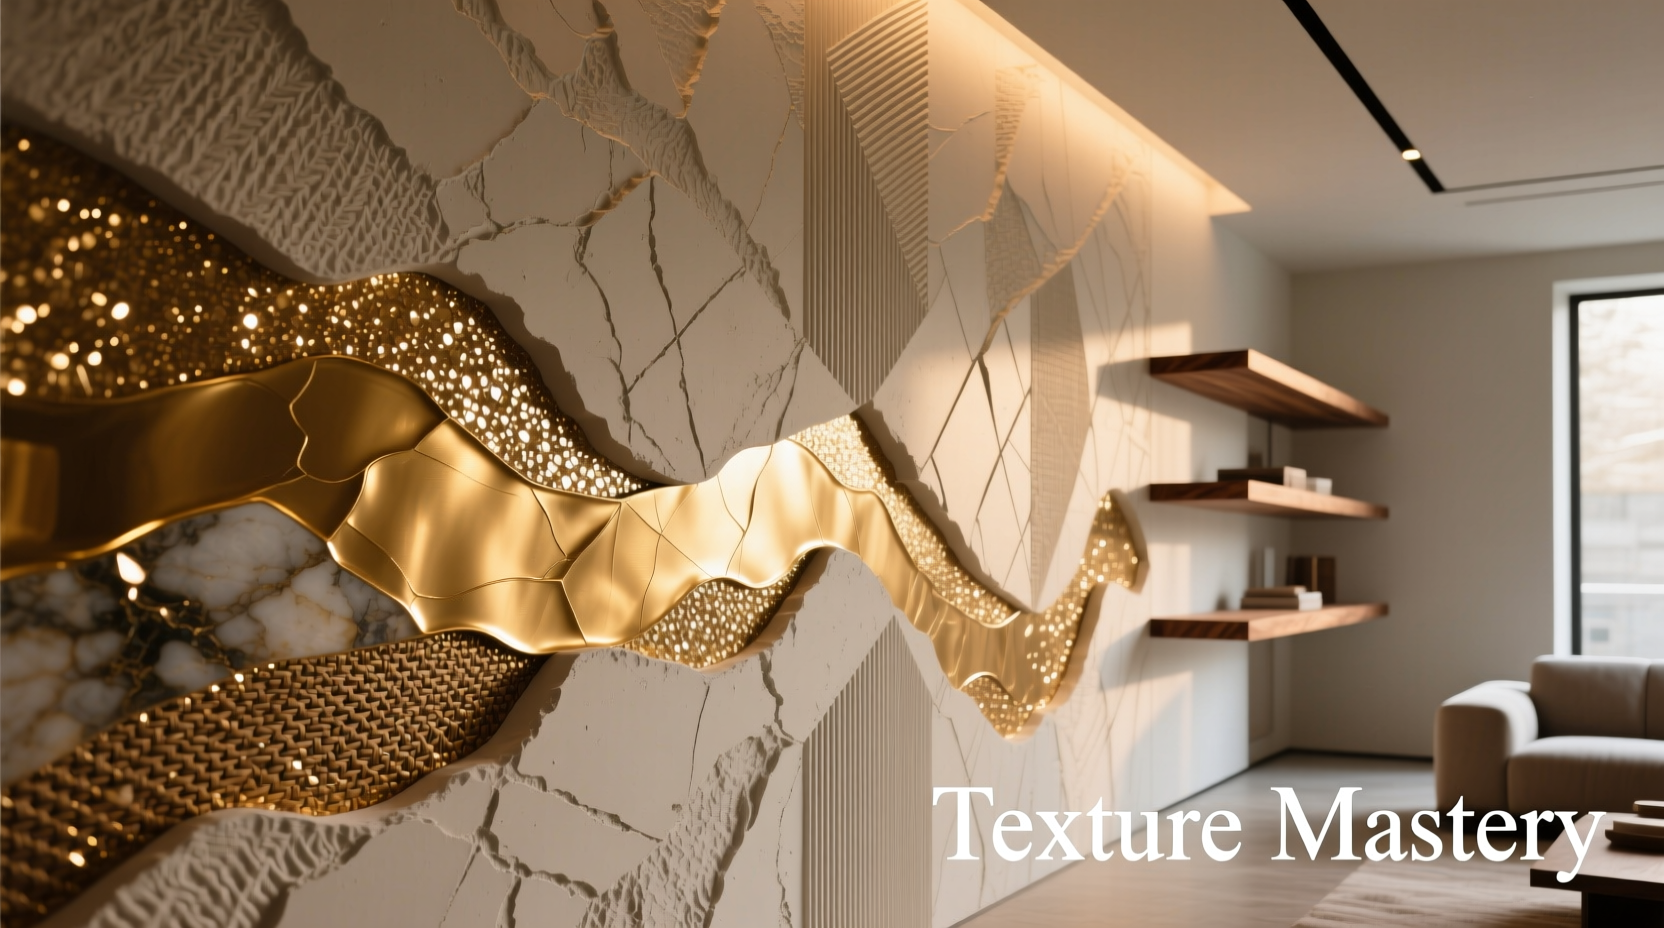
Texture is often overlooked in favor of color and layout, yet it plays a pivotal role in how we perceive space. A textured wall absorbs and reflects light differently than a smooth one, creating subtle shadows and highlights that change throughout the day. This dynamic interaction adds warmth and movement to static environments. Beyond aesthetics, texture also contributes to acoustics by diffusing sound, making rooms feel more intimate and less echo-prone.
Unlike wallpaper or paneling, which can be costly and permanent, many texturing techniques are affordable, reversible, and customizable. They allow homeowners and renters alike to express individuality without committing to full-scale renovations.
Tip: Test any texturing method on a small, inconspicuous area first—especially in rentals—to ensure compatibility with existing wall conditions.Technique 1: Venetian Plaster for a Luxe, Polished Look
Venetian plaster—a blend of marble dust, lime, and pigment—originated in Renaissance Italy and remains a hallmark of high-end interiors. When applied skillfully, it mimics polished stone with a soft sheen and organic variation. The technique involves multiple thin layers burnished with a trowel, resulting in a deep, luminous finish.
Modern acrylic-based versions make this accessible to DIYers. While traditional lime plaster requires professional application due to its curing process, pre-mixed Venetian finishes from brands like Romabio or American Clay offer user-friendly alternatives.
“Venetian plaster isn’t just beautiful—it’s breathable, mold-resistant, and ages gracefully, developing a patina over time.” — Lena Torres, Sustainable Interior Designer
Step-by-Step: Applying Modern Venetian Plaster
- Prepare the wall: Clean thoroughly, repair cracks, and apply a primer-sealer.
- Apply base coat: Use a wide trowel to spread the first layer evenly; let dry 24 hours.
- Add second coat at a perpendicular angle: This builds depth and hides imperfections.
- Burnish with a steel trowel: Apply firm pressure in circular motions to compact and polish the surface.
- Seal (optional): For durability in high-moisture areas, apply a water-based polyurethane topcoat.
Technique 2: Stenciled Texture with Joint Compound
This method combines precision and creativity, ideal for accent walls or geometric designs. Using lightweight joint compound (commonly used in drywall repair) and reusable stencils, you can imprint raised patterns—such as Moroccan trellis, Art Deco motifs, or abstract waves—onto flat walls.
The compound dries quickly and can be sanded lightly before painting. Once sealed with eggshell or satin paint, the design gains shadow and definition under ambient lighting.
Tip: Mix a small amount of paint into the joint compound for a tinted base layer that enhances the final color depth.Mini Case Study: Urban Loft Makeover
In a 700-square-foot Chicago loft, designer Mark Chen replaced dated beige walls with a custom stenciled feature wall using a repeating hexagonal pattern. He used a foam roller to apply off-white joint compound through a plastic stencil, then painted the entire wall in warm gray. The result? A conversation-starting backdrop that added architectural interest without structural changes. Tenants reported feeling the space was “larger and more intentional” due to the play of light across the textured surface.
Technique 3: Sponging and Rag Rolling for Organic Movement
These classic faux finishing techniques use household tools to create soft, layered textures. Sponging involves dabbing a natural sea sponge dipped in contrasting paint over a base coat. Rag rolling uses tightly twisted fabric rolled across the surface to lift and smear paint, producing a marbled effect.
Best suited for low-traffic areas like bedrooms or hallways, these finishes work especially well with earthy tones or muted jewel colors. The randomness of the pattern ensures no two walls look exactly alike.
| Technique | Best For | Tools Needed | Drying Time |
|---|---|---|---|
| Sponging | Subtle, speckled texture | Natural sponge, two paint colors, brush | 2–4 hours between coats |
| Rag Rolling | Swirled, dimensional effect | Cotton rags, roller, glaze medium | 4–6 hours between layers |
| Combing | Linear, striated look | Plastic comb, graining tool | 3–5 hours |
Technique 4: Textured Paint Additives
For a fast, low-effort solution, consider adding texture directly to your paint. Products like silica sand, polymer beads, or cellulose fibers can be mixed into latex paint to create gritty, pebbled, or sandy finishes. These are particularly effective in bathrooms, mudrooms, or children’s spaces where durability matters.
Brands such as Behr and Benjamin Moore offer ready-to-use textured paints (e.g., Behr Sandtex), but custom blends give more control. A ratio of 1 part additive to 4 parts paint typically yields optimal results without compromising adhesion.
- Silica sand: Adds fine grit, ideal for slip-resistant floors or tactile accent walls.
- Polymer granules: Create a bumpy, almost rubberized feel; great for hiding minor wall flaws.
- Cellulose fiber: Produces a fibrous, paper-like texture; excellent for eco-conscious projects.
Technique 5: Peel-and-Stick 3D Wall Panels
Renters and temporary decorators now have access to innovative peel-and-stick textured panels made from recyclable PVC or PET felt. These modular tiles come in geometric, wave, or wood-grain patterns and install in minutes with no nails or adhesive residue.
While not as durable as permanent finishes, they provide dramatic impact and can be repositioned or removed when needed. Top brands like Walltastic and NuWallpaper offer fire-rated, moisture-resistant options suitable for kitchens and offices.
Tip: Align panels with natural light sources to maximize shadow effects and avoid flat, washed-out appearances.Checklist: Preparing for Any Textured Wall Project
- ✅ Assess wall condition—repair holes, sand rough patches, clean grease/dust.
- ✅ Choose a test area to trial your technique and color combo.
- ✅ Gather proper tools: trowels, rollers, stencils, or brushes specific to your method.
- ✅ Protect floors and furniture with drop cloths.
- ✅ Prime if required—especially for porous or previously textured surfaces.
- ✅ Allow adequate drying time between layers to prevent cracking or peeling.
Frequently Asked Questions
Can I apply texture over existing wallpaper?
No—wallpaper must be completely removed before applying any texture. Residual adhesive can cause poor bonding, bubbling, or uneven finishes. If removal isn’t possible, cover with drywall or use peel-and-stick panels instead.
How do I maintain textured walls?
Dust regularly with a microfiber cloth or soft brush attachment on a vacuum. For stains, gently spot-clean with a damp sponge and mild detergent. Avoid abrasive scrubbing, which can damage delicate textures like Venetian plaster.
Are textured walls outdated?
Not at all. While heavy \"popcorn\" ceilings fell out of favor, contemporary textures—especially hand-troweled plaster, minimalist stenciling, and sculptural panels—are highly sought after in modern design. The key is balance: use texture intentionally, not uniformly across every wall.
Conclusion: Bring Your Walls to Life
Texture is the silent storyteller of interior spaces—conveying mood, history, and craftsmanship through touch and light. Whether you opt for the elegance of Venetian plaster, the rhythm of stenciled patterns, or the convenience of peel-and-stick panels, each technique offers a path to a more engaging environment. These finishes don’t just cover walls; they transform them into canvases that evolve with shifting daylight and changing seasons.
💬 Ready to redefine your space? Pick one technique, gather your supplies, and start your first textured wall this weekend. Share your before-and-after photos or ask questions in the comments—we’d love to see what you create!