Transform simple craft materials into cheerful kitchen accessories with handmade pizza and donut fridge magnets. These playful projects blend creativity with functionality, making them ideal for beginners exploring the world of DIY crafts. Whether you're crafting for yourself, creating personalized gifts, or organizing your refrigerator with flair, these magnets bring whimsy and charm to everyday spaces. With basic supplies and a little imagination, anyone can make durable, eye-catching magnets in under an hour.
Gathering Your Materials
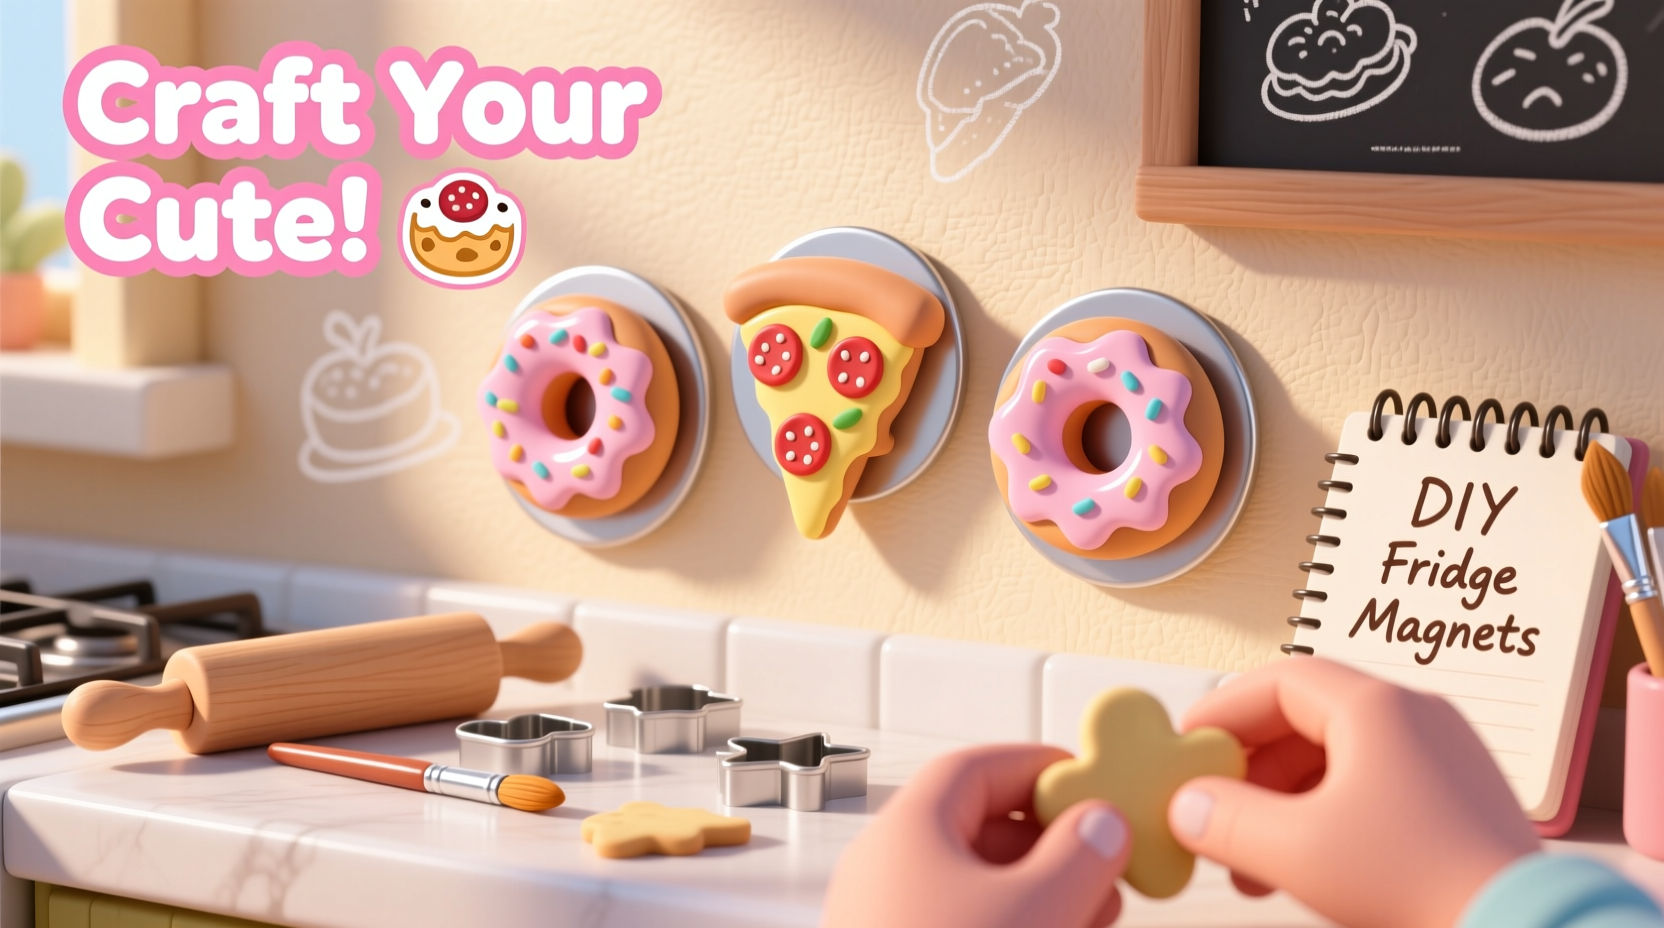
The foundation of any successful craft lies in preparation. Before shaping dough-like clay or painting tiny toppings, ensure all necessary materials are on hand. Most items are affordable and widely available at craft stores or online retailers. The key is choosing materials that balance ease of use with durability, especially since fridge magnets are handled frequently.
For both pizza and donut designs, polymer clay is the preferred medium. It’s soft enough to mold by hand, holds fine details well, and hardens when baked in a standard oven. Acrylic paints, small brushes, clear sealant, strong glue, and magnetic strips complete the toolkit. Optional embellishments like glitter, metallic pens, or tiny faux sprinkles add personality without complicating the process.
Tip: Use separate tools for different clay colors to avoid unwanted mixing—clean with rubbing alcohol between uses.Step-by-Step Creation Process
Follow this structured timeline to turn raw materials into delightful miniatures. Each stage builds upon the last, ensuring consistent results even for first-time crafters.
- Prepare the workspace: Cover your surface with wax paper or a silicone mat to prevent sticking and simplify cleanup.
- Condition the clay: Knead each color until pliable. This improves texture and reduces cracking during baking.
- Shape the base: Roll small balls of brown (donut) or tan (pizza crust) clay, then flatten into rounds about 1 inch in diameter.
- Add toppings or icing: For donuts, roll thin ropes of colored clay for frosting swirls. For pizzas, use red clay for sauce and tiny bits of yellow for cheese. Pepperoni can be made from flat red discs.
- Bake according to instructions: Typically 25–30 minutes at 275°F (135°C), but always follow manufacturer guidelines.
- Cool completely: Wait at least one hour before painting or handling to prevent warping.
- Paint details: Use acrylics to enhance realism—add speckles to pepperoni, shading to icing, or gloss to cheese.
- Seal the piece: Apply two coats of clear varnish to protect paint and give a polished finish.
- Attach the magnet: Glue a small neodymium magnet to the back using epoxy resin for maximum hold.
Design Tips for Realistic and Charming Results
While accuracy isn’t essential, thoughtful details elevate homemade magnets from simple to striking. Consider how real food looks—uneven edges, slight browning, and varied topping placement create authenticity. Avoid perfectly symmetrical layouts; imperfections make pieces feel handcrafted and inviting.
Color blending enhances depth. Mix small amounts of white into red clay for a more natural tomato sauce tone. Swirl pink into white for pastel donut icing. A touch of black or brown paint along crust edges simulates baking, adding dimension.
| Element | Do | Avoid |
|---|---|---|
| Size | Keep under 1.5 inches wide for balance | Oversized magnets that overpower the fridge |
| Clay Thickness | Uniform 1/4-inch thickness | Thin spots that crack during baking |
| Magnet Strength | Use neodymium disc magnets (6mm x 2mm) | Weak magnets that fall off easily |
| Paint Application | Thin layers, dry between coats | Thick paint that obscures texture |
Mini Case Study: Sarah’s Gift Project
Sarah, a middle school art teacher, wanted to thank her colleagues with personalized end-of-year gifts. She crafted miniature food-themed magnets representing each teacher’s favorite snack—pizza for the math team, sprinkle donuts for the P.E. staff. Using air-dry clay (due to classroom oven limitations), she molded 24 unique pieces over three evenings. After sealing with waterproof varnish, she attached magnets and packaged them in clear favor bags with custom labels.
The response was overwhelmingly positive. Teachers displayed the magnets proudly, and several asked for workshops to learn the technique. Sarah noted that the project cost less than $20 total and required no prior sculpting experience. “It felt rewarding to give something handmade,” she said. “And it showed I paid attention to their personalities.”
Expert Insight on Craft Durability
“Polymer clay, when properly cured and sealed, can last decades. Pair it with a quality magnet, and your creation becomes both decorative and functional.” — Lena Torres, Craft Materials Specialist at Creative Hands Studio
Durability begins with correct baking. Under-baked clay remains brittle; over-baking causes discoloration. Always use an oven thermometer to verify temperature accuracy, as household ovens often fluctuate. Once cooled, a UV-resistant sealant protects against fading, especially important for bright food colors exposed to kitchen light.
Frequently Asked Questions
Can I use air-dry clay instead of polymer clay?
Yes, air-dry clay works well for beginners who prefer not to bake. However, it’s more fragile and sensitive to moisture. Seal thoroughly and avoid humid areas like near dishwashers or sinks.
How do I fix a magnet that falls off?
Reattach using two-part epoxy glue rather than standard craft glue. Clean the surface first with rubbing alcohol, apply a small dab of epoxy, press firmly, and let cure for 24 hours.
Are these safe for young children to handle?
Finished magnets are safe once fully sealed and cured. However, small parts pose a choking hazard. Keep out of reach of toddlers and supervise children during crafting.
Checklist: Crafting Success in 10 Steps
- ✔ Choose non-toxic polymer or air-dry clay
- ✔ Select realistic colors for food items
- ✔ Condition clay before shaping
- ✔ Use precise tools for detailing (toothpicks, needles)
- ✔ Bake or dry according to package instructions
- ✔ Cool completely before handling
- ✔ Paint with acrylics in thin, even layers
- ✔ Seal with waterproof varnish (2 coats recommended)
- ✔ Attach strong magnets with epoxy adhesive
- ✔ Label or gift-pack for presentation
Conclusion: Bring Joy One Magnet at a Time
Crafting cute pizza and donut fridge magnets is more than a hobby—it’s a way to infuse daily life with creativity and warmth. These small creations spark smiles, serve practical purposes, and make heartfelt gifts. The techniques learned here extend to other miniature crafts, opening doors to more ambitious projects. No advanced skills are required, just patience and a willingness to experiment.
💬 Ready to start crafting? Gather your supplies this weekend and make your first magnet. Share your creations online or gift them to someone who needs a little cheer—your handmade touch makes all the difference.