The holiday season is a time for warmth, tradition, and indulgence—especially when it comes to sweets. One of the most joyful ways to celebrate is by crafting a Christmas candy mix that brings together vibrant colors, nostalgic flavors, and a touch of whimsy. Whether you're preparing gifts, decorating a dessert table, or simply spreading cheer at home, a well-balanced candy mix can elevate any gathering. Beyond its visual appeal, a thoughtfully composed blend offers something for everyone: chewy, crunchy, fruity, chocolatey, and even nostalgic retro candies.
A great candy mix isn’t just thrown together—it’s designed with intention. From texture contrast to color harmony, every element plays a role in creating an experience that delights the senses. With so many confections available, knowing which ones pair well and how to present them can make all the difference.
The Art of Crafting a Festive Candy Mix
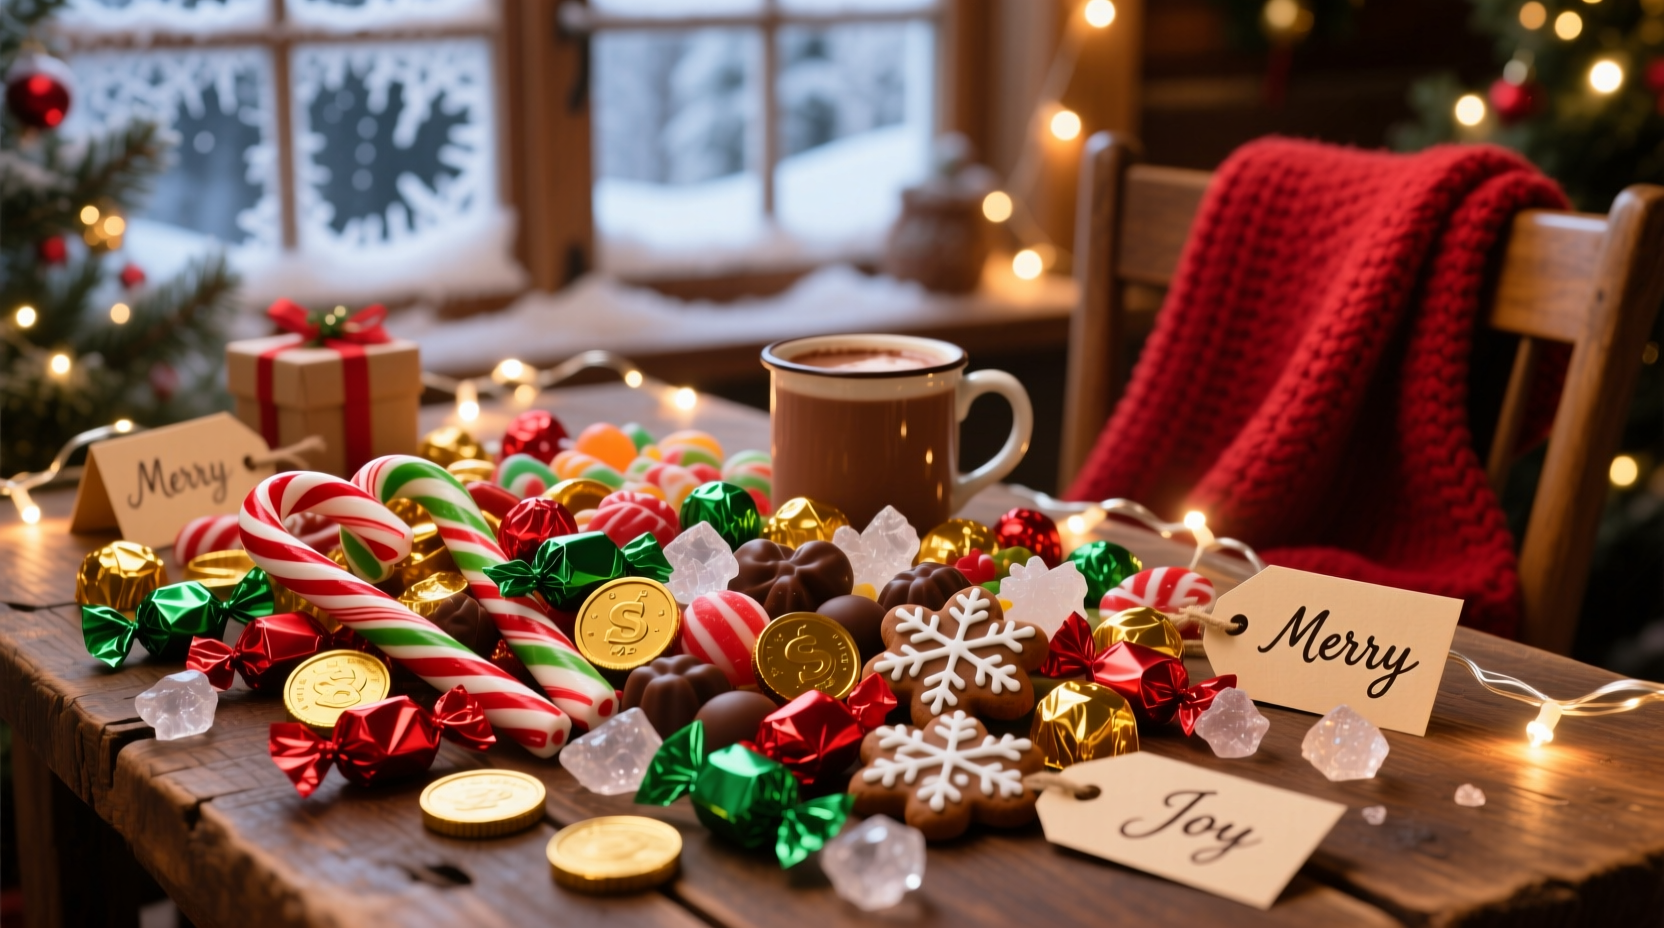
Creating a standout Christmas candy mix begins with understanding balance. The best mixes combine variety without chaos. Think about flavor profiles, textures, and visual elements. A successful blend includes:
- Sweetness variation: Combine intensely sweet candies (like peppermint hard candies) with milder ones (such as white chocolate pretzels).
- Texture contrast: Include chewy gummies, crunchy nuts, smooth chocolates, and crisp wafers.
- Color coordination: Stick to a festive palette—red, green, white, silver, and gold—for instant holiday appeal.
- Portion control: Avoid overwhelming ingredients; no single candy should dominate more than 30% of the mix.
Consider your audience. Are children attending? Then include fun shapes like gumdrops or mini marshmallows. Hosting adults? Add dark chocolate truffles or wine-infused chocolates for sophistication.
Tip: Toss the mix gently in a large bowl to evenly distribute colors and textures before packaging.Essential Ingredients for a Holiday-Winning Mix
Not all candies are created equal when it comes to mixing. Some hold up better over time, while others add visual flair or emotional nostalgia. Here’s a curated list of must-have components categorized by function:
| Category | Purpose | Recommended Candies |
|---|---|---|
| Base Chocolates | Provide richness and structure | Milk chocolate almonds, mini Reese’s cups, chocolate-covered raisins |
| Festive Colors | Add holiday spirit | Red & green M&M’s, peppermint bark pieces, candy cane shavings |
| Chewy Elements | Introduce soft texture contrast | Gumdrops, sour cherry bites, mini marshmallows |
| Crunchy Additions | Enhance mouthfeel | Pretzel sticks, salted peanuts, honey-roasted cashews |
| Nostalgic Touches | Evoke childhood memories | Peppermint patties, circus peanuts, candy corn (mini) |
For a gourmet twist, consider adding handmade elements like candied ginger, spiced pecans, or homemade toffee bits. These elevate the mix from store-bought to artisanal.
Step-by-Step Guide to Building Your Mix
Follow this timeline to assemble a professional-quality candy mix in under 30 minutes:
- Day Before (Optional): Roast nuts or prepare homemade additions like caramel popcorn or chocolate-dipped pretzels. Let them cool completely.
- Step 1 – Gather Supplies: Use a large mixing bowl, measuring cups, gloves (if handling sticky items), and storage containers or gift bags.
- Step 2 – Lay Out Ingredients: Arrange candies by category on a clean counter. This helps visualize proportions.
- Step 3 – Start with Base: Add chocolates and nuts first—they form the foundation.
- Step 4 – Layer Textures: Incorporate chewy candies, then crunchy elements.
- Step 5 – Finish with Color: Sprinkle in brightly colored candies last to ensure even distribution.
- Step 6 – Mix Gently: Use hands or a silicone spatula to fold ingredients together without crushing delicate pieces.
- Step 7 – Package Thoughtfully: Fill clear jars, tins, or cellophane bags tied with ribbon for gifting.
Real Example: The Office Holiday Swap Success
Jamie, an HR coordinator in Minneapolis, wanted to make the annual office gift exchange more personal. Instead of generic mugs or candles, she prepared five signature candy mixes tailored to different taste preferences: “Classic Comfort,” “Tangy & Bright,” “Nutty Indulgence,” “Chocolate Lover’s Dream,” and “Kid-at-Heart.” Each used themed combinations—for example, the “Tangy & Bright” mix included sour belts, lemon drops, and fruit-flavored yogurt melts.
She packaged them in reusable glass jars with handwritten recipe cards on the lids. Colleagues raved not only about the creativity but also the care behind each blend. By January, three departments had adopted the idea for their own team events. As Jamie noted, “It wasn’t just about candy—it was about showing people we see their tastes and personalities.”
Expert Insight on Flavor Pairing
“Just like wine and cheese, candies have natural affinities. Peppermint enhances chocolate, citrus cuts through sweetness, and salt balances sugar. Build your mix like a chef building a dish—one note shouldn’t overpower the rest.” — Chef Lila Nguyen, Pastry Consultant & Food Stylist
This philosophy explains why certain combinations work so well. For instance, pairing milk chocolate with sea salt pretzels creates a harmonious push-and-pull of flavors. Similarly, tart gummy bears offset the richness of fudge pieces, preventing palate fatigue.
Dos and Don’ts of Candy Mixing
| Do’s | Don’ts |
|---|---|
| Use candies with similar shelf lives | Mix sticky candies with powdery ones (e.g., marshmallows + powdered sugar-coated mints) |
| Include allergen-free options if serving groups | Overload on one dominant flavor (like all peppermint) |
| Store in airtight containers away from heat | Leave mixes in direct sunlight or humid areas |
| Refresh the mix weekly by removing stale pieces | Use expired or near-expiry candies |
Checklist: Preparing Your Christmas Candy Mix
- ☐ Decide on theme or flavor profile (e.g., traditional, tropical, gourmet)
- ☐ Check for dietary restrictions among recipients
- ☐ Purchase high-quality candies from reliable sources
- ☐ Prepare any homemade components ahead of time
- ☐ Choose packaging: jars, tins, or decorative bags
- ☐ Assemble mix using layered addition method
- ☐ Label contents clearly, including allergens
- ☐ Store properly until gifting or serving
Frequently Asked Questions
How long does a homemade candy mix last?
When stored in an airtight container at room temperature, away from moisture and heat, most candy mixes stay fresh for 4–6 weeks. Chocolate-based mixes may last longer if kept cool, while those with marshmallows or gummies are best consumed within 2–3 weeks due to potential drying or sticking.
Can I make a candy mix without chocolate?
Absolutely. Try a fruit-forward blend with dried cranberries, apricots, sour belts, orange slices, and coconut flakes. Add crunch with roasted sunflower seeds or cinnamon-sugar pretzels. This version is ideal for warmer climates where chocolate might melt, or for those avoiding dairy.
What are some creative ways to present candy mixes?
Beyond jars, consider filling miniature stockings, ornament-shaped clear globes, or even edible containers like chocolate bowls. Attach recipe cards, personalized notes, or small ornaments to turn the mix into a keepsake gift.
Spread Sweetness This Season
A Christmas candy mix is more than just a collection of sweets—it’s a gesture of joy, memory, and connection. Whether shared at a family dinner, placed under the tree, or gifted to a neighbor, it carries the warmth of intention. With thoughtful selection, balanced composition, and a little creativity, your mix can become a cherished part of someone’s holiday tradition.
💬 Ready to create your signature blend? Share your favorite candy combo or tag someone who’d love a handmade mix this year!