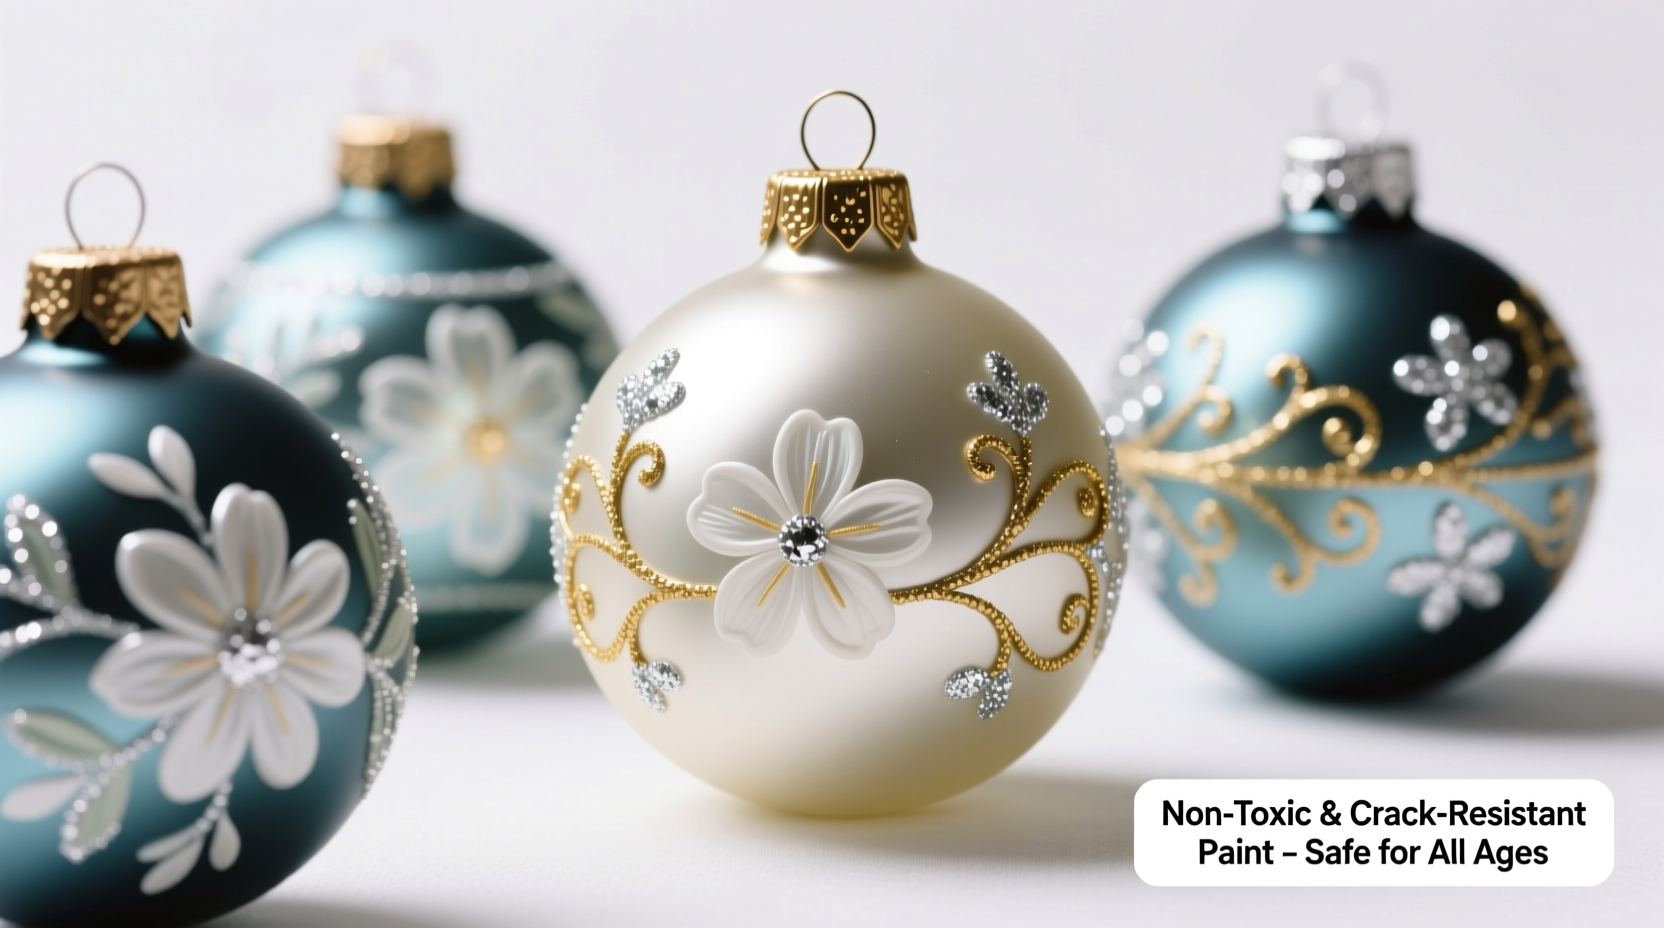
Painting Christmas ornaments can breathe new life into old decorations or help create custom pieces that reflect your personal style. However, many people attempt this seasonal craft only to see their painted designs chip, peel, or crack within weeks—especially when stored or exposed to temperature changes. The good news is that with the right materials, preparation, and technique, you can paint ornaments safely and ensure they last for years. This guide walks through every critical step, from surface prep to sealing, so your hand-painted holiday decor remains vibrant and intact.
Understanding Ornament Materials and Paint Compatibility
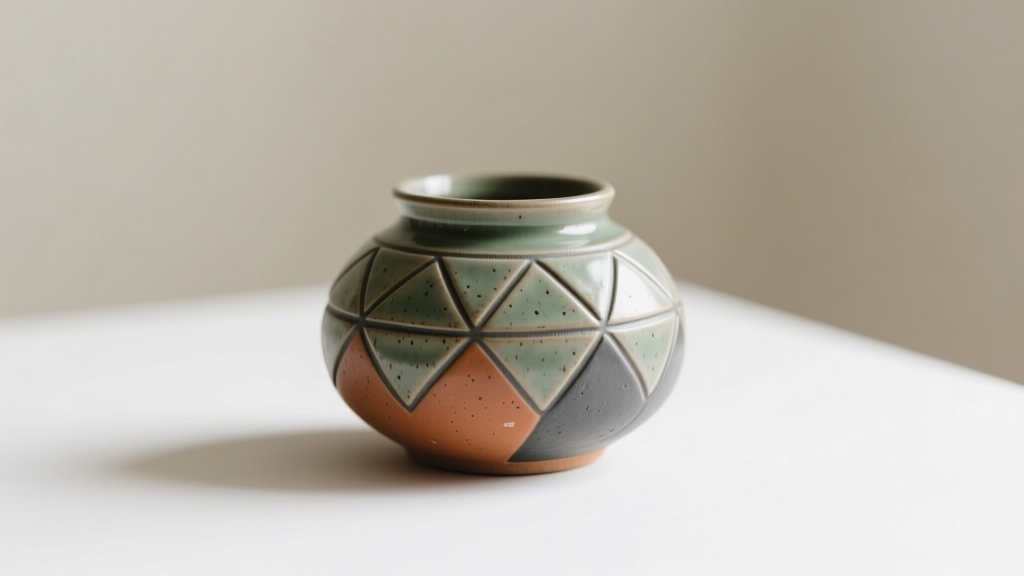
Not all ornaments are created equal. The base material determines not only which paints will adhere properly but also how long the finish will endure. Common ornament types include glass, plastic (acrylic or polystyrene), wood, ceramic, and metal. Each has unique characteristics that affect paint adhesion and durability.
For example, smooth glass and plastic surfaces are non-porous, making them resistant to standard acrylic paints unless properly prepped. Wood, while porous, may release moisture over time if not sealed correctly, leading to paint lifting. Metal ornaments can oxidize beneath paint layers if not treated, causing flaking.
The key to success lies in matching the right paint type to the ornament’s composition:
- Acrylic paint: Best for porous surfaces like wood and unglazed ceramics. Requires primer and sealant on non-porous materials.
- Enamel paint: Ideal for glass, metal, and plastic. Offers a durable, glossy finish that resists chipping.
- Spray paint: Works well on larger surfaces or uniformly shaped ornaments. Must be applied in thin, even coats.
- Porcelain or glass paint: Specially formulated for smooth surfaces. Often oven-cured for maximum durability.
“Using the wrong paint on an incompatible surface is the most common reason for peeling ornaments. Always check the label and test on a small area first.” — Laura Mendez, DIY Craft Specialist & Holiday Decor ConsultantTip: When in doubt, perform a patch test on a hidden area of the ornament. Let it dry fully, then gently scratch or rub the spot. If paint lifts, reevaluate your approach.
Step-by-Step Guide to Painting Ornaments Without Peeling or Cracking
A successful painted finish isn’t just about color—it's about process. Follow these steps carefully to ensure your painted ornaments remain intact through storage, handling, and seasonal use.
- Clean the Surface Thoroughly
Dust, oils, and residues prevent paint from bonding. Wipe each ornament with isopropyl alcohol (70% or higher) using a lint-free cloth. For heavily soiled or greasy surfaces, wash with mild dish soap and water, then dry completely. - Sand Smooth Surfaces (if needed)
On glass or plastic, lightly scuff the surface with fine-grit sandpaper (220–400 grit). This creates micro-abrasions that help paint grip. Avoid deep scratches. Wipe away dust afterward with a damp cloth. - Apply Primer (for non-porous materials)
Use a spray or brush-on primer designed for the specific surface—e.g., plastic primer for acrylic ornaments, metal primer for tin. Apply in a thin, even coat and let dry per manufacturer instructions. - Choose the Right Paint and Apply Thin Coats
Use high-quality paint suited to the material. Apply in two to three thin layers, allowing full drying time between coats. Thick applications increase the risk of cracking as the paint shrinks during curing. - Allow Proper Drying Time
Most paints need at least 24 hours to cure before sealing. Rushing this step traps moisture and weakens adhesion. In humid environments, extend drying time. - Seal with a Protective Topcoat
A clear sealant is non-negotiable. Use a UV-resistant, non-yellowing acrylic sealer (matte, satin, or gloss) in aerosol or brush-on form. Spray sealers provide the most even coverage. Apply 2–3 light coats, rotating the ornament for full protection. - Cure Fully Before Handling or Hanging
Wait at least 48 hours after the final sealant coat before packing or hanging. For oven-bake paints, follow package instructions precisely—usually involving baking at 300°F for 30 minutes inside a cold oven.
Do’s and Don’ts: Painting Ornaments Safely
| Do | Don’t |
|---|---|
| Use surface-specific primers and paints | Use regular craft paint on glass without sealing |
| Work in a dust-free environment | Paint in humid or drafty areas |
| Apply multiple thin coats instead of one thick layer | Apply heavy brushstrokes that cause pooling |
| Seal both painted and unpainted areas exposed to handling | Skip the sealant to “keep it natural” |
| Store painted ornaments in divided containers | Stack ornaments loosely in a box where they can rub together |
Real Example: Transforming Vintage Glass Balls Without Damage
Sarah from Portland inherited a set of vintage mercury glass ornaments from her grandmother. While beautiful, she wanted to personalize them for her modern tree. She decided to paint geometric patterns in gold and navy using acrylic enamel.
She began by cleaning each ball with alcohol, then lightly sanded the areas she planned to paint. After applying a clear plastic primer, she used fine-tipped brushes to apply two thin coats of paint. Once dry, she sealed each ornament with three light sprays of Krylon UV-Resistant Clear Coating, rotating them slowly for even coverage.
The result? Professional-looking ornaments that survived two holiday seasons, including being packed in a shared storage bin with other decorations. None showed signs of peeling or cracking. Sarah attributes the success to patience during drying and the quality of the sealer.
Tip: Rotate ornaments slowly while spraying sealant to avoid drips and ensure even coverage on curved surfaces.Essential Checklist for Flawless Painted Ornaments
Follow this checklist to minimize errors and maximize longevity:
- ☐ Identify the ornament material (glass, plastic, wood, etc.)
- ☐ Clean thoroughly with alcohol or mild soap
- ☐ Lightly sand non-porous surfaces for better adhesion
- ☐ Apply appropriate primer (especially for plastic or metal)
- ☐ Choose paint compatible with the surface (e.g., enamel for glass)
- ☐ Test paint and sealant on a spare or inconspicuous area
- ☐ Apply 2–3 thin paint coats with proper drying time between
- ☐ Seal with a high-quality, non-yellowing clear coat
- ☐ Allow 48+ hours of cure time before handling or storing
- ☐ Store in compartmentalized boxes to prevent scratching
FAQ: Common Concerns About Painting Ornaments
Can I use regular acrylic paint on glass ornaments?
You can, but only if you prepare the surface and seal it properly. Standard craft acrylics will eventually peel off glass because they aren’t designed for non-porous surfaces. For lasting results, use glass-specific paint or bakeable acrylics cured in the oven. Always apply a clear sealant afterward.
Why did my painted ornament crack after a few weeks?
Cracking often occurs due to overly thick paint application or insufficient drying time between layers. As paint dries, it shrinks. If the outer layer dries faster than the inner one, stress builds up, causing cracks. Temperature swings during storage can worsen this effect. Always apply thin coats and allow full curing.
How do I store painted ornaments to prevent damage?
Use original boxes with dividers or invest in compartmentalized ornament storage trays. Wrap delicate pieces in acid-free tissue paper. Avoid stacking and keep them in a cool, dry place away from direct sunlight, which can degrade paint and sealants over time.
Expert Tips for Long-Lasting Results
Beyond basic steps, experienced crafters use advanced techniques to enhance durability:
- Use painter’s tape for clean lines: Secure tape firmly before painting and remove it while the paint is still slightly tacky to prevent peeling at edges.
- Add flexibility with a paint medium: Mixing a small amount of fabric or air-dry clay medium into acrylic paint can improve elasticity, reducing the chance of cracking on curved surfaces.
- Double-seal high-touch areas: Areas near the hanger or bottom tip often get handled more. Consider an extra sealant coat there for added protection.
- Avoid water-based sealers on metallic paints: These can react with pigments and cause discoloration. Opt for solvent-based sprays like Minwax Polycrylic or Deft Interior Clear Acrylic.
“The secret to professional finishes isn’t expensive tools—it’s patience. Let each stage breathe, and your ornaments will thank you for years.” — James Holloway, Restoration Artist & Seasonal Decor Educator
Conclusion: Create Heirloom-Quality Ornaments with Confidence
Painting Christmas ornaments doesn’t have to be a temporary decoration project doomed to fail after one season. With the right understanding of materials, careful surface preparation, and proper sealing, your painted ornaments can become cherished parts of your holiday tradition. Whether you're revamping family heirlooms or crafting personalized gifts, attention to detail ensures your work stands the test of time and temperature.
Start small—paint one or two ornaments using this method—and observe how they hold up over the next year. Refine your technique, document what works, and build a collection that grows more meaningful each December. Your creativity deserves to last longer than a single season.
💬 Share your painted ornament journey! Have a tip that worked wonders? A mistake that taught you something? Join the conversation and inspire others to create beautiful, lasting holiday decor.