A small pantry doesn’t have to mean constant frustration or food waste. In fact, many well-organized pantries are compact by design. The key isn’t more storage containers—it’s smarter use of space and smarter habits. Whether your pantry is a closet nook, a shallow cabinet, or an under-stair alcove, you can transform it into a functional, accessible hub for your kitchen staples—all without spending a dime on new bins or organizers.
The goal isn’t perfection; it’s practicality. With thoughtful sorting, strategic stacking, and a few clever tweaks, you can make every inch work harder. This guide walks through proven, real-world techniques that prioritize accessibility, visibility, and sustainability—all while using only what you already own.
Assess and Declutter: Start with What You Have
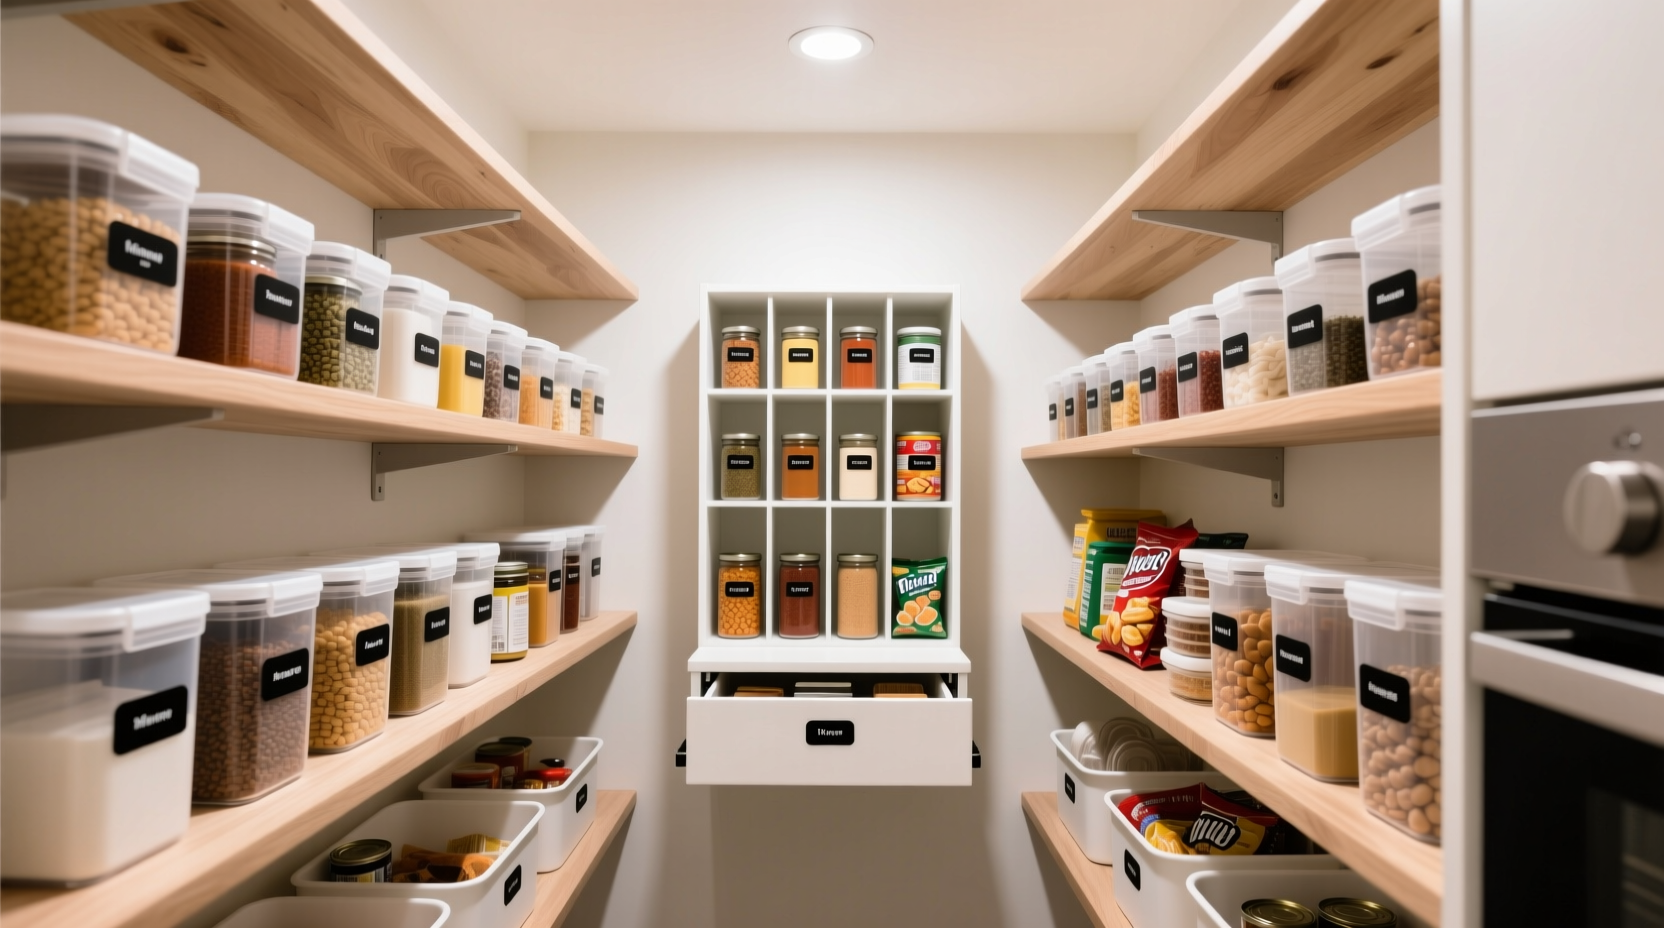
Before rearranging anything, take everything out. Yes, everything. This step is non-negotiable. Only when items are laid out can you truly see what you own, identify duplicates, expired goods, or forgotten packages taking up prime real estate.
Sort items into categories: canned goods, grains, snacks, baking supplies, oils, and so on. As you do, check expiration dates. Discard anything past its prime or unidentifiable. If you haven’t used it in six months and it’s not a specialty ingredient (like holiday spices), consider letting it go.
Tip: Use a tray or baking sheet to carry items in and out of the pantry—this prevents spills and keeps the process contained.This audit isn’t just about clearing space—it’s about understanding your usage patterns. Notice which items you reach for daily versus those stored “just in case.” That insight will inform how you organize later.
Group Like Items Using Existing Containers
You don’t need matching bins to create order. Instead, repurpose containers you already use: glass jars from pasta sauce, clean yogurt tubs, empty oatmeal cylinders, or even sturdy cardboard boxes from cereal. These can act as makeshift dividers or group organizers.
For example, transfer loose tea bags or spice packets into a cleaned jam jar. Stand them upright like files so labels face forward. Canned goods can be grouped by type—vegetables in one cluster, beans in another—and arranged in rows rather than scattered stacks.
If you have flat-bottomed cardboard boxes (like from crackers or cookies), cut down the sides to create low-profile trays. Slide these under heavier items to corral smaller packets—think instant noodles, drink mixes, or seasoning pouches.
“Organization isn’t about uniformity. It’s about making your system intuitive to *you*.” — Maria Tran, Home Efficiency Consultant
Smart Grouping Principles
- Frequency of use: Place everyday items at eye level.
- Weight distribution: Heavier cans and bottles go on lower shelves.
- Category cohesion: Keep cooking oils near vinegar, sugar near flour.
- Visual clarity: Align labels to face forward; avoid turning cans backward.
Maximize Vertical and Door Space
In a tiny pantry, floor space is limited—but vertical space is often underused. Stacking is essential, but only if done thoughtfully. Avoid precarious towers that collapse when you pull out the front item.
Instead, use staggered placement: place larger or deeper items toward the back of the shelf and shorter ones in front. This creates a “raked” layout, allowing you to see everything at a glance. Think of it like stadium seating for your spaghetti sauce and lentils.
The inside of the pantry door is prime real estate. Even without installing racks, you can hang lightweight items. Clip reusable shopping bags or mesh produce bags onto over-the-door hooks (or even adhesive hooks) to hold onions, garlic, or potatoes. No hooks? Drape a tension rod across the top of the door frame and hang small baskets or cloth bags from it.
Tip: Store potatoes and onions in separate breathable bags—they emit gases that accelerate spoilage in each other.Step-by-Step: Optimize Shelf Layout
- Empty one shelf completely.
- Lay out all items that belong there.
- Group by category and frequency of use.
- Select the tallest item—this determines max stack height.
- Place heaviest items on the bottom row.
- Arrange remaining items in staggered depth, front to back.
- Label shelf edges with masking tape and pen if needed (e.g., “Baking,” “Canned Veg”).
- Repeat for each shelf.
Create Zones Without Buying Organizers
Zoning transforms chaos into logic. A zone is simply a designated area for a specific type of item. The beauty is that zones require no special tools—just intentionality.
Divide your pantry into three core zones based on function:
| Zone | Purpose | Typical Items | Tips for Organization |
|---|---|---|---|
| Daily Use | Items used multiple times per week | Rice, oil, spices, coffee, snacks | Keep at eye level; limit to 5–7 core items |
| Cooking Station | Ingredients used together frequently | Pasta, sauce, garlic, herbs | Store as kits—group pasta + sauce + seasonings in one area |
| Backup & Bulk | Extra or infrequently used stock | Extra canned goods, paper towels, backup grains | Store higher or lower; rotate stock using FIFO method |
Within these zones, use existing packaging creatively. For instance, keep a spare pizza box flat on a high shelf to serve as a rigid divider between zones. Or fold open cereal boxes into L-shaped bookends to prevent items from sliding.
Mini Case Study: Lena’s Apartment Pantry
Lena lives in a 600-square-foot apartment with a pantry barely 18 inches wide. She initially bought plastic bins, but they didn’t fit and created more clutter. After reading about no-cost organization, she tried a different approach.
She emptied the pantry and found expired rice, three unopened soy sauce bottles, and a forgotten bag of lentils from two years prior. She grouped items into daily, cooking, and backup zones. She used a cleaned tomato paste tin to hold spice packets and repurposed a shoebox (cut down to 4 inches tall) to corral tea bags.
She also implemented the FIFO rule (First In, First Out): older items moved to the front, newer ones behind. Within a week, she reduced pantry-related meal prep time by nearly half and stopped overbuying staples she already had.
“I realized I didn’t need more containers,” Lena said. “I needed a system. Now I know exactly where everything is—even in the dark.”
Adopt Sustainable Habits That Maintain Order
Organization isn’t a one-time fix. Without maintenance, even the best system collapses. The good news? A few simple habits can preserve your progress indefinitely.
FIFO: First In, First Out
Always place newer groceries behind older ones. This prevents items from getting buried and expiring unnoticed. It’s especially critical for perishable dry goods like nuts, flours, or opened cereals.
Weekly Pantry Check
Spend five minutes every Sunday scanning your pantry. Look for:
- Items nearing expiration
- Misplaced goods
- Emerging clutter spots
One-In, One-Out Rule
To prevent accumulation, adopt a simple policy: when you bring in a new item, remove an old or duplicate one. Not only does this control volume, but it encourages mindful purchasing.
Tip: Use sticky notes on the pantry door to jot down items running low—review during grocery planning.Frequently Asked Questions
Can I organize a deep, narrow pantry without bins?
Absolutely. Use the staggered placement method: place taller items at the back and shorter ones in front. You can also turn items sideways (e.g., lay canned goods horizontally) to improve visibility. A long-handled grabber tool (often used in closets) can help retrieve back-row items if needed.
What do I do with oddly shaped packages?
Group them by use, not shape. For example, single-serve oatmeal cups or snack bars can be stacked vertically in a bread bag clipped to a shelf edge. Alternatively, tuck them into gaps beside larger boxes—use them as filler to stabilize stacks.
How do I stop my pantry from becoming messy again?
Consistency matters more than perfection. Commit to returning items to their designated zones immediately after use. If something doesn’t have a clear home, decide its spot right then—don’t delay. Small daily actions prevent major reorganizations later.
Checklist: No-Cost Pantry Organization Plan
- ☐ Remove all items from the pantry
- ☐ Discard expired or unused products
- ☐ Sort items into categories (canned, grains, snacks, etc.)
- ☐ Repurpose clean containers (jars, tubs, boxes) as organizers
- ☐ Define three functional zones: Daily Use, Cooking Station, Backup
- ☐ Arrange shelves using staggered depth for visibility
- ☐ Utilize door space with hanging bags or clipped containers
- ☐ Label zones with temporary tape if helpful
- ☐ Implement FIFO: older items in front
- ☐ Schedule a weekly 5-minute pantry review
Conclusion: Small Space, Big Impact
A tiny pantry doesn’t need expensive upgrades to become highly functional. The most effective systems rely not on gadgets, but on clarity, consistency, and creativity. By decluttering with purpose, grouping intelligently, and maintaining simple routines, you can turn a cramped cupboard into a streamlined asset.
The best part? You don’t need to wait for a sale or delivery. You can start tonight. Empty one shelf. Sort what’s there. Make one improvement. Momentum builds from action, not perfection.
💬 Ready to transform your pantry? Pick one strategy from this guide and apply it today. Share your progress or tips in the comments—your solution might inspire someone else to reclaim their space too.