Accidents happen, and dogs are no exception. Whether your dog has stepped on a sharp object, developed a cut during a hike, or sustained a minor burn, knowing how to properly bandage a paw can prevent infection, reduce pain, and promote faster healing. While veterinary care is always recommended for serious injuries, minor wounds can often be managed at home—provided you do it correctly. This guide walks you through the entire process, from assessing the injury to applying a secure, comfortable bandage that stays in place.
Assessing the Injury: When Can You Treat at Home?
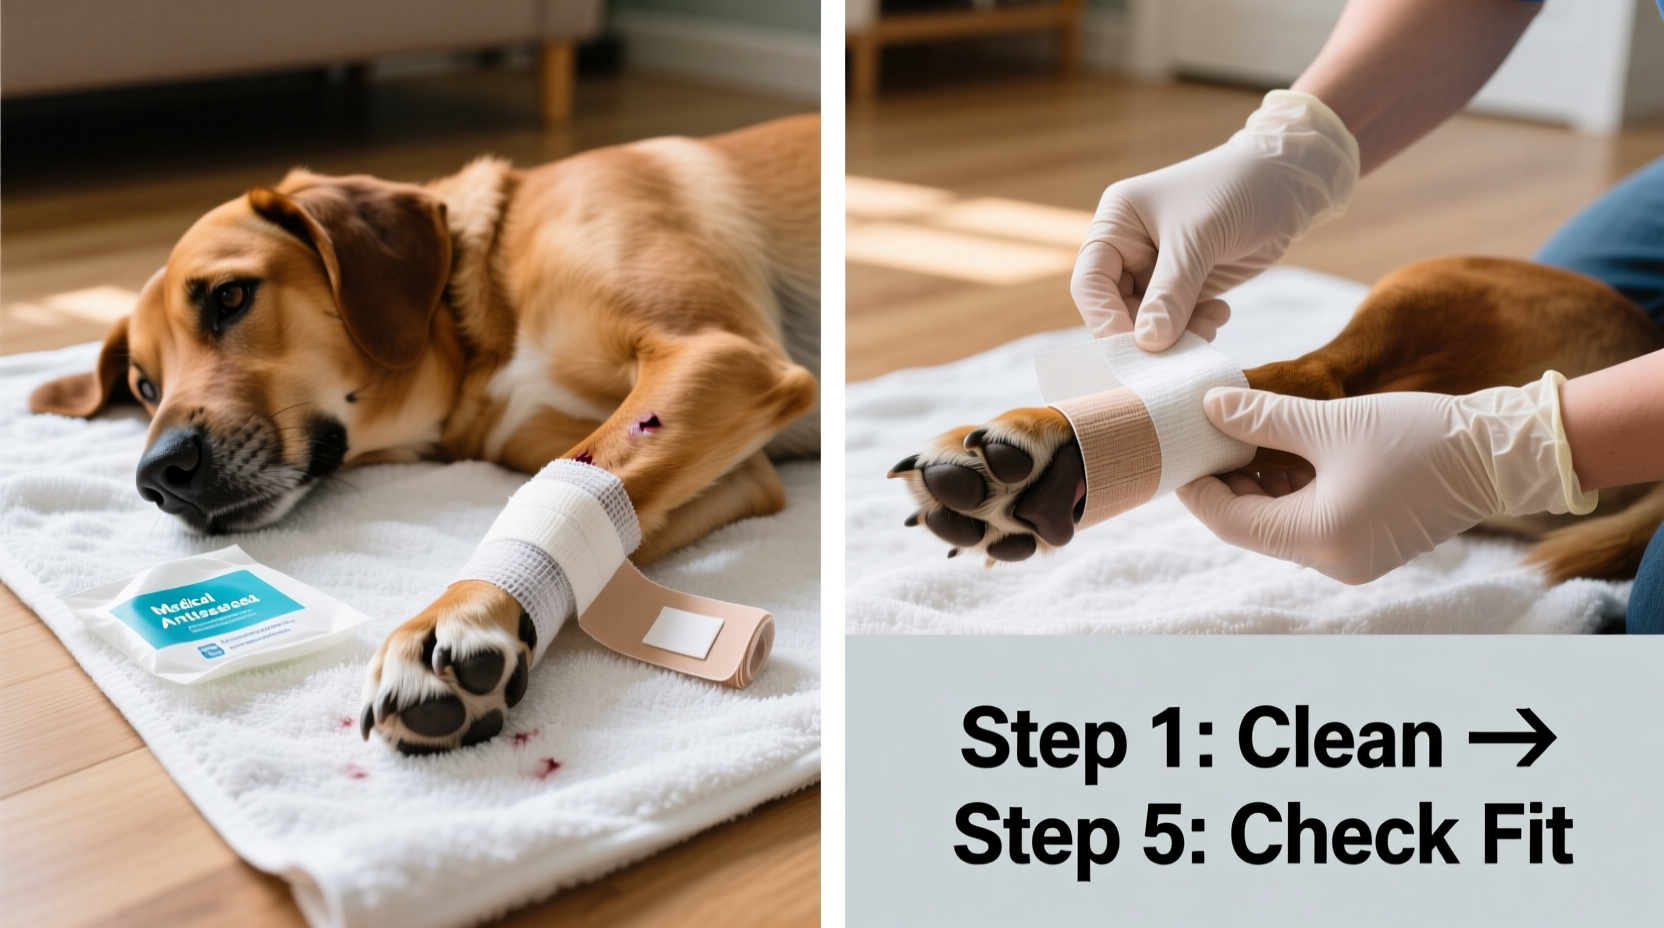
Not every paw injury requires professional intervention, but it’s crucial to know the difference between a manageable wound and one that needs immediate veterinary attention. Superficial cuts, small abrasions, or minor pad cracks are typically safe to treat at home if your dog remains active and shows no signs of systemic distress.
However, seek professional help immediately if you notice any of the following:
- Deep lacerations exposing muscle or bone
- Heavy bleeding that doesn’t stop after 5–10 minutes of pressure
- Signs of infection such as swelling, pus, or foul odor
- Limping that persists beyond 24 hours
- Bite wounds or punctures (high risk of infection)
- Embedded foreign objects like glass or thorns
“Even small wounds on paws can become infected quickly due to constant contact with surfaces. Clean and monitor them closely.” — Dr. Laura Simmons, DVM, Small Animal Practitioner
Essential Supplies for Paw Bandaging
Having the right tools on hand ensures you can act quickly and effectively. A well-stocked pet first aid kit should include the following items specifically for paw care:
| Item | Purpose | Notes |
|---|---|---|
| Antiseptic solution (chlorhexidine or povidone-iodine) | Cleanses the wound without damaging tissue | Avoid hydrogen peroxide—it harms healthy cells |
| Sterile gauze pads | Direct wound coverage | Use non-stick varieties when possible |
| Roller gauze or conforming bandage | Holds dressing in place | Stretchable but not adhesive |
| Vet wrap (self-adhesive bandage) | Secures outer layer | Doesn’t stick to fur; ideal for pets |
| E-collar (cone) | Prevents licking or chewing | Necessary in most cases |
| Tweezers & scissors (blunt-tipped) | Removes debris, trims bandages | Keep sterilized |
Step-by-Step: How to Bandage Your Dog’s Paw Safely
Follow this sequence carefully to ensure proper hygiene, comfort, and stability. Rushing can lead to improper healing or bandage slippage.
- Restrain your dog gently. Use a helper if needed. Calm reassurance reduces stress. Never muzzle an injured dog unless absolutely necessary.
- Inspect the paw thoroughly. Part the fur and examine between the toes and under the pad. Look for splinters, ticks, or embedded material.
- Clean the wound. Flush with saline or antiseptic solution using a syringe or clean cloth. Avoid cotton balls—they leave fibers behind.
- Pat dry completely. Moisture under a bandage encourages bacterial growth. Use sterile gauze to gently absorb excess liquid.
- Apply non-stick gauze. Place a square directly over the wound. It should extend slightly beyond the injury edges.
- Wrap with conforming gauze. Starting below the wound (closer to the body), spiral upward, overlapping by half. Do not wrap too tightly—check circulation by pressing on the toenail bed. It should return to pink within 2 seconds.
- Secure with vet wrap. Apply from the bottom up, covering the gauze without sticking to fur. Overlap by 50%. Avoid wrapping over joints unless stabilizing an injury.
- Check fit and function. The bandage should stay in place without slipping or restricting movement. Your dog should walk normally.
- Attach an e-collar. Most dogs will try to remove the bandage. Prevent this to avoid re-injury or ingestion of bandage materials.
Duration and Monitoring
Change the bandage daily unless advised otherwise by your veterinarian. Each time, inspect the wound for signs of improvement or complications. Healthy healing includes reduced redness and minimal discharge. Yellowish clear fluid (serum) is normal; thick yellow or green pus is not.
Common Mistakes to Avoid
Even well-intentioned owners make errors that delay healing or worsen conditions. Be mindful of these pitfalls:
- Wrapping too tightly: Can restrict blood flow, leading to swelling, pain, or tissue damage.
- Using human bandages: Adhesive tapes and standard band-aids stick to fur, cause pain upon removal, and aren’t waterproof.
- Skipping the e-collar: Licking introduces bacteria and removes medication or dressings.
- Leaving the bandage on too long: Increases infection risk and skin maceration (breakdown from moisture).
- Ignoring underlying causes: Repeated paw injuries may signal allergies, rough terrain exposure, or nail issues.
Real-World Example: Managing a Hiking Injury
Max, a 3-year-old Border Collie, stepped on a piece of broken glass during a trail walk. His owner, Sarah, noticed him limping and found a small puncture on his rear paw pad. She followed these steps:
- Stopped activity and carried Max to the car to prevent further contamination.
- At home, she cleaned the wound with diluted chlorhexidine and removed a tiny glass shard with sterilized tweezers.
- She applied a non-adherent pad, wrapped it with gauze and vet wrap, and secured an e-collar.
- Over the next three days, she changed the bandage daily, monitored for swelling, and kept Max indoors.
- By day four, the wound had closed significantly. She transitioned to a protective bootie during short walks.
Max made a full recovery without infection—thanks to prompt, correct care.
Frequently Asked Questions
How long should I keep the bandage on my dog’s paw?
Change the bandage daily for hygiene and inspection. For minor wounds, 3–5 days of protection is typical. Always follow your vet’s guidance for severe injuries.
Can I use a sock instead of a bandage?
In emergencies, a clean sock secured with vet wrap can work temporarily. However, socks absorb moisture and slip easily. They are not a substitute for proper layered bandaging.
What if my dog chews the bandage off?
This is common. Always use an e-collar. If the bandage is ingested, contact your vet immediately—foreign material can cause intestinal blockages.
Final Checklist Before You Begin
- Confirm the injury is minor and suitable for home treatment.
- Gather all necessary supplies: antiseptic, gauze, vet wrap, e-collar.
- Wash your hands and ensure tools are clean.
- Have a helper assist with restraint if needed.
- Plan to monitor the wound daily and change the dressing regularly.
- Know when to call the vet—don’t hesitate with worsening symptoms.
Conclusion
Knowing how to safely bandage your dog’s paw empowers you to respond confidently to minor injuries and support your pet’s recovery. Proper technique, vigilance, and timely veterinary consultation when needed are the pillars of effective at-home care. By mastering this skill, you not only protect your dog’s physical health but also strengthen the bond built on trust and attentive caregiving.
💬 Have experience treating your dog’s paw injuries? Share your tips or questions in the comments—your insight could help another pet parent in need.