Nail art and intricate polish designs are time-consuming and often expensive to create. Whether you've visited a professional salon or spent hours perfecting your look at home, the last thing you want is for dirt, oil, or debris to build up beneath the polish—especially near the cuticle or nail bed—compromising both hygiene and appearance. The good news: it's possible to clean under nail polish without disturbing your design. With the right tools, timing, and technique, you can maintain a fresh, healthy manicure while preserving every brushstroke and glitter accent.
This guide walks through proven methods to gently lift grime from underneath the edges of nail polish, prevent bacterial buildup, and extend the life of your manicure—all without chipping, peeling, or ruining your artwork.
Why Cleaning Under Nail Polish Matters
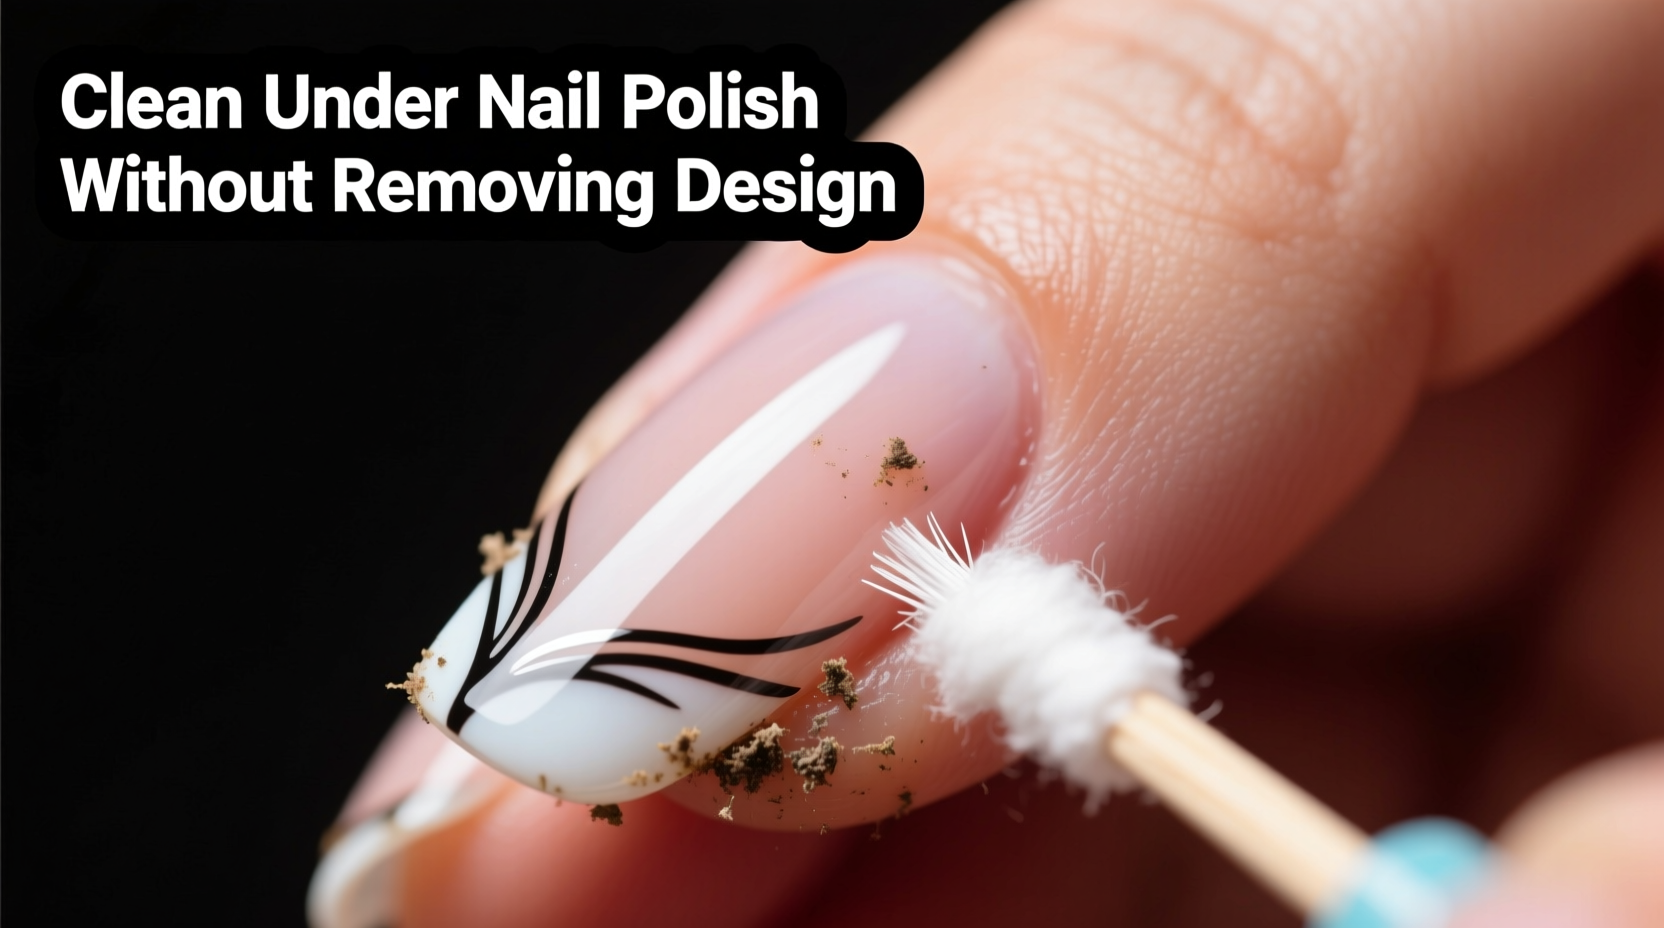
Even with flawless application, tiny gaps can form between the nail plate and the polish, especially as the manicure ages. These micro-spaces become traps for oils, sweat, dust, and bacteria. Over time, this buildup can lead to:
- Discoloration under the polish
- Foul odor
- Nail fungus or infections
- Lifting of the polish layer
- Weakened nail structure
Cleaning under the polish isn’t just about aesthetics—it’s essential for long-term nail health. However, many people avoid doing so out of fear of damaging their manicure. The key lies in using precision tools and non-abrasive solutions that target debris without disrupting the polish seal.
“Maintaining cleanliness under the free edge of polish is crucial, especially for gel or acrylic overlays. Trapped moisture and bacteria can lead to onycholysis—the separation of the nail from the bed.” — Dr. Lena Torres, Board-Certified Dermatologist & Nail Health Specialist
Essential Tools and Supplies
Trying to clean under nail polish with cotton swabs or water alone won’t penetrate tight spaces effectively. You need specialized tools designed for delicate access. Here’s what you should have on hand:
| Tool/Product | Purpose | Recommended Use Frequency |
|---|---|---|
| Orange wood stick (or cuticle pusher) | Gently lifts debris without scratching | As needed, 1–2 times per week |
| Lint-free wipe or microfiber cloth | Final polishing after cleaning | After each cleaning session |
| Isopropyl alcohol (70%) | Sanitizes and dissolves oils | Sparingly; avoid overuse |
| Nail cleanser solution (non-acetone) | Cleans without lifting polish | Weekly maintenance |
| Fine-tipped silicone brush or spoolie | Reaches narrow areas safely | Daily or weekly touch-ups |
Step-by-Step Guide to Safe Under-Polish Cleaning
Cleaning under nail polish requires patience and precision. Follow these steps carefully to avoid compromising your design:
- Wash Hands First: Begin with clean hands to prevent introducing new bacteria during the process. Use mild soap and warm water.
- Soften the Area (Optional): Soak fingertips in warm water for 1–2 minutes if there’s visible dry skin or hardened residue near the cuticle. This loosens debris gently.
- Dampen a Tool: Lightly moisten the tip of an orange wood stick with isopropyl alcohol or a dedicated nail cleanser. Do not soak it—excess liquid can seep under the polish and weaken adhesion.
- Angle and Glide: Hold the stick at a shallow angle (about 30 degrees) and gently glide it along the edge where the polish meets the cuticle or sidewall. Use light pressure only—let the tool do the work.
- Target Sidewalls and Cuticle Edge: Focus on areas most prone to buildup: the base of the nail near the cuticle and the sides where fingers naturally contact surfaces.
- Use a Soft Brush: After using the stick, take a fine-tipped silicone brush or clean spoolie and lightly sweep away any loosened particles.
- Wipe and Dry: Use a dry, lint-free wipe to remove residual moisture and polish the surface. Let nails air-dry completely before applying cuticle oil.
This entire process should take less than five minutes and can be done once or twice a week depending on lifestyle factors like frequent handwashing, gym use, or cooking habits.
Do’s and Don’ts of Under-Nail Cleaning
To protect your manicure and nail health, follow this simple checklist of best practices:
| Do’s | Don’ts |
|---|---|
| Use wooden or silicone tools instead of metal | Scrape aggressively under the polish edge |
| Clean weekly to prevent buildup | Soak nails in acetone or harsh solvents |
| Apply cuticle oil after cleaning to rehydrate | Use cotton balls that leave fibers behind |
| Store tools in a sanitized container | Share nail tools without disinfecting |
| Inspect nails regularly for signs of lifting | Ignore yellowing or odor under polish |
Real-Life Example: A Salon Client’s Experience
Jamila, a graphic designer from Portland, noticed her French-tip gel manicure started feeling “gritty” near the cuticles after two weeks. She avoided touching it, fearing she’d ruin the crisp white tips. During her next salon visit, her technician used a sterilized wooden stick dipped in nail cleanser to gently clear built-up hand cream and dead skin trapped beneath the polish edge.
The process took less than three minutes per hand. No polish lifted, and Jamila reported her nails felt “lighter and cleaner.” Her technician advised her to repeat the gentle cleaning weekly and apply cuticle oil daily. As a result, her next set lasted four full weeks without lifting—a personal best.
This case highlights how minor maintenance can significantly extend wear time and comfort, even with detailed designs.
Alternative Methods and When to Avoid Them
While some DIY hacks circulate online, not all are safe for preserving nail polish integrity. Consider these alternatives—and their risks:
- Water Flossers (Oral Irrigators): Though powerful for removing debris, the high-pressure stream can force water under the polish, increasing the risk of separation and fungal growth. Not recommended.
- Cotton Swabs with Oil: Oils like coconut or olive may moisturize but can degrade adhesive bonds in gel polish. Use only after removal or on natural nails without enhancements.
- Acetone Wipes Near Edges: Even brief exposure can dull or lift polish. If cleanup is needed, use non-acetone wipes strictly on the skin—not the nail surface.
The safest approach remains mechanical cleaning with soft tools and minimal liquid exposure.
Tip: After cleaning, apply a drop of cuticle oil and massage it around the nail base to create a protective barrier against future debris accumulation.When to Remove and Reapply Instead
No cleaning method can fully rescue a manicure that has already begun to lift or peel. Signs it’s time to remove the polish include:
- Visible gap between the nail and polish at the cuticle
- Cloudiness or chalky texture under the surface
- Unpleasant smell when pressing on the nail
- Pain or tenderness around the nail fold
Attempting to clean under severely lifted polish risks pushing bacteria deeper into the nail bed. In such cases, gentle removal followed by a break period of 2–3 days allows the nails to breathe and recover before a fresh application.
Frequently Asked Questions
Can I use hydrogen peroxide to clean under my nail polish?
Hydrogen peroxide is too harsh for regular use on nails and can dry out both the nail plate and surrounding skin. It may also discolor certain pigments in colored polish. Stick to isopropyl alcohol (70%) or a pH-balanced nail cleanser instead.
How often should I clean under my nail polish?
For most people, cleaning once every 7–10 days is sufficient. If you frequently wash hands, cook, or work with soil or chemicals, consider cleaning every 5–7 days. Always inspect nails visually and tactilely for early signs of buildup.
Will cleaning under polish make it chip faster?
Not if done correctly. Using gentle tools, minimal moisture, and proper angles prevents damage. Aggressive scraping or soaking increases chipping risk, but controlled, light cleaning actually prolongs wear by preventing bacterial lifting.
Checklist: How to Safely Clean Under Nail Polish
- Wash and dry hands thoroughly
- Gather sanitized tools: orange stick, microfiber cloth, nail cleanser
- Dampen tool slightly—never wet
- Gliding motion only; no digging or prying
- Clean cuticle line and sidewalls
- Remove debris with soft brush
- Wipe dry and air-dry completely
- Apply cuticle oil to seal and nourish
- Repeat weekly or biweekly based on needs
Final Thoughts: Preserve Beauty and Health Together
A stunning nail design shouldn’t come at the cost of hygiene or nail health. By integrating simple, non-invasive cleaning techniques into your routine, you protect both the longevity of your manicure and the integrity of your natural nails. The goal isn’t perfection overnight—it’s consistency, care, and awareness.
Whether you’re wearing a minimalist sheer coat or a full set of chrome-effect gels, taking a few minutes each week to gently maintain the space beneath the polish pays off in durability, comfort, and confidence. Your nails deserve more than just beauty—they deserve thoughtful upkeep.
💬 Have a favorite tool or trick for keeping polished nails clean? Share your experience in the comments and help others enjoy longer-lasting, healthier manicures!