
Clippers—whether used for hair, beard, or body grooming—are precision tools that require regular maintenance. Over time, hair fragments, skin oils, and product buildup accumulate in the blades and housing, reducing cutting efficiency and increasing wear. A neglected clipper can overheat, pull hair, or even harbor bacteria. Fortunately, cleaning your clippers at home is simple, cost-effective, and essential for extending their lifespan. With the right routine, you can maintain peak performance, ensure hygiene, and avoid costly replacements.
Why Regular Cleaning Matters
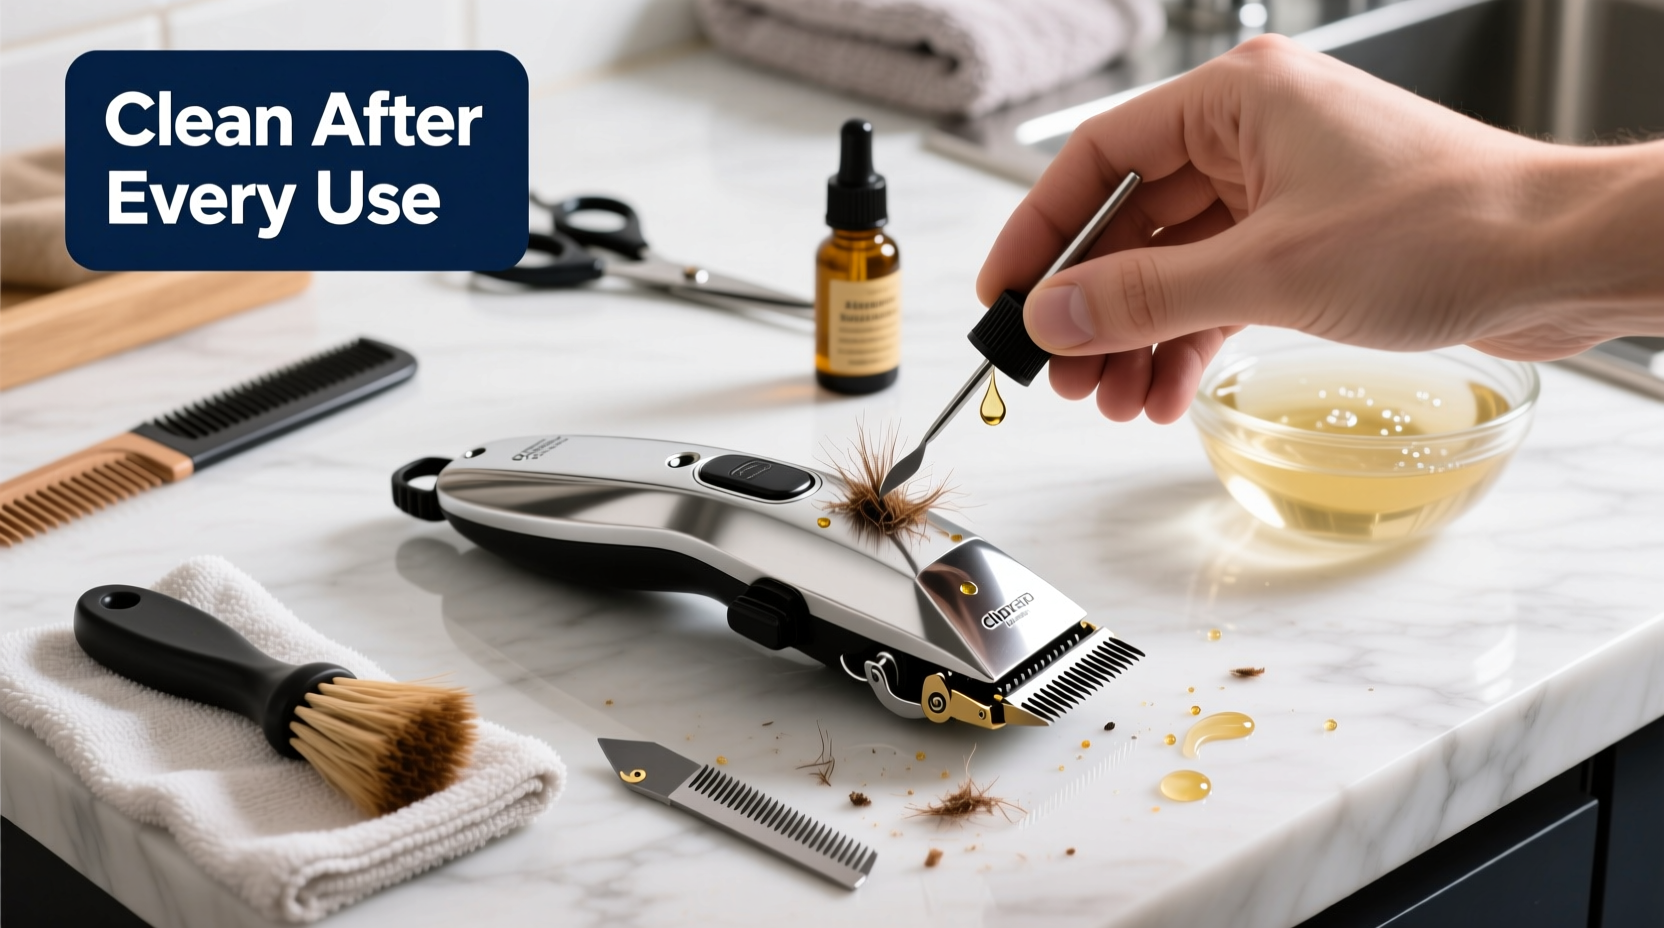
Most people only think about cleaning their clippers when they start malfunctioning. But by then, damage may already be done. Accumulated debris increases friction between moving parts, forcing the motor to work harder. This leads to faster blade dulling, overheating, and eventual breakdown.
Professional barbers clean their clippers after every use. While daily deep cleaning isn’t necessary for home users, a consistent schedule prevents long-term issues. Clean clippers not only perform better but are also more hygienic, especially if shared among family members or used on different areas of the body.
“Blade longevity depends more on maintenance than brand. A well-cared-for $50 clipper outperforms a neglected $200 model.” — Jordan Lee, Master Barber & Tool Technician
Essential Tools and Supplies
Before starting, gather the following items. Most are household staples or inexpensive purchases:
- Small brush (a toothbrush works well)
- Cleaning oil (clipper-specific lubricant; never use WD-40)
- Isopropyl alcohol (70% or higher)
- Cotton swabs or pads
- Mild dish soap (for external surfaces)
- Screwdriver (if detachable blades require removal)
- Paper towel or lint-free cloth
Step-by-Step Cleaning Process
Follow this timeline-based method to thoroughly clean and maintain your clippers. Depending on usage, repeat every 1–3 uses for optimal results.
- Power down and disassemble: Turn off and unplug the device. Remove the blade if possible using the manufacturer’s guide. Some models have quick-release levers; others require a small screwdriver.
- Brush away loose debris: Use a dry brush to remove visible hair and dust from the blade and motor housing. Pay attention to crevices where hair tangles easily.
- Disinfect the blade: Dip a cotton pad in isopropyl alcohol and wipe both blade edges and the underside. For stubborn residue, gently scrub with an alcohol-dampened swab. Avoid soaking metal parts unless specified by the manufacturer.
- Clean the housing: Wipe the body with a damp cloth and mild soapy water. Do not submerge electric clippers. Dry immediately with a towel.
- Lubricate the blades: Apply 2–3 drops of clipper oil along the blade’s edge. Run the clipper for 10–15 seconds to distribute the oil evenly. Wipe off excess with a paper towel.
- Reassemble and test: Reattach the blade securely. Power on and check for smooth operation and noise reduction.
Frequency Guidelines
| Usage Frequency | Brush Debris | Disinfect Blades | Lubricate Blades |
|---|---|---|---|
| Daily use | After each use | Every 2–3 uses | Weekly |
| Weekly use | Before and after use | Every 4–5 uses | Monthly |
| Occasional use | Before each use | Every 6 months | Every 6 months |
Common Mistakes to Avoid
Even well-intentioned cleaning can harm clippers if done incorrectly. Below are frequent errors and their consequences:
- Using water near motors: Water ingress damages internal electronics. Never rinse electric clippers under a tap.
- Skipping lubrication: Dry blades increase friction, leading to rapid wear and motor strain.
- Using household oils: Cooking or mineral oils gum up blades. Only use manufacturer-recommended lubricants.
- Over-tightening blades: Excessive pressure misaligns cutting edges, causing uneven cuts and vibration.
- Ignoring manufacturer instructions: Some clippers have sealed units or specific cleaning protocols. Always consult the manual.
Real-World Example: The Barber Who Saved His Clippers
Carlos, a home barber in Austin, noticed his once-smooth Wahl clipper started pulling hair and making a grinding sound. Assuming it was worn out, he nearly replaced it—until a salon technician suggested a deep clean. Carlos followed the disinfection and oiling steps outlined here. After brushing out years of compacted hair and re-lubricating the blades, the clipper ran quieter than it had in months. “I’ve extended its life by at least a year,” he said. “All it needed was five minutes of care I’d been skipping.”
Checklist: Clipper Maintenance Routine
Use this checklist to stay consistent with clipper care:
- ✅ Unplug or remove batteries
- ✅ Brush out hair and debris
- ✅ Disinfect blades with alcohol
- ✅ Wipe housing with damp soapy cloth
- ✅ Apply proper lubricating oil
- ✅ Run clipper briefly to spread oil
- ✅ Store in a dry, dust-free case
Frequently Asked Questions
Can I wash my clippers in the sink?
No. Most electric clippers are not waterproof. Submerging them or running water directly over the motor can cause permanent damage. Stick to wiping with a damp cloth and spot-cleaning blades with alcohol.
How do I know when to replace the blades?
If cleaning and lubrication don’t restore smooth cutting, or if the blades feel nicked, bent, or excessively dull, replacement is needed. Most manufacturers sell replacement blade kits compatible with their models.
Is it safe to use nail clippers or scissors to trim blade buildup?
No. Metal tools can scratch or misalign precision blades. Always use soft brushes, cotton swabs, and recommended cleaning fluids to avoid damage.
Final Thoughts
Properly cleaning your clippers at home isn’t just about hygiene—it’s about preserving performance and value. A few minutes of maintenance after each use can prevent hundreds of dollars in premature replacements. Whether you're trimming your child’s hair, shaping a beard, or maintaining body grooming routines, a clean, well-oiled clipper makes all the difference. These tools are built to last, but only if treated with care.
🚀 Take action today: Grab your clippers, follow the cleaning steps, and experience smoother, quieter, more reliable performance. Share your maintenance tips in the comments below—your insight could help another user extend their tool’s life!